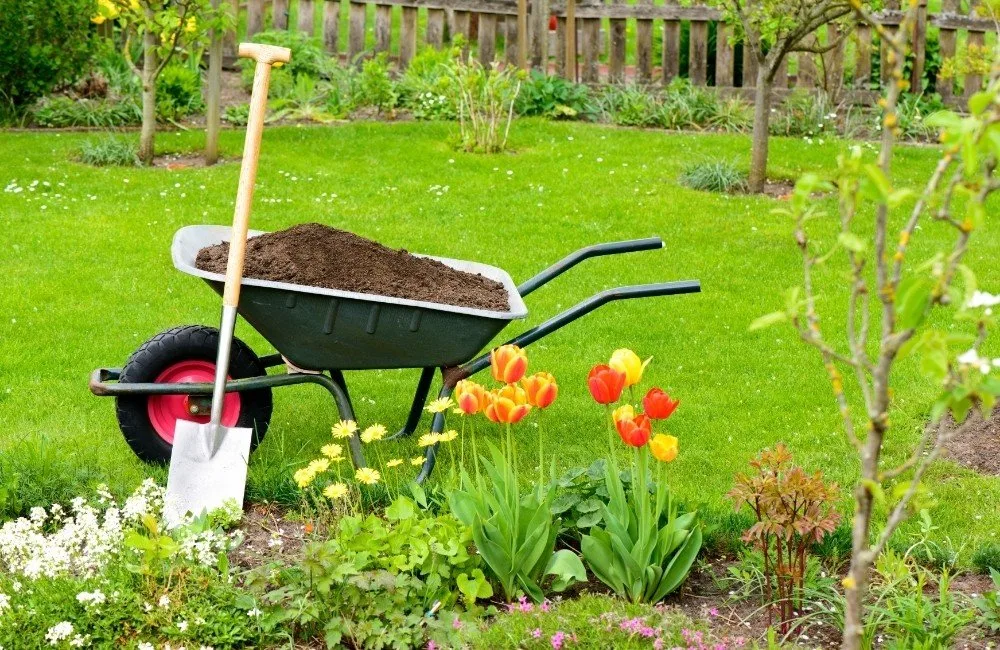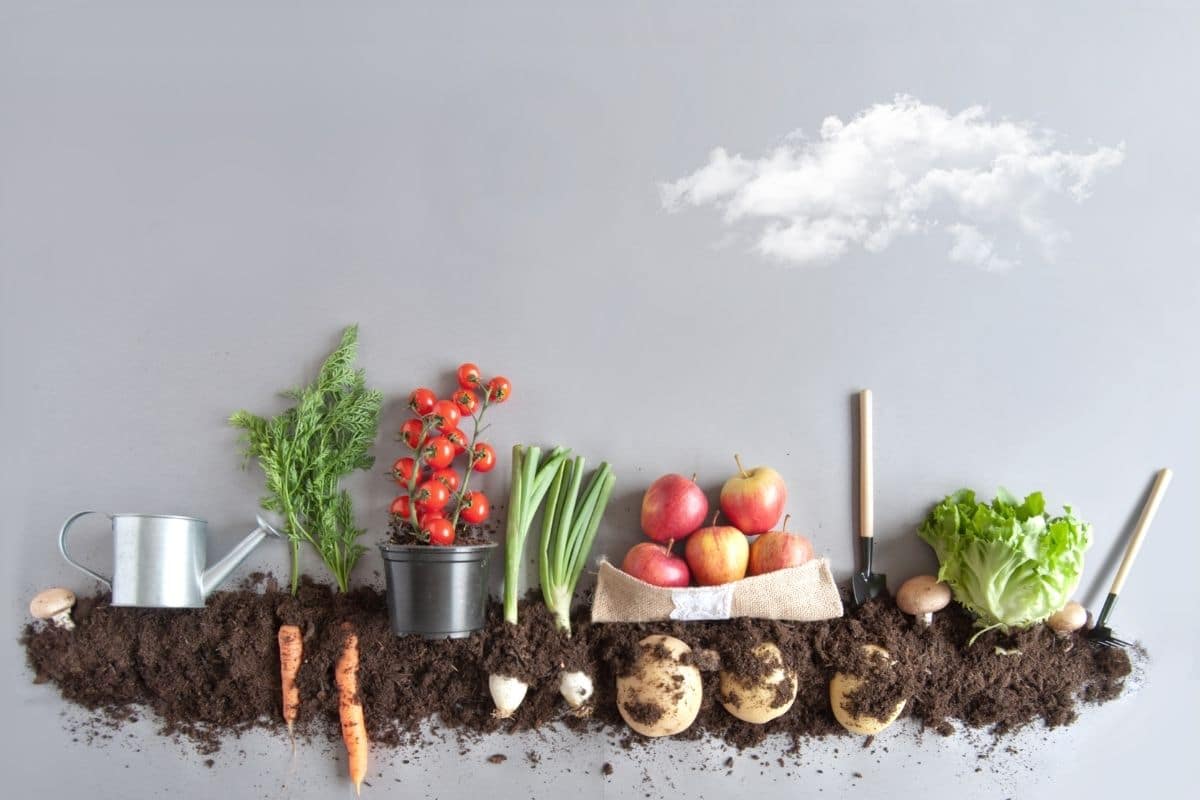
Curious about how to use a compost tumbler, but not sure where to begin? We’ve got all the info you need to know. There are many good reasons to make your own compost, like reducing waste and increasing biodiversity. Composting also saves money and provides amazing benefits for your garden and houseplants.
All you need is some carbon, a little bit of nitrogen, sun, water, an occasional tumble, and voila — compost! A compost tumbler does everything a traditional compost pile does. It just does it faster, more efficiently and more neatly. Stick with us, and we’ll show you how to starting using a compost tumbler to cook up some eco-friendly, nutrient rich compost for your plants and garden.
The ABC’s of Composting

Let’s talk composting fundamentals, and then we’ll get into how to make compost using a tumbler.
Greens and browns
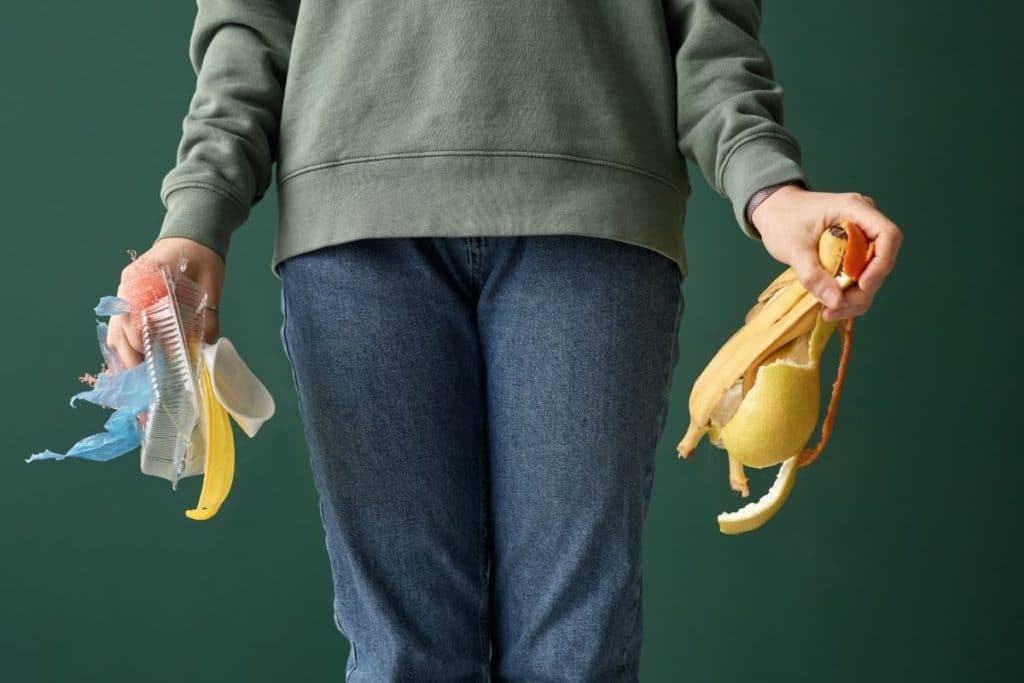
One thing you’ll notice when you start composting, is that people are constantly referring to “greens and browns.” A compost pile is made up of two basic inputs: nitrogen-rich “greens,” like grass clippings or kitchen scraps, and carbon-rich “browns,” like dead leaves or straw. Together with water and oxygen, these are the building blocks for microbes, and therefore compost.
Another way to think of it is “greens” tend to be higher in moisture and soft. At the same time, “browns” are tough and insoluble — they’re the more fibrous ingredients that provide structure and keep your compost fluffy and oxygenated.
The ideal ratio of brown to green ingredients is about 3:1, but this will depend on your environment, your tumbler, and other factors.
Remember that green and brown are not always literal, but rather more of a helpful rule of thumb. For example, coffee grounds are brown, but they are actually one of the best nitrogen-rich “greens” to add to compost. If in doubt, you can always look it up, but as long as you’re keeping your overall ratios balanced, you should be fine.
Do’s and Don’ts
There are a few tried and true rules of composting with a tumbler. Here are the definitely do’s.
The Do’s:
- Add a diverse range of greens and browns. Get in the habit of setting aside kitchen scraps and garden materials, especially dead plants, straw, mulch, and other dried-out, carbon-rich materials.
- Chop, split, shred, or rip up your scraps and yard waste as much as possible before adding to your tumbler. Microbes can only eat so much so fast — if you break down the raw materials first, you’re giving bacteria more surface area to get in there and do their job. (You’ll also thank yourself later, when you don’t have to pull a giant stalk out of your otherwise finished compost.)
The Do Not’s:
- Add any meat, bones, grease, dairy or other animal products to your compost tumbler. (Unless you like rats and pests.)
- Compost pet waste. Or anybody else’s waste. There are just too many health risks.
- Clean your compost tumbler at the end of a composting cycle. (Besides maybe hosing off the exterior if it gets particularly gunky.) Not unlike sourdough bread, this little bit of compost leftover inside the tumbler’s chamber is rich in microbes and bacteria and will help “feed” the next batch.
Composting lingo
We’ve already covered the all-important “greens and browns,” but there are few other terms you might run across in your composting journey that might be helpful to know.
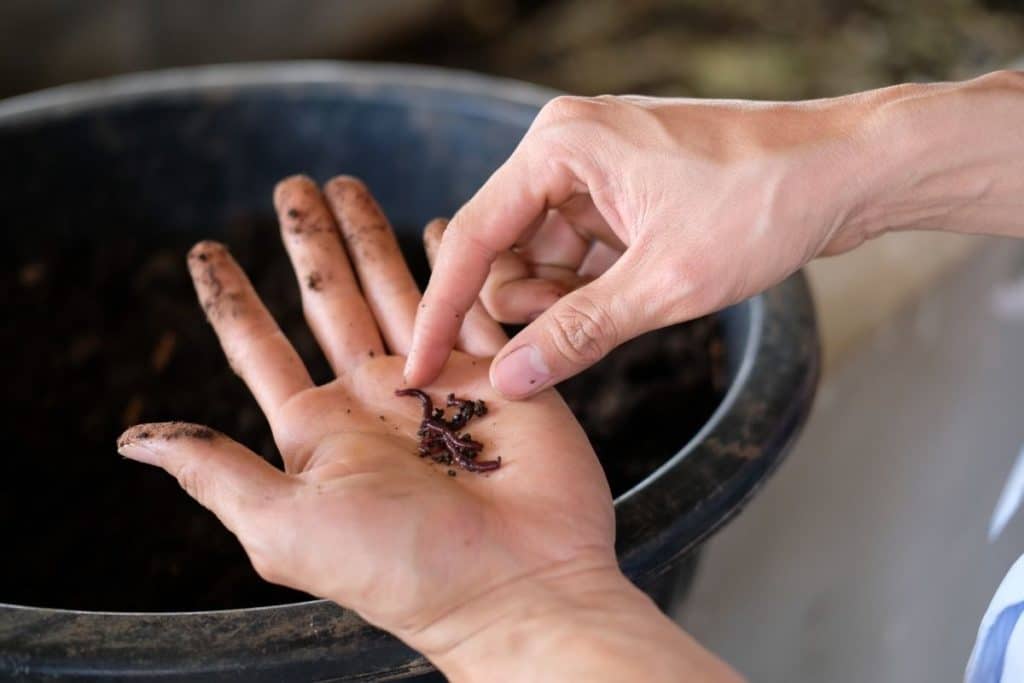
- Aerobic vs. Anaerobic. When it comes to composting, it’s all about cultivating the good, nourishing bacteria and preventing the harmful, stinky bacteria. Aerobic is what we’re shooting for here; if you’ve got wet, foul-smelling compost, then you know you’ve got an anaerobic bacteria problem.
- Feedstocks. This is a handy term that refers to any raw material you put into your tumbler — green, brown, yellow, or purple — that will eventually break down into compost.
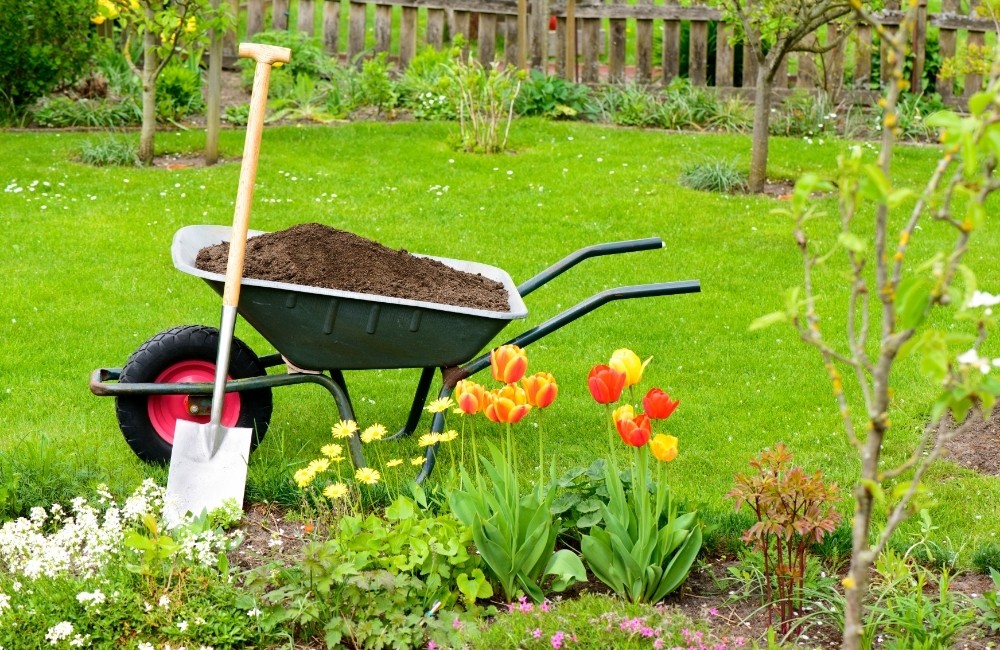
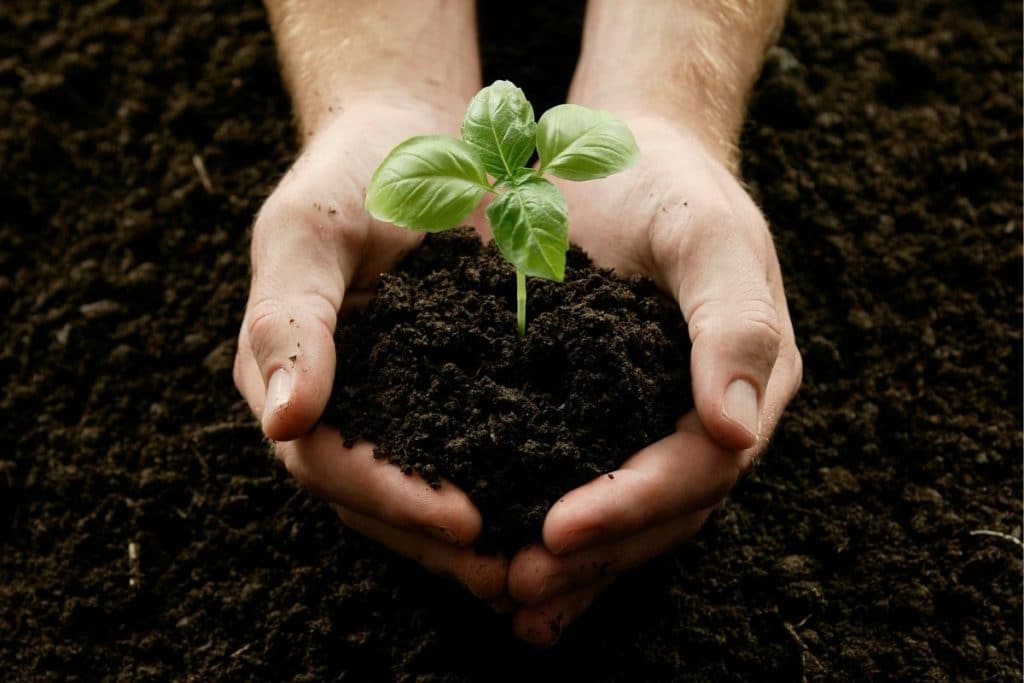
- Humus. No, not the dip you put on pita bread, but rather the dark organic material that makes up rich soil. Humus is the goal of finished compost: a moist, earthy, nutrient-dense material that plants love.
How to Compost Using a Tumbler

It’s not hard or complicated, but there is an art to using a compost tumbler and what to put in it. We’ve simplified how to make compost using a tumbler into 8 easy steps.
1
Assemble Your Compost Tumbler
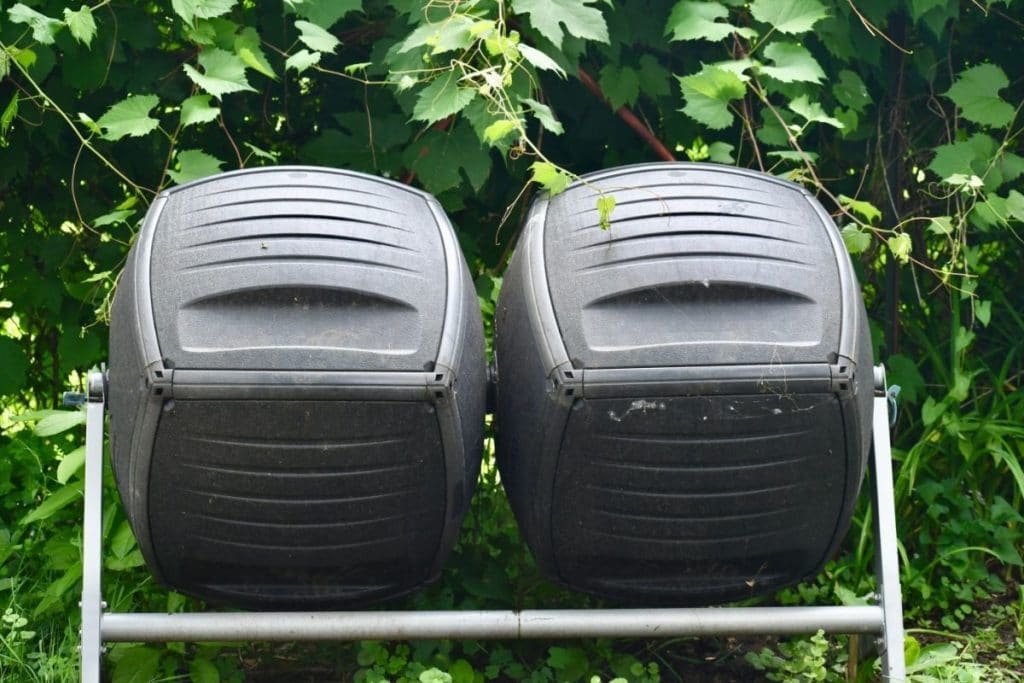
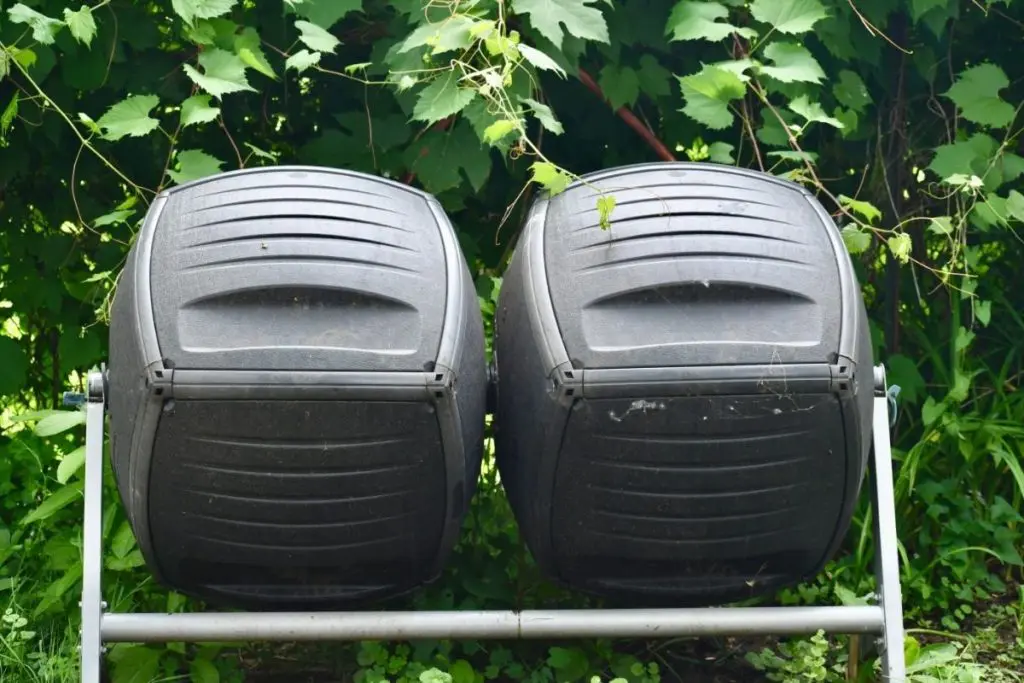
Before you start composting with a tumbler,you need to put it together. (An exception is if you bought an old-fashioned metal tumbler.) However, most common are the black plastic versions, which generally come flat-packed with plenty of hardware and pieces. This is far and away the least pleasurable moment of composting for most people, and compost tumblers have a reputation for being difficult to assemble. But, worry not! If you choose a good compost tumbler, it’s really more that it will take up a sizable chunk of time, and probably test your patience. Your tumbler should come with composting tumbler instructions, but there are also some great instructional videos available, and you can always find lots of helpful advice online.
2
Start Accumulating Your Greens and Browns.
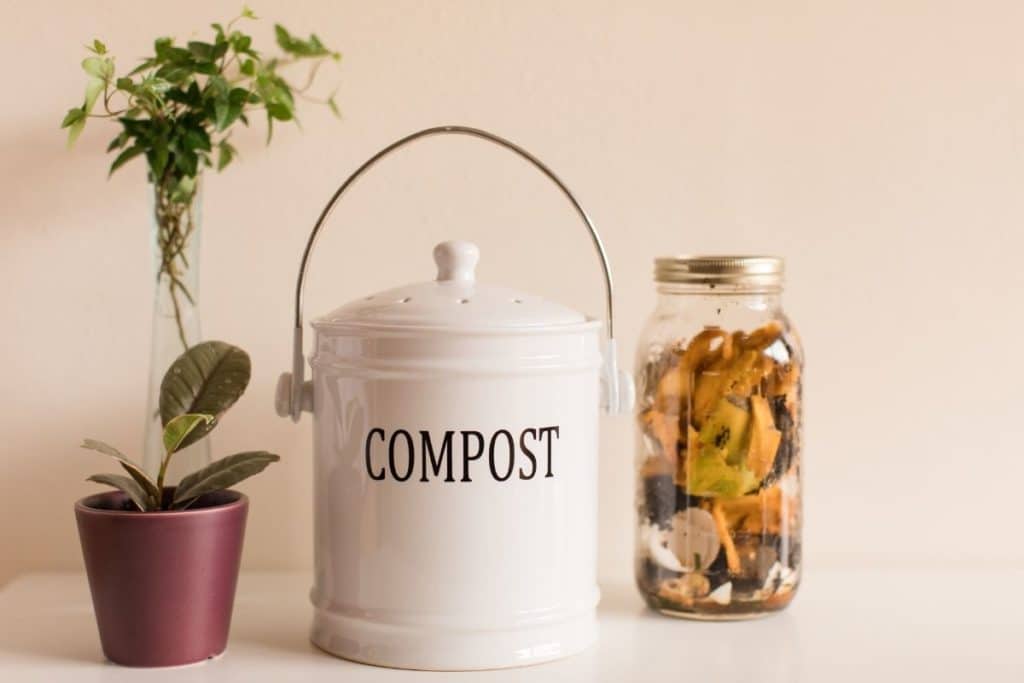
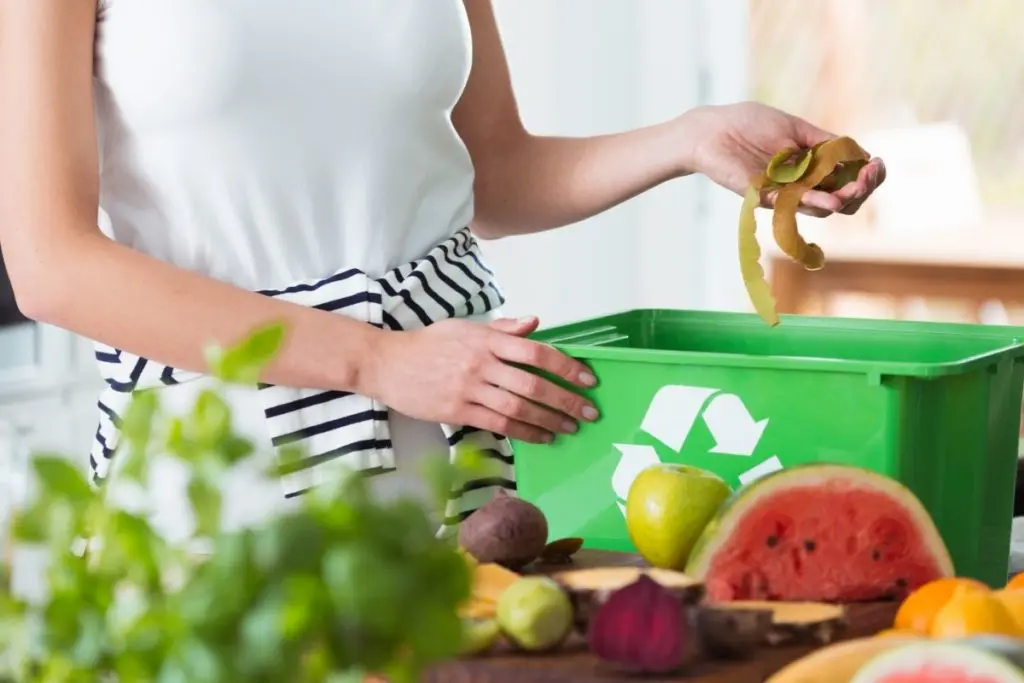
“Green” scraps are especially easy to accumulate, and it’s helpful to toss rinds, cuttings, peels and other odds and ends into a kitchen compost container to collect as you go. Browns can take a little more pre-planning. If you have a yard, you’ll have no trouble setting aside all of the dried grass and leaves you could need. Those of us with small gardens or little outdoor space need to be more strategic to make sure we’re getting enough carbon into our tumbler.
3
Toss Your Feedstocks Into Your Compost Tumbler
This is pretty self-explanatory: just slide the door or unscrew the lid on your compost tumbler and feed all of that collected plant stuff into the body of the tumbler. If you’re wondering how to compost using a twin tumbler, the process is essentially the same — you won’t have to stop adding scraps once your first bin is filled up.
4
Add a Little Water
This step is as-needed, and you’ll get a better sense of when and how often you should add water to your compost as you go. If you’re starting a new batch, you’ll probably need a bit of H2O to get the decay process started and help the microbes along.
5
(Optional) Add a Bit of Compost Starter
This step isn’t necessary, but if you’re trying to get your first batch of compost cookin’, you might want to consider something like this Jobe’s Organic Compost Starter. These products contain bacteria, funghi, and other microorganisms to help break down materials a little faster. A word of warning, however: this stuff is stinky! If you have close neighbors, you may want to skip this step.
6
Now the Moment We’ve All Been Waiting For: It’s Time to Spin!
There is just something satisfying about spinning that big barrel and helping Mother Nature do her work. You can tumble your tumbler as often as you like, but make sure that you’re turning it at least three or four times a week.
7
Wait
After the fun bit, comes the less fun bit. How long will you have to wait for finished compost? It’s going to depend. Under absolutely perfect conditions, in theory, you could make compost in about 3-4 weeks. But it’s going to take significantly longer for your first batch, if the weather is cooler, etc. Here’s what to look for: an earthy, dark, crumbly material with no large chunks. And if it smells like anything other than dirt, it isn’t ready yet.
8
Empty Your Compost Tumbler
This will be easier or more difficult depending on the type and size of tumbler you have. Some tumblers come with their own container, but most will do fine with whatever bucket, bin, or tarp you have handy. Put whatever you have directly under your tumbler, and then spin the barrel so that the door is facing down. Open the door/s as desired and empty the compost into your receptacle. (It may be helpful to put on garden gloves and gently help ease it out of the chamber.)
That’s it! The rest is learning how to best nurture your compost along. To that end, we have a little more advice to share.
Troubleshooting

The environment outside and inside your compost tumbler is always different, and even under ideal circumstances, conditions quickly change.
The important thing is not to get overwhelmed if your compost is stinky, or too wet, or doesn’t have enough of something. Just take a beat and reassess. Don’t think of composting as a math equation, think of it like cooking a meal — you need to get the ratio of ingredients right, figure out the right level of heat or water, and re-adjust as you go!
Common Composting Issues
Here are a few common composting issues, click on each one to read ideas for solutions.
Other Pitfalls to Avoid

Finally, we offer a few more specific things to look out for as you evolve into a master compost tumbler.
Dryer Lint
This is a common suggestion for a “brown” compost ingredient. And in theory, it works. However, in reality, most of us wash and dry clothing and bedding that contains polyester and other synthetic materials. Which means there are microplastics in our dryer lint. This is bad news for our water supply and health; you have to decide if it’s something you want pervading your compost.
Coated Paper or Toxic Printed Materials
This is another scenario where, if we only added unbleached, recycled paper, printed with soy-based ink, we’d have a great feedstock. In the real world, we’re inundated with bleached paper, paper with plastic additives, inks with not-so-great chemicals, and more. These types of paper can be problematic to introduce into your composting, not only due to their makeup, but because they’re tough to break down, and can even slow the whole process significantly.
Stickers
A little tip that’s easy to forget: remember to pick off fruit and vegetable stickers, as these are usually made from plastic and won’t break down.
Not Enough Browns
Often it’s assumed that if you’re using a compost tumbler to make your own compost, you must have a yard. But that’s not always true! Lots of people are getting on board with compost tumblers because of their ease, speed, and lack of mess. Whether you have a giant yard with an unending supply of fallen leaves, or you live someplace with a balcony or other tiny bit of real estate, a compost tumbler is a great choice.
Those of us living in a yard-free situation just have to get more strategic to make sure we’re not overwhelming our tumblers with too much nitrogen-heavy “greens.”
Here are some compost additions that might be helpful to seek out when you need a carbon boost for your compost tumbler:
- Straw and hay
- Fallen leaves
- Shredded cardboard
- Wood ash or wood chips (Never use treated wood.)
- Pine needles
- Dead houseplants
Now you’re ready to get tumbling! With a little trial and error, troubleshooting and experimenting, you’ll be spinning your way to perfect compost in no time.
Further Reading