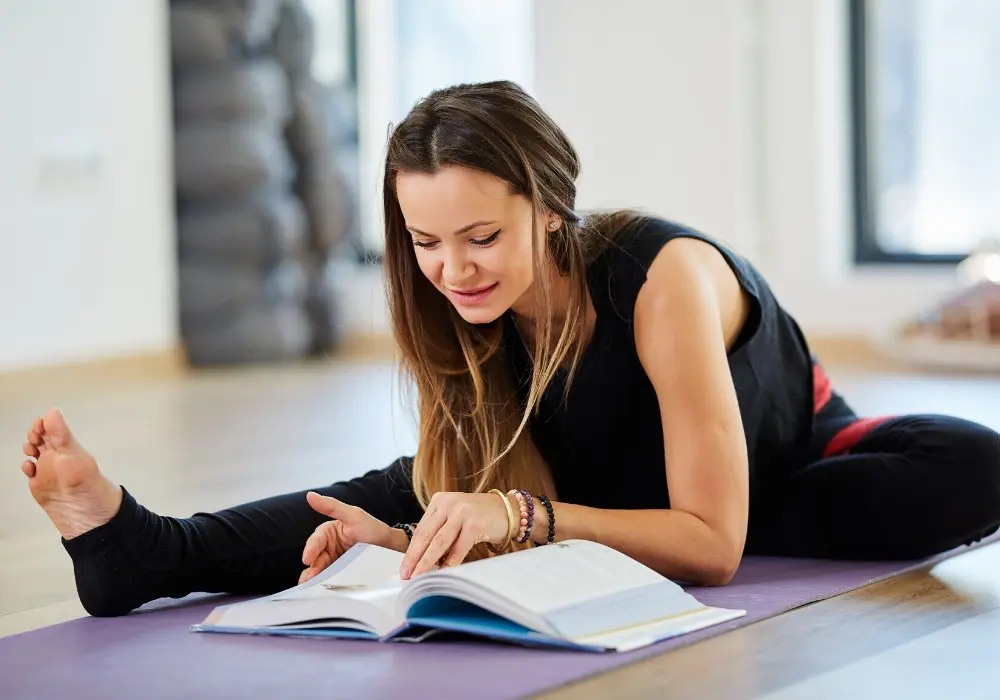
Yoga wheels are incredibly helpful tools you’ll find in most yoga studios. It may seem like just another thing to drop money on at first, however learning how to use a yoga wheel can take your practice up a notch. They are not just for yoga enthusiasts; even the average person will benefit from one. Now more than ever, the average American spends over 6.5 hours sitting, with teenagers averaging even more than that!
It’s expensive to get a gym membership and can be even more costly to buy equipment for an in-home gym. Yoga wheels are a clear exception. They can be used to strengthen, stretch, open up the body, and practice toward difficult yoga poses the pros are doing — all on a budget and from the convenience of your own home! In this article, we will quickly cover the basics and then dive into some yoga wheel exercises.
How to Use a Yoga Wheel: Yoga Wheels 101
Before diving into the how-to, let’s cover some basic info about the yoga wheel.
What Is a Yoga Wheel?
Essentially, a yoga wheel is a hollowed-out cylinder with padding along the outside. Pretty simple, right? If you are familiar with a back foam roller — similar concept. However, as you can see below, the design is wider and hollow. This helps create more space which is ideal for yoga practice.
Where Can You Get One? How Expensive Are They?
The price for a yoga wheel ranges from under $10 to over $100. Most yoga wheels employ and simple design and are reasonably priced. However, if you want to buy something a little more decorative or high-end, there are other, spendier options. A multitude of options are available from major retailers, but you can find unique designs from specialty yoga shops and some studios.
Do You Have to Be a Yoga Expert to Benefit From One?
Since it’s called a “yoga” wheel, you may think you need to be an experienced yogi to partake in the wheels’ multitude of uses. It turns out, with a little practice, anyone can use one! The basic design of yoga wheels is easy to start stretching with — acquiring the core strength and balance to master one is not. Nobody starts in peak physical condition, though, and everyone’s health journey is different. When you need to stretch out, especially if you’ve been sitting all day, the yoga wheel works as an aid to help you open your body, stretch your core, and roll out your spine.
How to Use a Yoga Wheel
Now it’s time to explain just a few of the many ways to use a yoga wheel. The applications we outline below are an introduction to how to use a yoga wheel for beginners. Master those beginning moves, and then try out our “advanced” yogi move at the end!
There are three main ways to use a yoga wheel: stretching, strengthening, and balancing.
Stretching Movements
1
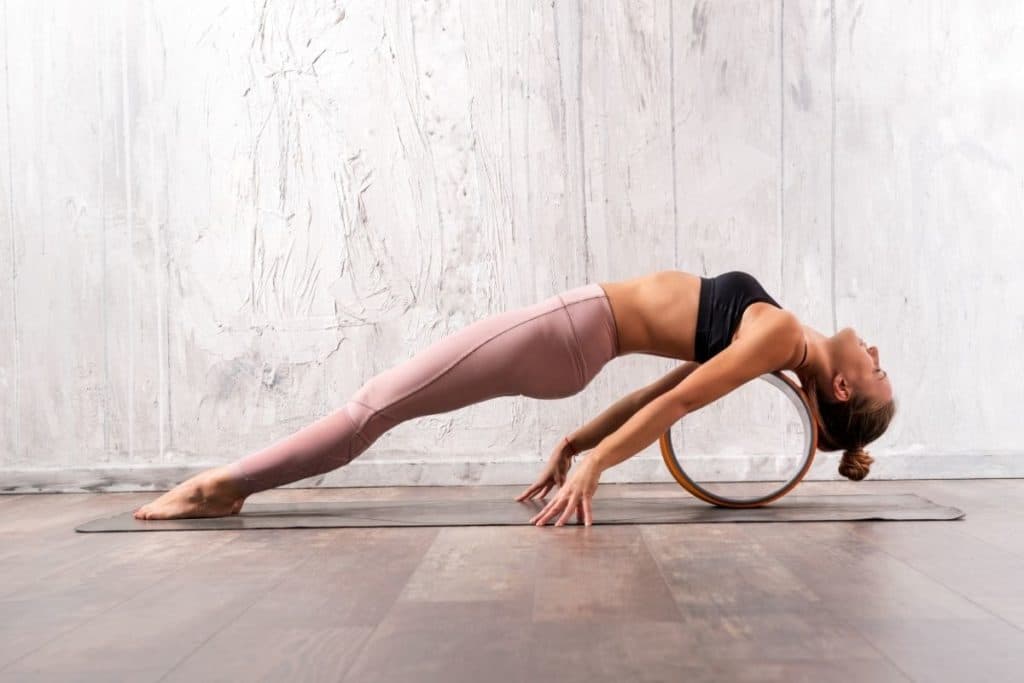
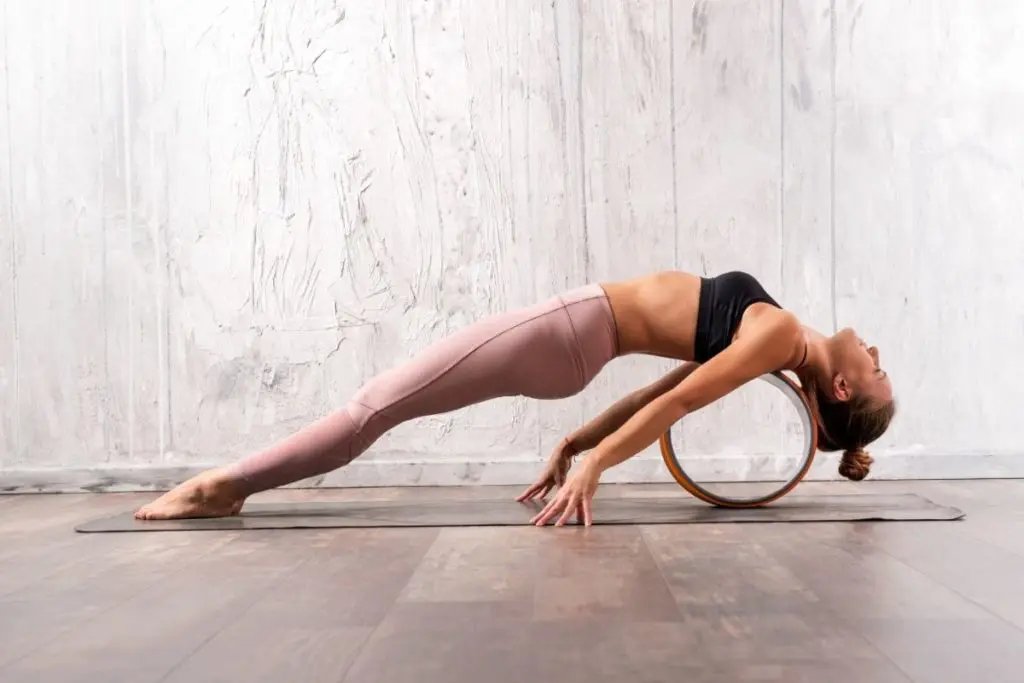
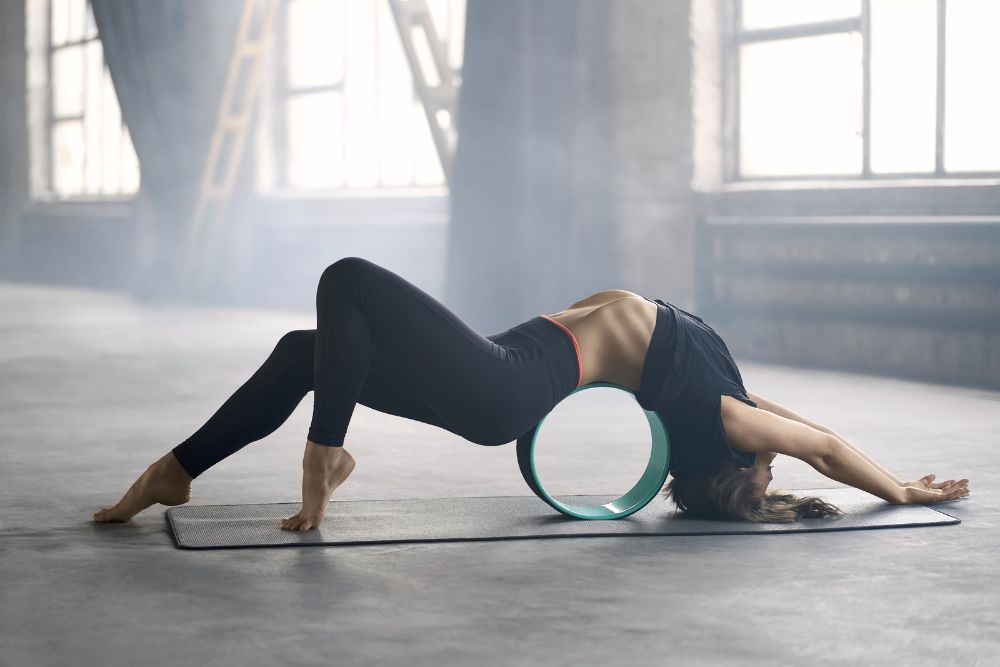
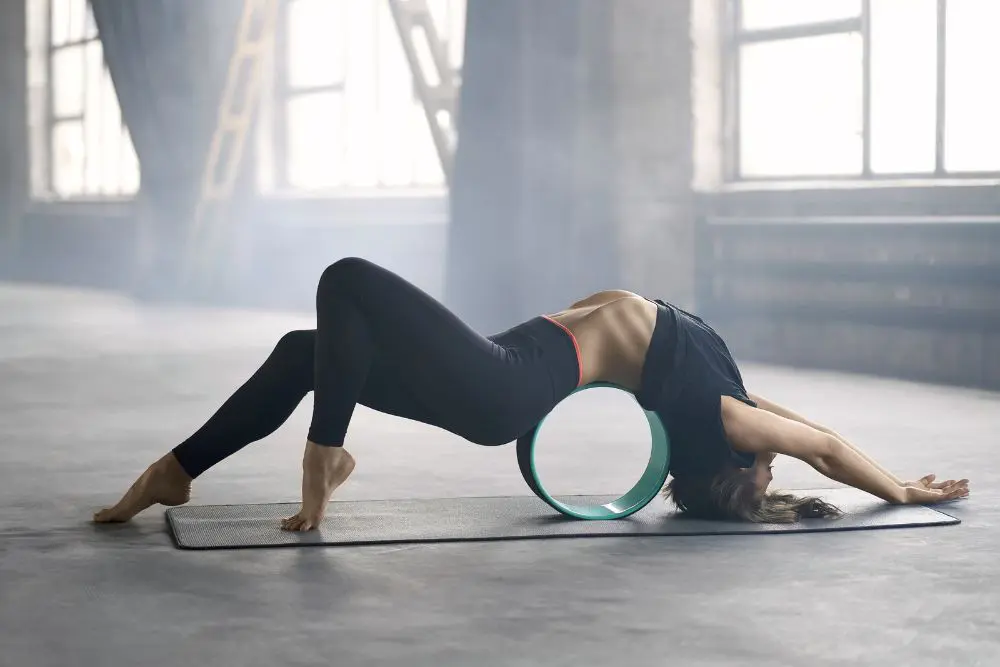
Upper Back Roll
Start by sitting on your butt. Put your legs out in front of you, bend your knees, and plant your feet on the ground. Take your yoga wheel, and lean your upper back onto it. From here, you can lift your hips up slightly, put your weight onto your feet, and roll back onto the wheel.
As you lean back, you may want to put your arms out on either side of you. If that’s uncomfortable, you can modify the position by placing your hands behind your head. Either method is okay, just be sure to use your arm placement to open and stretch your chest.
It’s important to stretch slowly. Muscles need slow and steady stretches to help them open up. Slowly roll back and forth and try stretching a little further with each roll.
Harder Modification: You can take this to the next level by reaching behind your head, and grasping the wheel. This variation will give you a great upper body stretch; the neck, head, and spine should feel less tense after this stretch. By incorporating grasping the wheel, your shoulders will receive positive effects as well.
2
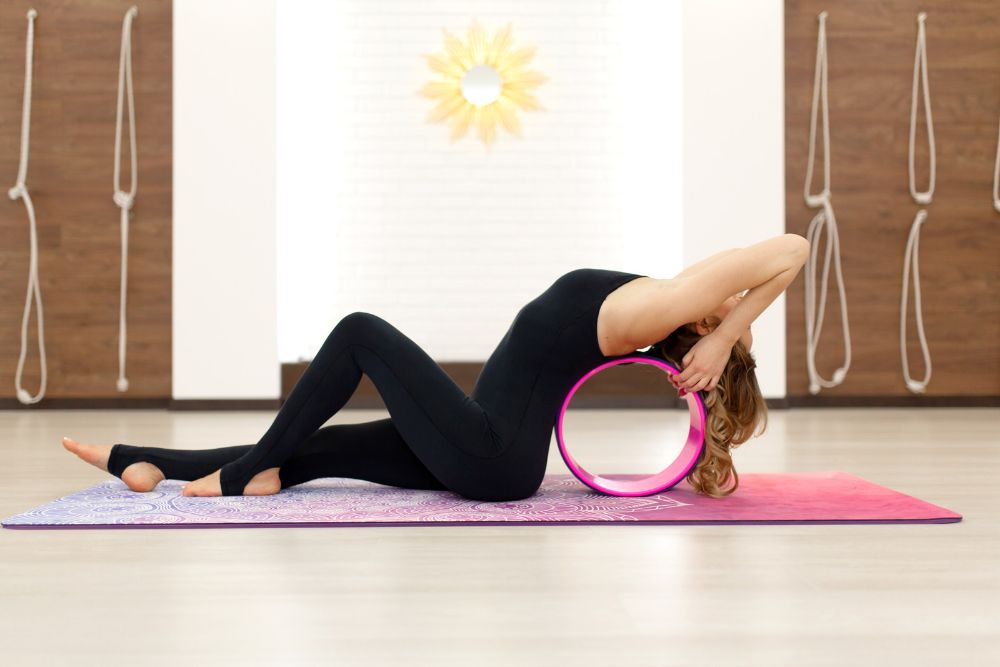
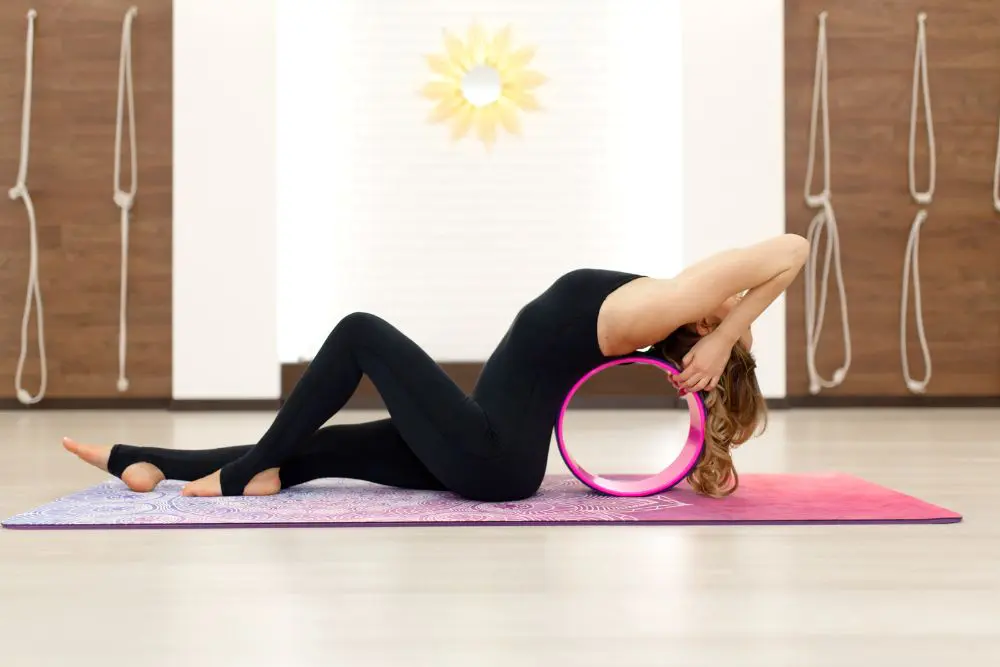
Lower Back Roll
To start this lower back stretch, you can easily transition from the upper back roll. Simply roll further up onto the yoga wheel; center the wheel on your lower back. The movement of this is similar to the upper back roll stretch above, the wheel is just lower on your back instead.
Like the previous stretch, slowly roll up and down the wheel. Remember to breathe. You can stretch for as long as you like, and you don’t even have to roll along with the wheel, you may just “hang” in the position and allow your body to relax more and more with each breath.
3
Shoulder Stretch
The shoulder stretch is a natural yoga wheel exercise. It feels lovely on the shoulders and upper back. Simply kneel, with the yoga wheel placed out in front of you. Reaching forward, rest your hands on top of the wheel, and bring your chest down towards your knees.
You should feel this in your shoulders, traps, and lats. As you ease into the stretch, you can deepen it, if you’re comfortable. Simply adjust your hand placement, by going up on your fingertips, rather than having your hands flat on the ground.
Strengthening Movements

4
Single-Leg Squat
This move is pretty simple and utilizes the yoga wheel as a support tool. To execute the exercise, start by standing up. Plant one foot on the ground, and stretch your other leg directly out to its side. Next, using the yoga wheel, rest your outstretched leg onto the wheel. Now, start squatting with your planted leg, and use the yoga wheel as support, rolling your outstretched leg along with it as you deepen your squat.
Always remember to keep your squatting knee pointing outward, rather than allowing it to cave inward.
5
Rolling Ab Crunch
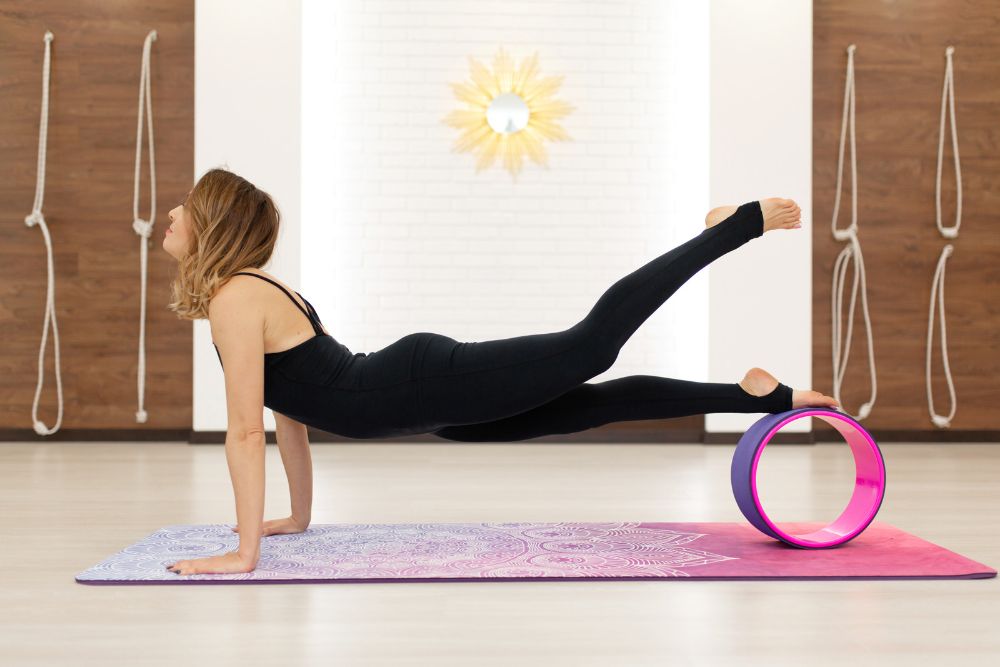
The yoga wheel is an effective strengthening tool in this exercise. Begin by putting yourself into a plank position — resting your weight onto your hands, rather than the elbows. Next, place your yoga wheel behind you, and rest your shins on it, so as to be in a full plank position.
Now, the movement is straightforward, just tighten your abs and core as you pull your knees up to your chest (or as close to your chest as you can get). Use the yoga wheel to roll down your leg from your shins to your foot.
6
Core Balance
Start out kneeling, with your yoga wheel in front of you. Use both hands, grasp the top of the wheel, and lift off your knees. Check in with your body. Make sure your weight is on your toes on one end, and your hands on the other.
Easier Modification: If your core isn’t strong enough yet, you can do this exercise on your knees rather than on your toes. Once you get comfortable with that, you can move on to the more challenging version. Regardless of which version of this exercise you do, remember to keep your abs tucked, and don’t let your back sag!
Harder Modification: On the flip side, if you get to where this is easy for you, you can add an extra movement into the mix. While you are holding the position on your toes, simply lift one leg. Hold your leg up for a few seconds (time will vary based on how difficult this is for you), and then switch legs. Squeeze your corresponding glute with each leg for a beautiful burn! This added step is also a test of balance, so don’t feel too badly if you can only hold each leg up for a second or two. You will slowly and steadily gain more stability and strength as you practice.
Balancing Movements


7
Single-Leg Wheel Balance
The single-leg wheel balance is a great move to start testing your balance abilities and to way to improve it steadily. Start by standing up with your yoga wheel in front of you. Place your left hand on the wheel, and firmly plant your left foot on the ground.
Next, lift your right leg straight out to your side — as you gain your balance on your left leg, lift your right arm above you, so that your elevated leg and core are perpendicular to your planted leg. It may help to have your planted knee slightly bent, as long as you remember to focus on it bending outward rather than caving inward.
Harder Modification: If you want to take this a step further, you may keep your right leg extended, and simply bring your right arm back down to the yoga wheel. Then, grasp the wheel with both hands. Lift the wheel so that your arms are reaching above your head, parallel to the ground.
Balancing Bonus: Advanced Yogi Move
8
The Crow Pose
This pose is quite challenging. We suggest it for more advanced yogis.
Start by setting your yoga wheel wherever you like, preferably somewhere with a thick carpeted or cushioned area, just in case it takes a few tries to get the pose right.
Next, place the yoga wheel flat on the floor and squat down behind the wheel with your feet close together. Grab the sides of the wheel with both hands. Begin leaning forward and allow your heels to start lifting off the ground. Open your knees out wide. Keep tipping forward until you are balancing over your hands and then bend your elbows slightly. Your shins should be resting against the back of your upper arms. Keep shifting your weight until all of it is off your feet and toes, and your feet are lifted in the air behind you.
I hope we answered your question about how do you use a yoga wheel. Good luck, Yogis!
Further Reading