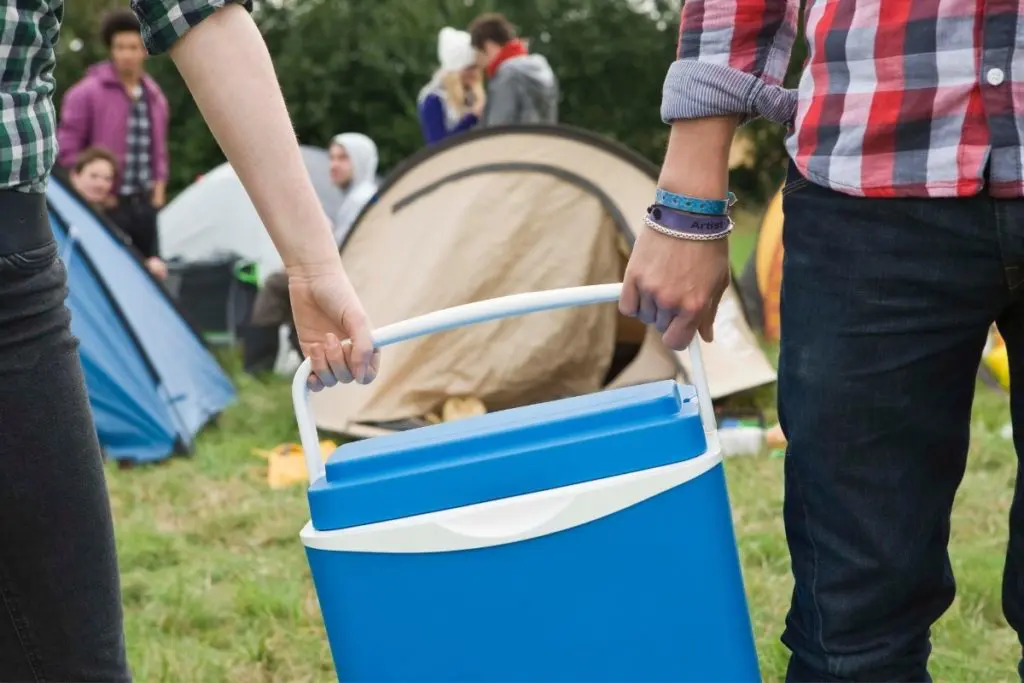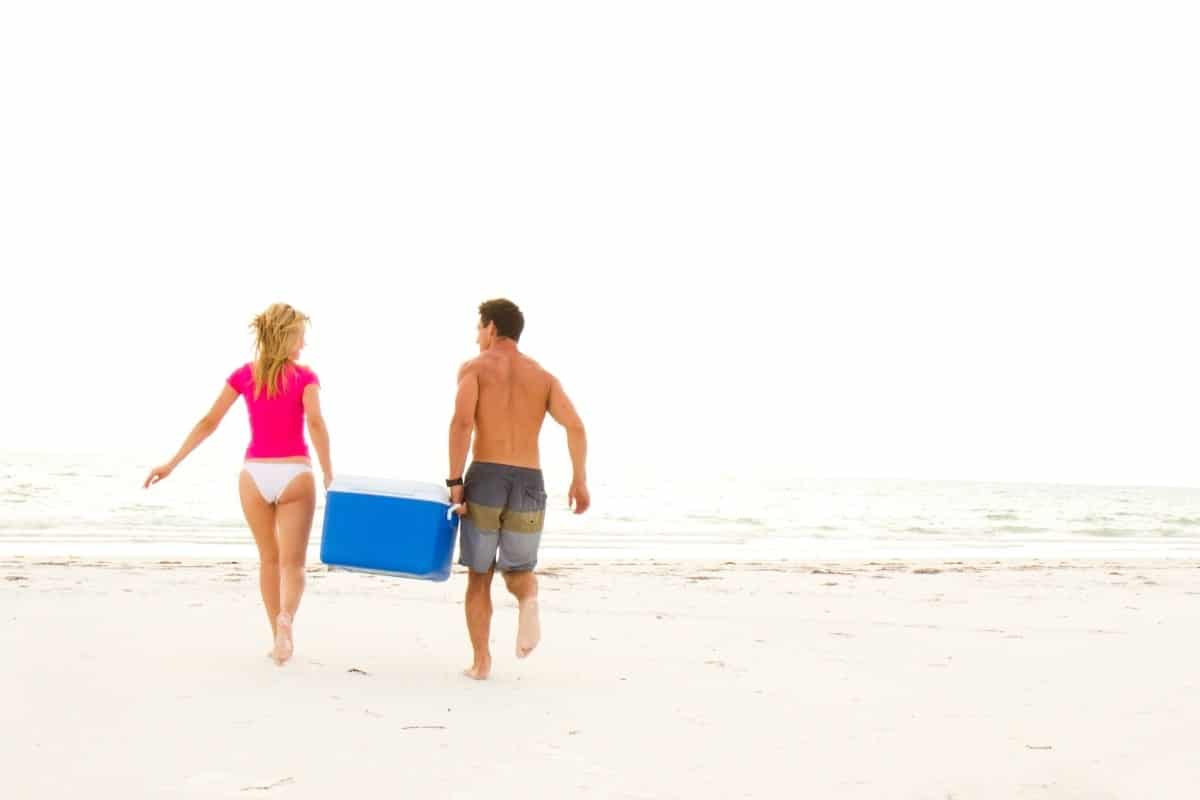
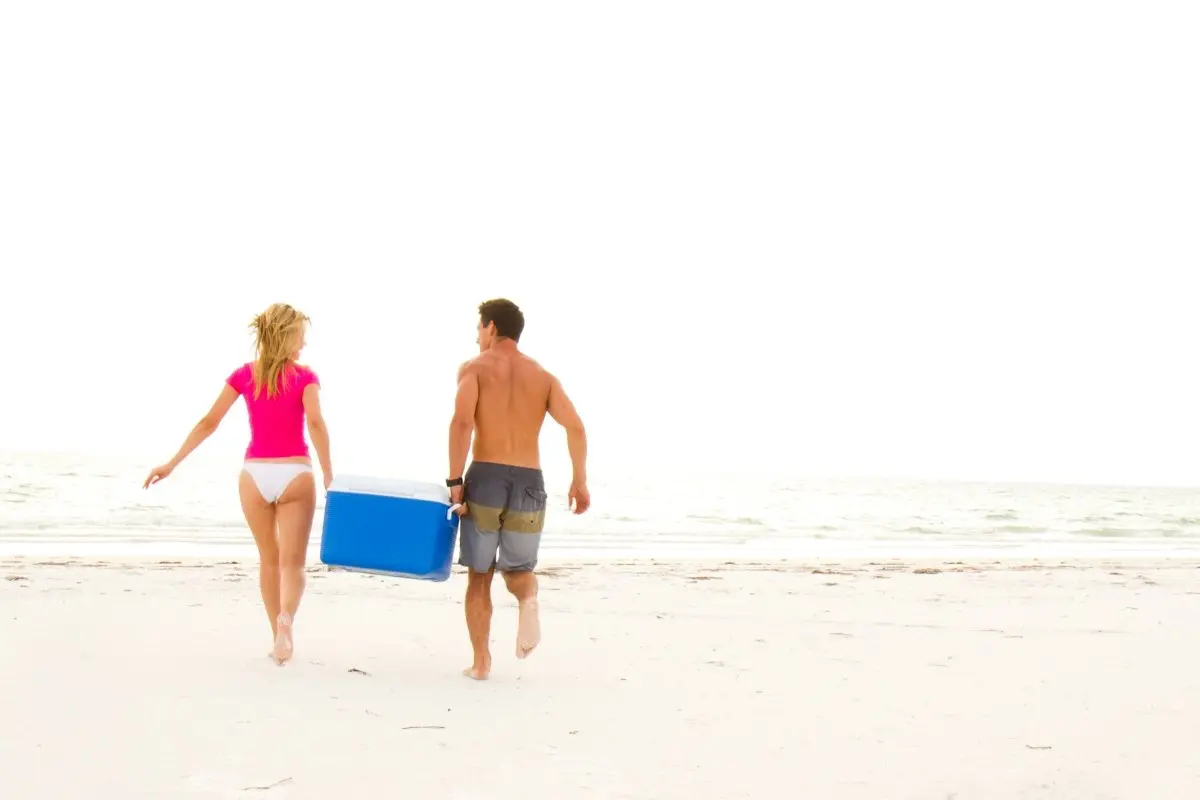
It seems like, no matter what size cooler you have, there’s never quite enough room for all the food and drinks you want to bring. Learning how to pack a cooler for camping, how to pack a cooler for a road trip, or even how to fill a cooler for a simple day at the park will help make sure you can fit everything you need to inside the small, square space. We’ve put together this handy guide so you can learn how to pack a cooler no matter what adventures lie ahead of you.
Prepping Your Cooler
First, let’s start with prepping your cooler.
1
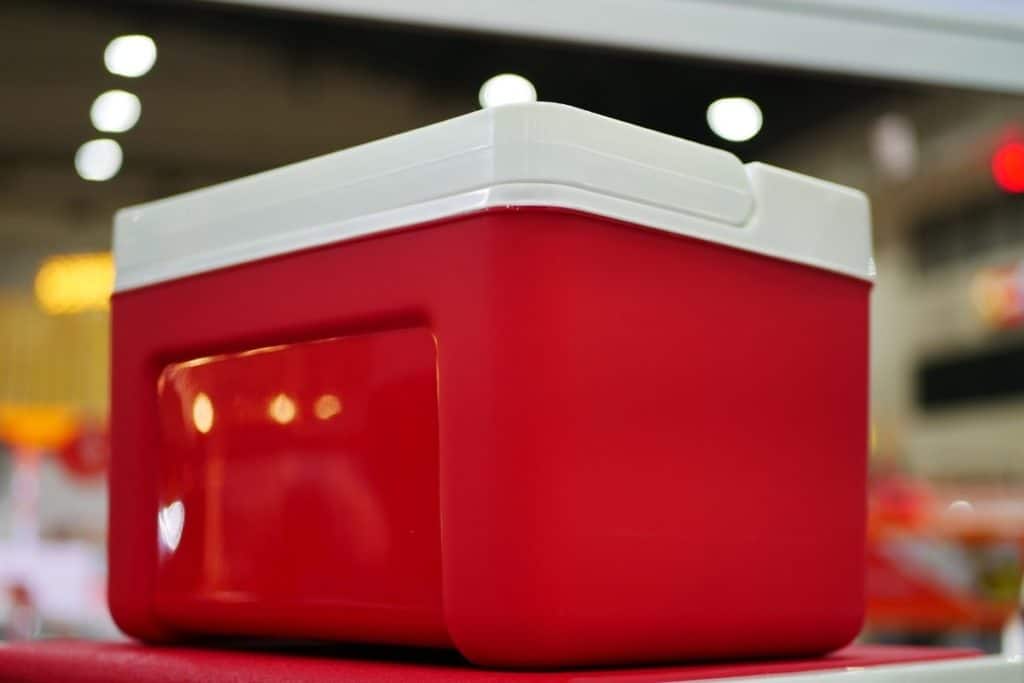
Find Your Cooler
The first thing you have to do to pack your cooler is to retrieve the cooler itself! Don’t have one already? Check our our guide on the best coolers!
If you already have one and it’s stored in an outside shed or up in a hot, musty attic, bring it inside to the air conditioning and let it cool down a bit. If you already store your cooler inside, then great!
Be sure to do this about two days before you plan to set off on your trip. This not only gives you some buffer in case the cooler is not, in fact, where you left it, but is also vital to Step Three.
2
Get Cleaning
Even if your cooler is inside the house, it’s still important to thoroughly clean the entire thing. Sanitizing the inside helps protect your food from pathogens, bacteria, and other nasty things you don’t want to be eating. Cleaning the outside helps make sure your cooler doesn’t leave dust marks in the trunk of your car.

3
Pre-Chill
Pre-chilling a cooler just means getting the core temperature of the cooler itself down. That way, it won’t contribute to the melting of ice while you’re on the road. Once you’ve located and cleaned your cooler, fill the entire thing with cold tap water (you can use a hose for this). Add a bag or two of “sacrificial ice” and close the lid—the somewhat brutal title is because you’ll be dumping it all before you pack the cooler.
Plan ahead! You’ll want to leave at a minimum of 12 full hours for your cooler to chill before you start packing it.
4
Fix Up the Food
There are many ways to help reduce the amount of space you’ll need to bring all your ingredients, snacks, and drinks. A day or two ahead of time, try the following:
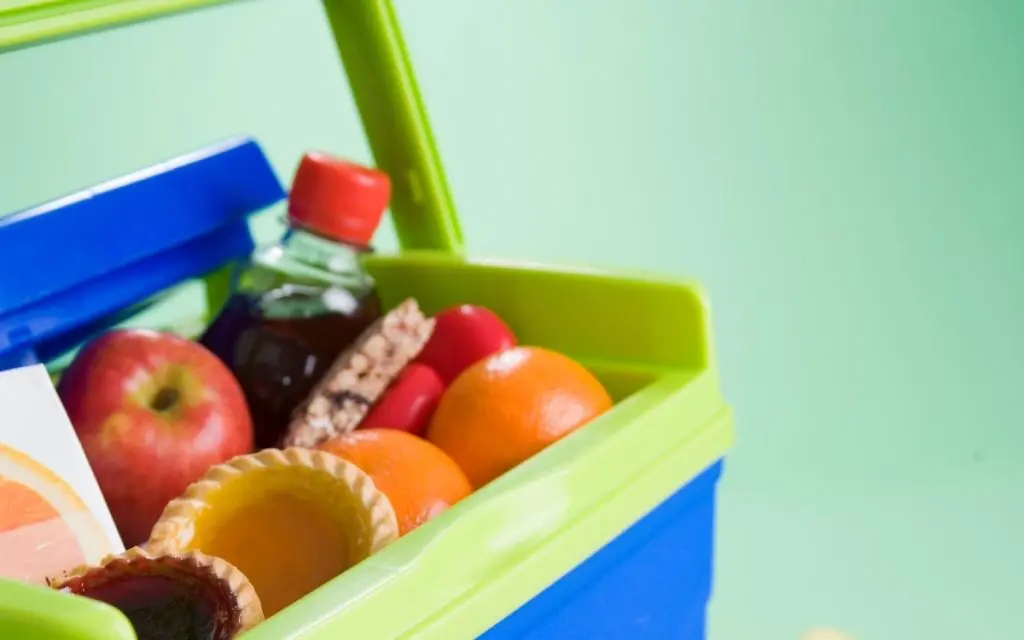
Prep Ingredients. This can look like everything from chopping up your veggies and stowing them in sandwich baggies to pouring condiments into smaller containers. You can make your pancake batter ahead of time and store it in a squeeze bottle. Mix up the marinade for your steaks rather than bringing all the separate ingredients.
Remove Packaging. This goes hand-in-hand with prepping your ingredients. The plastic and cardboard packaging from the grocery store often take up a bunch of unnecessary space. Eggs, for example — consider putting the number of eggs you need in a plastic container rather than bringing the entire delicate carton. Or better yet, scramble the eggs ahead of time and put them in a snack or sandwich bag! Rather than bringing the whole bushel of carrots, cut up only the amount you need and store them in a smaller container.
Freeze and Refrigerate. While this is super important for long trips, it can still be helpful for shorter trips, too. Any of your food that can be frozen- freeze it! You’ll need to plan ahead here; if you’ve got chicken breast planned for the third night, it’ll definitely thaw in time. Water bottles are also great for freezing, because you’re going to want ice-cold water anyway. You want all the frozen things you can get to help keep everything inside cold.
Put everything else in the fridge. And yes, we mean the potato chips and trail mix, too! You want to lower the temperature of every single thing you’re packing into your cooler, so they don’t immediately start contributing to melting your ice.
No matter how you choose to prep your food, be sure that you’re using leak-proof containers, bottles, and baggies. You don’t want to arrive at your destination only to find an incomprehensible mess waiting for you in your cooler. Meal-prep storage containers are best for this because they nestle together tightly and come in a lot of different sizes.
Packing Your Cooler
Next, let’s talk the basic principles of packing any cooler.

1
Insulate
Most coolers already come with interior insulation designed to keep cold in and hot out. However, it never hurts to add your own. This can look like a layer of crushed aluminum cans at the bottom of your cooler or a covering of old bed padding on top.
2
Layer
The most important thing to remember when you start packing your cooler is to alternate layers of frozen vs. non-frozen things. Add more ice at frequent intervals to fill all the empty space. You’ll want to start with a layer of ice or frozen items at the very bottom. Frozen drinks like water bottles are perfect for this.
On top of the first frozen layer, add non-frozen things, and then a layer of frozen. Alternate until you’ve filled the cooler. Be sure to top everything off with a final layer of frozen before you close the lid.
3
Organize
It’s tempting to pack all your meats in one corner and all your veggies near the top, but you must resist! Instead, sort your food into meals. This will help minimize the digging around needed to find everything for dinner, which in turn reduces the amount of time you’ll have the lid open. Plus, every time you move things around, you’re introducing energy (and therefore heat!) into the cooler.
Also, be sure to plan your layers ahead of time. Meals for the latter half of the trip should go closer to the bottom, while meals you’ll need for days one and two should be closer to the top.
Sandwiches and lunch accouterments go at the very top so that you can get to them the quickest. Lunch is usually eaten around the hottest point of the day, making every second of cooler excavation matter all the more.
4
Pack Another?
There is some debate on drink vs. foot storage, but the general adventuring community seems to agree that packing a separate cooler with drinks is the best way to go. You’ll need to access drinks more frequently than food, so storing them away from the food helps keep your food cold longer. Drinks are also often bulky and leave lots of space between them, which is the opposite of what you want when packing your food.
But if you don’t have two coolers, don’t worry! You can still pack your drinks in with your food. Freeze what you can, like water or Gatorade, and refrigerate what you can’t, like beer and soda. Store drinks towards the bottom of the cooler, so they don’t crush your potato chips or bread.
No matter how you end up organizing everything, be sure that packing your cooler is the very last thing you do. You don’t want to get everything settled and then have the cooler sit on your counter for an hour while you finish getting ready to go — that’s an hour of your cooler losing its cool. Get everything else prepared first, and then pack your cooler, hit the restrooms, and hit the road!
How to Pack a Cooler: Packing Mediums
Lastly, let’s look at the different mediums you can pack your cooler with.
Plain Ol’ Ice


Most people think they already know how to pack a cooler with ice. It’s simple, right? Just dump in ice after you’ve got your food in there? But that’s probably the worst way to pack a cooler with ice. Here are the golden rules:
Choose block ice, if you can, for the bottom layer. It might seem counter-intuitive, but block ice has a smaller surface area ratio to ice cubes, which means it will stay frozen longer. If block ice isn’t an option, still layer the bottom of the cooler with regular ice.
Layer ice between every layer of food or non-frozen items
Fill all pockets of space with ice. You can give your cooler a little shake every other layer or so to settle loose ice down lower. This will, in turn, reveal more space that needs more ice.
Top everything off with a final layer of ice
Dry Ice
When it comes to how to pack a cooler with dry ice, it’s essential to know that you can’t use it the same way you would regular ice. Dry ice is extremely cold and can quickly burn your skin. Wear gloves and take safety precautions while handling it. Most campers agree that dry ice is best used in addition to regular ice, rather than as a replacement. We suggest utilizing dry ice for the very bottom layer of the cooler to minimize contact with it.
Ice Packs
The same thing applies to ice packs: use them in conjunction with regular ice. The packs can be used for layering, while the regular ice fills in any gaps.
So there you have it! All the best practices you need to successfully pack your cooler for any adventure your heart desires.
Further Reading