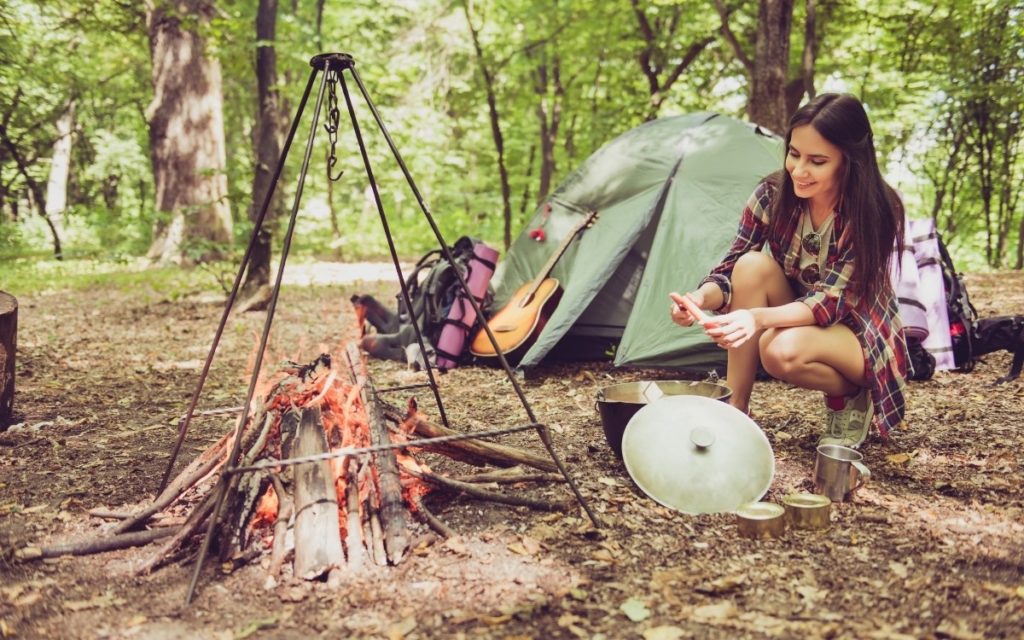
Camping is a time to leave behind the complications of the modern world in favor of the rustic comforts of nature. But if you’re anything like us, coffee is not something you’re willing to forgo. Though you won’t have the convenience of your Keurig or the extravagance of your hand-blown glass pour-over, there are still plenty of ways to enjoy a good old cup a’ joe out in the wilderness.
Ready to start the adventure? Here’s how to make coffee while camping.
The Essentials
There are a few basics you’ll need when it comes to making coffee in the great outdoors:
A way to boil water. A way to boil water may look like a campfire and a campfire coffee pot, or an electric stove and an actual kettle.
Your coffee of choice. All of our coffee-making methods require coffee grounds. You can choose whether or not you want to buy pre-ground coffee, or buy some beans and grind them yourself.
Something to drink from. Whether it’s your favorite mug with the chip in the handle or a special tin camping cup, you’ll want something to hold your bean juice so you can enjoy it.
How to Make Coffee While Camping
From easiest to most-involved, let’s take a look at ten delicious types of coffee you can make while camping.
1
Cowboy Coffee

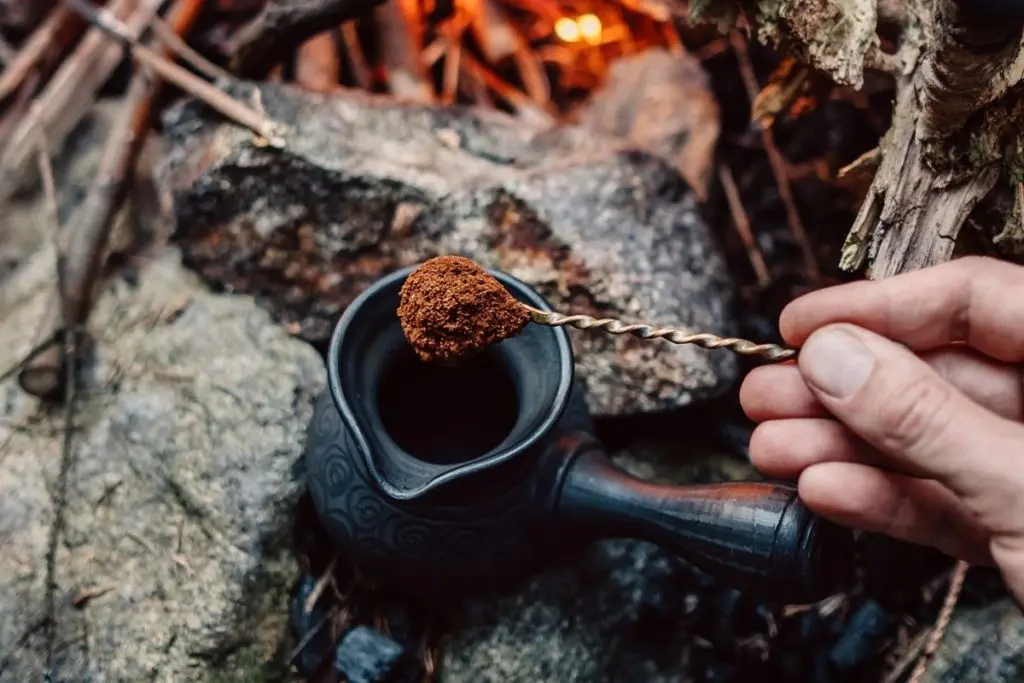
Who says learning how to make coffee while camping has to be difficult? With cowboy coffee, the only equipment you’ll need is:
- Something to boil your water with
- Something to drink your coffee from
- Your coffee of choice
To make Cowboy Coffee, follow these few simple steps:
- Boil some water
- Transfer the boiled water to your drinking vessel
- Add the desired amount of coffee grounds
That’s it. That’s all you do.
This method is the easiest way of making coffee in the woods because it requires the least amount of equipment, preparation, and execution time. However, clean-up can get a little messy, what with all the damp grounds left in your cup, and some people are put off by the added grit to their joe.
2
Instant Coffee
Though this might seem like it should be the first option, we moved it to the second because there is a singular extra step. The equipment you’ll need:
- A kettle/pot to boil water
- A cup/bowl to drink from
- Your instant coffee of choice
- Something to stir with (spoon… fork… knife… stick you found on the ground… )
The process?
- Boil your water
- Transfer that water to your cup
- Add the desired and/or advised amount of instant coffee
- Stir until dissolved
See? We told you — one extra step. Though caffeine addicts know that pretty much anything will do in a pinch, instant coffee is generally viewed as inferior to, well, pretty much any other kind of coffee. But is it actually?
3
Coffee in a Bag
Coffee in a Bag is, arguably, just as easy as the first two methods we’ve run through. Still, it’s not as widespread and may not be as readily available to everyone, which is why it ranks #3 on our list. Coffee in a Bag requires:
- Something to boil water in
- Something to drink from
- Your Coffee in a Bag of choice
What you do:
- Boil some water
- Transfer boiled water to your drinking vessel
- Open your Coffee in a Bag
- Dunk the bag into your cup
- Steep for the desired and/or recommended amount of time
- Remove and dispose of the bag
Tip: if you’re running low on supplies (or looking to save a few bucks), you can reuse Coffee in a Bag can for another cup or two.
So technically, more steps than instant or cowboy coffee, but the process is still pretty simple. If you’ve ever made a cup of hot tea, or even just seen someone brew a cup of hot tea, you can definitely make Coffee in a Bag.
As a bonus, you can even make your own Coffee in a Bag. The little pouches that tea leaves come in are available pretty much everywhere nowadays. All you have to do is fill those with a single serving of your favorite coffee, and you’re good to go! Now that’s how to make coffee while camping.
4
Coffee Sock Coffee / MacGyver Coffee


We know: those two names don’t sound remotely related to one another. The principal of this method of coffee-making is a DIY solution for those unacquainted with mass-produced coffee filters.
What you’ll need:
- A way to boil water
- A cup, mug, bowl, or other heat-safe drinking vessel
- Your coffee of choice
- A “coffee sock” (i.e., cheesecloth, clean cotton sock, or other mesh material)
- A rubber-band
What you’ll do:
- Boil your water
- Fill your “coffee sock” with the desired and/or recommended amount of coffee
- Rubber-band the “coffee sock” closed so no grounds can escape
- Transfer your boiled water to your drinking vessel
- Soak the coffee-filled “coffee sock” in your cup like you would a tea bag (or Coffee in a Bag)
- Steep for the desired/recommended amount of time
- Dispose of the coffee grounds, and either wash or dispose of the “sock”
A positive here is that you can re-use that cheesecloth or cotton sock multiple times, eliminating some of the waste associated with single-use coffee filters. The negatives here are that you may or may not be straining your coffee with Fruit of the Loom’s best.
5
Single-Serve Filter Coffee
Single-serve coffee filters function on the same principle as Coffee in a Bag and “coffee socks.” The small devices sit over your cup like a lid, but the center gives way to a little mesh bag.
The equipment:
- A single-serve coffee filter
- Boiled water
- A coffee cup or mug
- Coffee of choice
The process:
- Boil some water
- Transfer it to your cup
- Fill the mesh bag of your single-serve coffee filter with the recommended/desired amount of coffee
- Place the filter on your cup, allowing the mesh bag (and therefore, the coffee) to submerge in the water
- Steep for the desired and/or recommended amount of time
- Remove and clean the filter, disposing of the coffee grounds
Like the “coffee sock” method, the benefit here is that you aren’t using single-use coffee filters. Cutting down on waste is always a good thing, especially for those of us who like spending time in the untamed outdoors and would like them to be accessible for the foreseeable future. The downside here is that you have to clean the coffee filter after each use, which can get tedious, especially with the fine mesh bag that coffee grounds just love to hide in.
6
Pour-Over Coffee
Pour-over coffee is a similar process to what happens in your drip coffee machine back at home but through a device similar to a single-serve coffee filter. There are many different pour-over devices available, from single-serve silicone ones that attach directly to your cup, to multi-serve ceramic ones that fit over an entire kettle. You can also get collapsible mesh pour-over funnels to save space for backpacking.
Here’s what you need:
- Pour-over device of choice
- Coffee grounds of choice
- Boiled water
- A receptacle for your coffee
Here’s what you do:
- Boil some water
- While your water is boiling, attach your pour-over device to your cup (or pot or bowl, as the case may be)
- Fill the funnel of the pour-over with the desired/recommended amount of your favorite coffee (line the funnel before you add the coffee for an additional layer of protection against grounds falling through to your drink)
- When your water has boiled, gently and slowly pour it through the funnel (pour in slow, circular motions to evenly distribute the water over all the grounds)
- Once your cup is full, remove the pour-over device, clean it, and dispose of the grounds
7
Percolator
If you’re interested in investing in some camping gear specifically to make good coffee, a percolator is a great choice. For those of us unfamiliar with percolation, the process is pretty simple. As water boils inside the kettle, it’s pushed up a tube and sprinkled over your coffee grounds in the basket. The water then trickles back down into the kettle, where it boils back up again. This cycle continues until the entire pot is perfectly-brewed coffee.
The only things you’ll need:
- A heat source
- A percolator
- Your coffee of choice
The steps:
- Remove the percolator’s tube and basket insert
- Fill the percolator with water
- Add the desired/recommended amount of your coffee of choice to the basket (line the basket with a standard coffee filter to help keep grounds out of your cup)
- Return the tube and basket inserts to the percolator, and replace the lid
- Set the percolator over your heat source and allow the water to boil
- Let brew for the desired/recommended amount of time (generally 8 to 10 minutes for a percolator)
Tip: allow the coffee to rest for 2 minutes before serving, to let any wayward coffee grounds settle at the bottom, thereby minimizing their chances of making it into your cup.
Another relatively straightforward process, but one that requires additional gear that you may or may not have space for in your backpack, the budget for in your wallet, or the desire for in your heart.
8
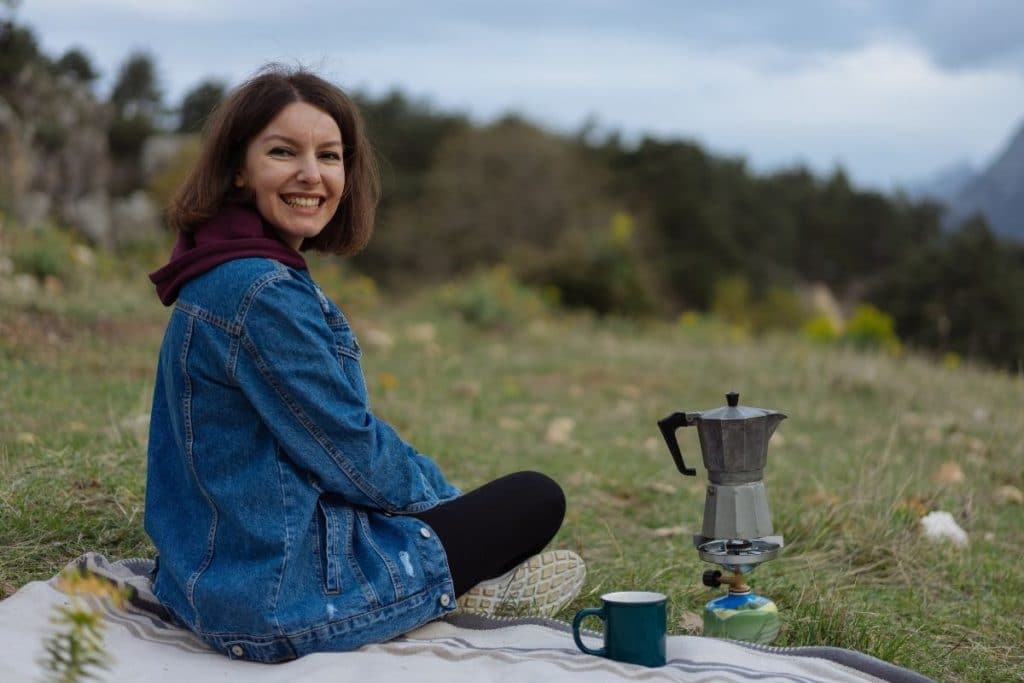
Espresso Pot Coffee / Moka Pot
Sometimes, when you need caffeine, you need caffeine. That’s why they invented espresso, right? Luckily, it’s not that hard to get espresso on the go with an espresso pot.
What you need:
- Espresso pot
- Secondary pot for boiling water
- Coffee
- Something to drink from
What you do:
- Boil water in your secondary pot
- Transfer the boiling water to the bottom chamber of your espresso pot
- Fill the grounds basket of your espresso pot with coffee (don’t compress the grounds — just level them off with your finger)
- Return the grounds basket to the bottom chamber and screw on the upper chamber
- Put the entire espresso pot on low to medium heat. If coffee starts spurting from the lower chamber into the upper chamber, the temperature is too hot!
- Watch your delicious coffee seep up into the upper chamber, and wait for that tell-tale golden honey color
- When you achieve the golden honey color, remove the espresso pot from the heat and pour some cool water over the exterior of the bottom chamber to stop any more brewing
- Transfer your coffee from the espresso pot to your cup and enjoy
This process is more involved than anything else we’ve gone through on our list, but if you worship caffeine above all else, the extra work is well worth it. The downsides to an espresso pot are that you have to clean the grounds out when, which can be a pain. Additionally, you have to make room for the pot itself, which most likely doesn’t collapse in any way. Glass espresso pots are especially troublesome, because they are liable to break in your bag before you even make it to the campsite. We can only imagine waking up to a shattered espresso pot and the reality of no morning coffee is the equivalent of waking up to shattered hopes and dreams.
If you decide to chance the Coffee Gods by bringing an espresso pot with you on your next camping excursion, we salute you!
9
Aeropress
This relatively new method of making coffee while camping has been growing in popularity over the last few years. The Aeropress device itself isn’t necessarily cheap. However, most coffee junkies are happy to pay whatever they need to for their next hit. It sounds pretty fancy, and there are a few essential steps you’ll need to keep track of.
The supplies:
- An Aeropress kit
- A way to boil water
- Something to drink from
- Your coffee of choice
The method:
- Boil some water
- Place a filter inside the filter cap, and attach said cap to the brew chamber
- Insert your coffee of choice into the brew chamber
- Set the Aeropress up over your cup
- Pour a small amount of boiled water into the chamber
- Allow the coffee to bloom for about a minute
- Pour the rest of the water into the brew chamber, nearly to the top. Make sure to pour slowly and evenly so as not to disturb the grounds but still ensure you coat all of them.
- Wait about 90 seconds — some water may drip into your cup at this point, and that’s fine
- Depress the plunger into the brew chamber slowly and gently, taking about 30 seconds to depress the plunger fully
- Remove the Aeropress from your mug, clean it, and dispose of the coffee grounds
Technical mumbo-jumbo aside, the Aeropress has some pretty great reviews indicating it makes a stellar cup of coffee.
10
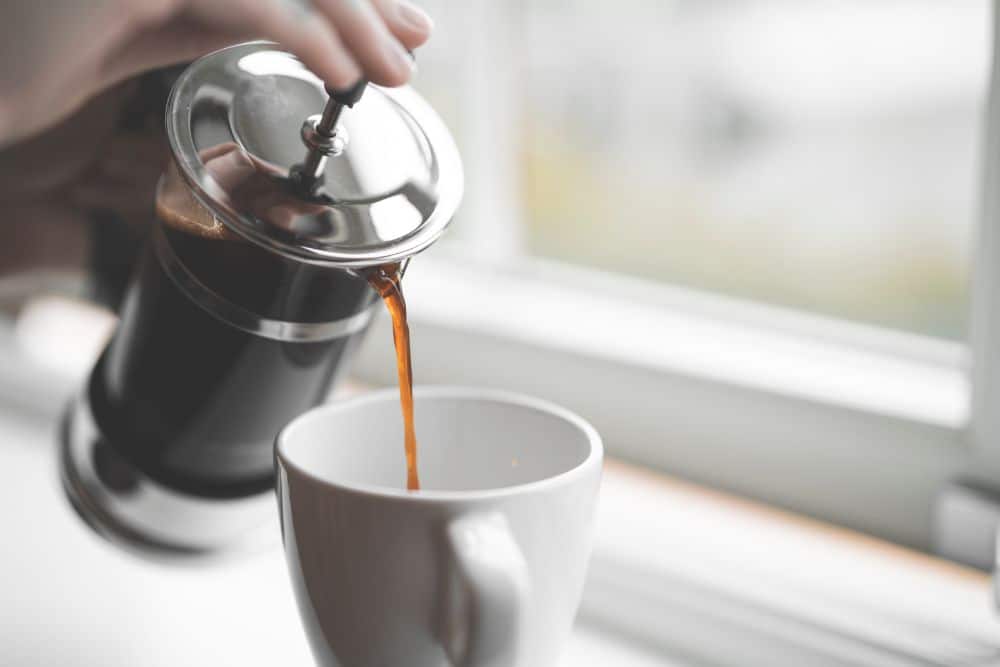
French Press
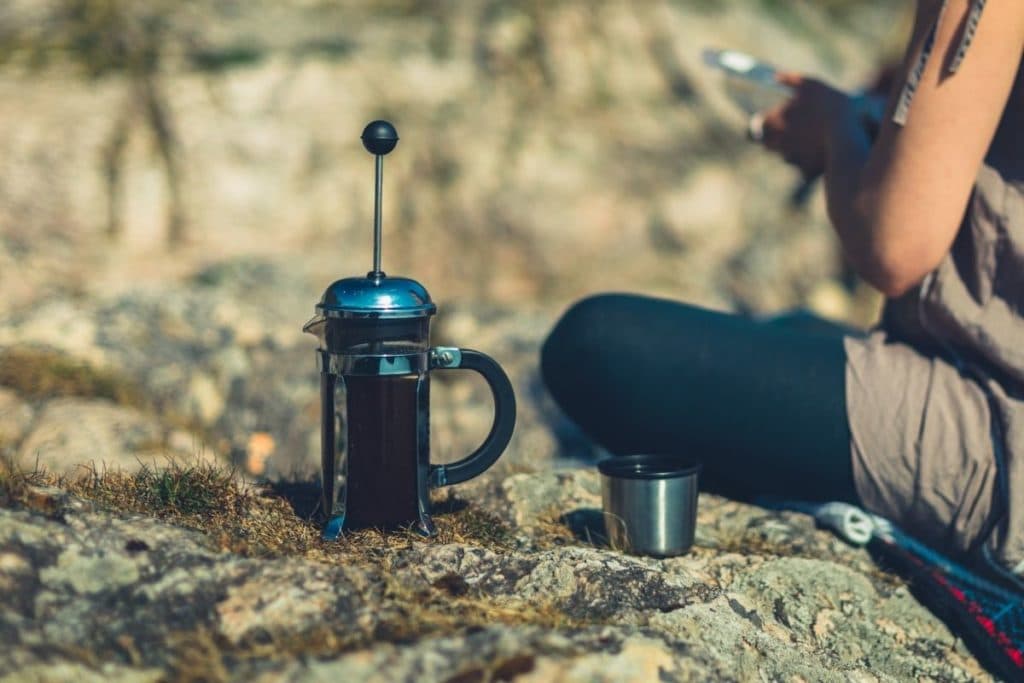

Every great coffee connoisseur has at one point tried out the acclaimed French Press, and has probably come to the conclusion that there’s something to all the hype. French Presses don’t require any electricity or fancy equipment to operate, so you can pretty quickly bring them with you. French Presses make for delicious coffee (and you can even make espresso in them, too!), but they do also require some not-so-fun cleaning.
French Presses also bring with them the same concerns as an espresso pot. Most are made of glass, making them less than durable for the outdoors. Even a camping French Press (usually made of metal or plastic) can be bulky to pack, taking up a large chunk of space in your bag.
But, if you want to risk it, here’s what you’ll need:
- A French Press
- A way to boil water
- Something to drink out of
- Your coffee of choice
Here’s what you’ll do:
- Boil some water
- Pour the desired and/or recommended amount of coffee grounds into the French Press (use fine-ground for best results)
- Gently pour a small amount of the boiled water into the French Press. (allow the boiled water to sit for about 30 seconds after boiling to prevent burning the grounds)
- Wait a minute to allow the coffee to bloom, and then pour the remainder of the water into the French Press. Pour in slow, circular motions to evenly coat the grounds and avoid stirring them up
- Cover the French Press with the plunger and allow the coffee to brew for the desired/recommended amount of time
- Gently depress the plunger to the bottom to trap all the grounds
- Pour and enjoy
And there you have it, folks. A semi-comprehensive list of how to make coffee while camping. Go forth and enjoy, fellow caffeine cadets!
Further Reading