

There are approximately one million drone registrations, and this number is growing. However, with the increasing cost of drones, many people are eager to know how to build a drone from scratch. Plus, the high cases of drone crashes make a DIY option a good idea.
What’s the Big Deal with Drones?
Drones are aerial vehicles that have been in use for decades in the military. In the recent past, they’ve become common gadgets for civilian consumers because of the first-person view technology behind them. Hobbyists have now been presented with unique flying experience.
Today, advanced drones come with built-in GPS receivers that make navigation easy for users. Most drones, however, don’t have this feature. But they still allow you to take stunning photos and videos. Owning a drone doesn’t have to cost you a lot. You can easily design one for yourself and this post will show you how to build a drone for personal use.
Let’s get right into it!
Where to Start in Building a Racing Drone
Building a drone can feel like an intimidating task. There’s a lot of information you need to wade through. Once you understand it, the rest of the process will be easy to maneuver. The process involves many steps, and here they’ve been broken down for quick comprehension.
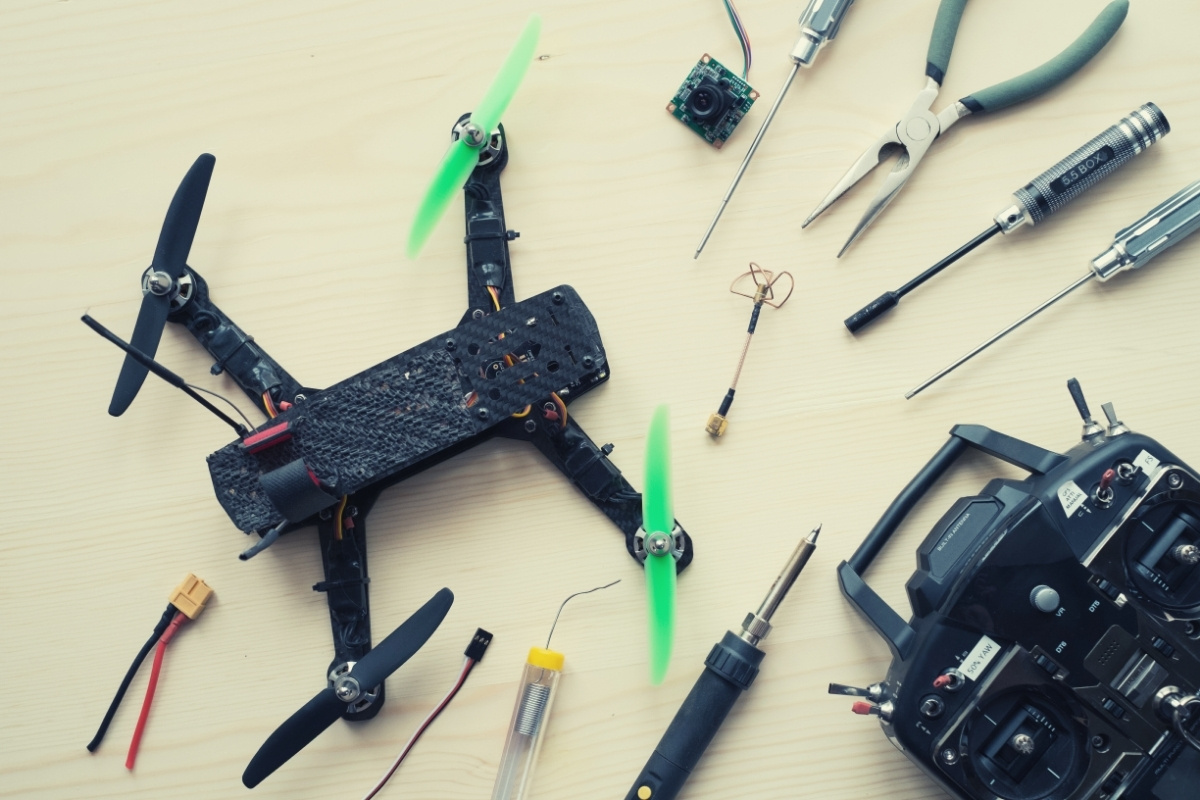
Basic Drone Components
There are components you need to gather before you start assembling your drone. Most of them are items you can source locally.
Frame
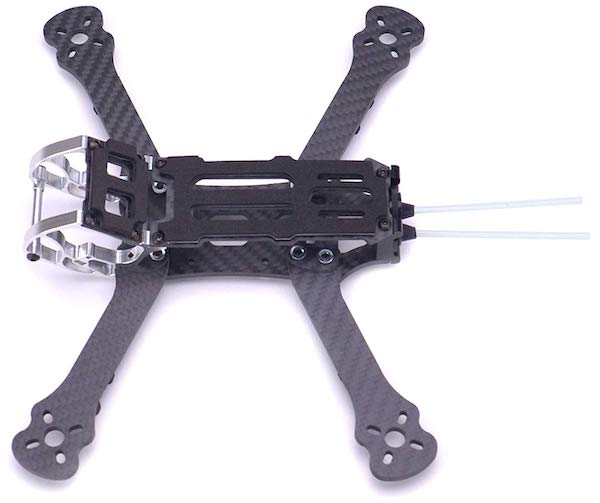
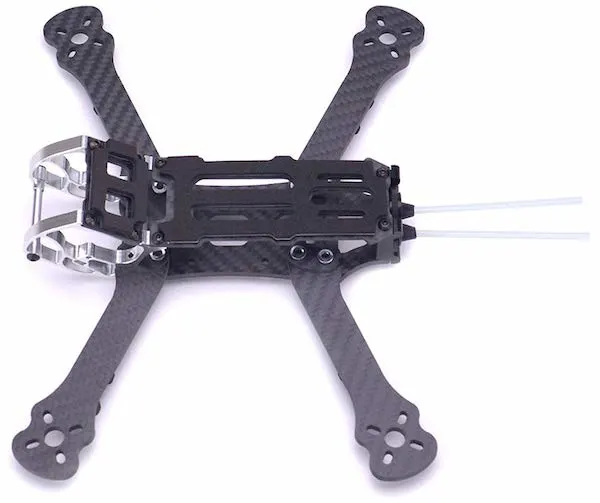
There are two options when it comes to drone frames. You can buy one from an online store or build one yourself. If you’d like to have a high-quality frame, it’s best if you buy a ready-made one. If your preference is to make one from scratch, you need to have some engineering knowledge.
You also need to know the materials to use. Some of the best are light metals, wood slats, or plastic. A wooden frame will require a 2.5 cm thick wood board.
Motors
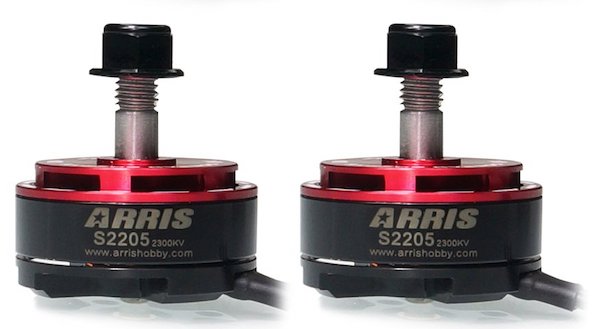

The motor is the part of the drone that propels it off the ground and flies it in the required direction. For a standard drone, you’ll need four motors, but an octocopter requires eight motors. Two types of engines are brushed and brushless.
Brushless motors are the best choice as they’re lighter on the battery. If you’re not familiar with engines, ensure you buy them from a store that specializes in motors.
Batteries

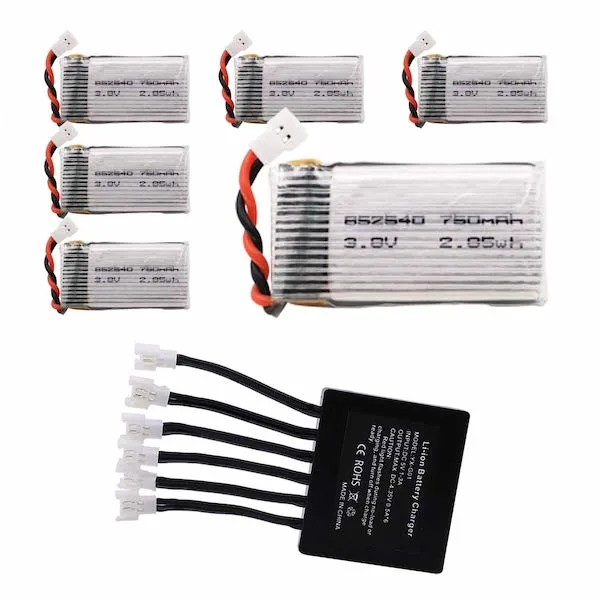
One factor to consider when buying batteries for your drone is the battery capacity. If you want to know how to build a drone, it’s advisable to use Li-Po batteries because their power varies. You also need a battery monitor, which is not at all elementary.
A battery monitor warns you when the batteries are almost running out of power. By monitoring the level of your cells, you avoid the risk of having your drone stuck in non-accessible areas.
Camera
A drone is not complete if it can’t capture what it’s intended to record. When choosing a camera, you need to check the specifications. You want one that can record high-quality 4K videos. Consider getting a gimbal for the camera so that it only produces high-quality images.
A camera will also work well with a USB key. Depending on the settings, you can save the images as soon as they are taken. The USB key is for this purpose.
Mounting Pad
The purpose of the mounting pad is to reduce the vibrations, which in turn improves the flight. This is especially very important if you’re recording videos or taking highly professional photos.
Controller
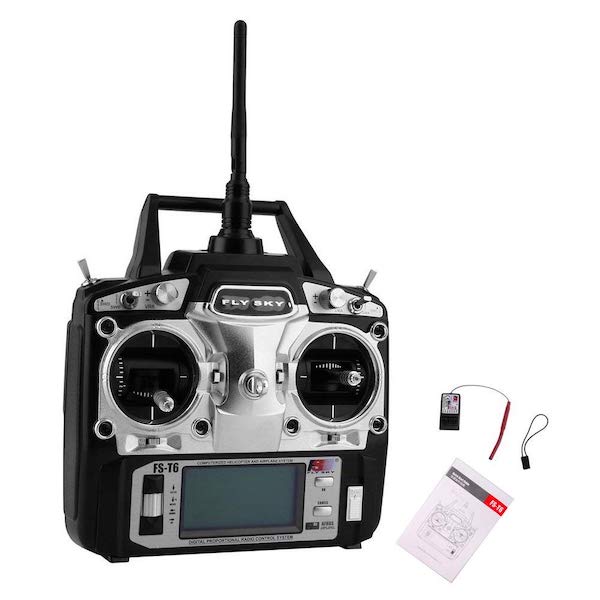

Your drone won’t be of any use to you if you can’t control its movements. You should be able to command the motors to ensure it remains in the position you desire. Together with the controller is an RC receiver mounted on the drone.
It works with the transmitter which remains with you when the drone is out on its mission.
Propellers
The best propellers are those that match the frame of the drone. If your frame is wooden, it’s unfortunate that you won’t get wooden propellers. You can still get propellers that are a good fit for your wooden frame.
Power Distribution Board

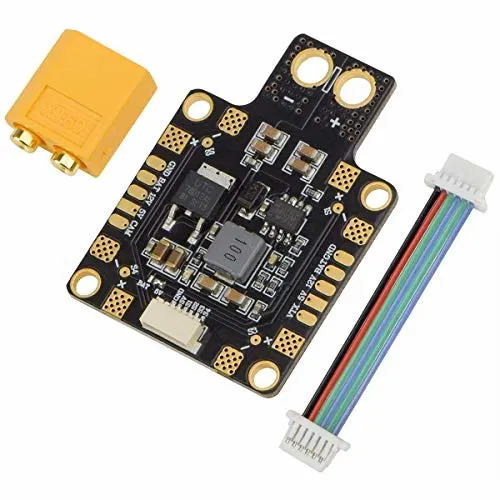
This is the center where all the electronic speed controls are connected to the battery. Get its features right depending on the type of drone.
Connectors
You need 3.5mm and 4.5mm connectors. The 3.5mm ones are for welding the motors and ESCs. The 4.5mm connectors will be used in the power distribution board.
These are just about the various drone components you’ll need to have a functional device. Other essential parts are a battery charger, AWG silicone wires, zip ties, lead wire cables, and thread locking compounds.
How to Assemble the Parts
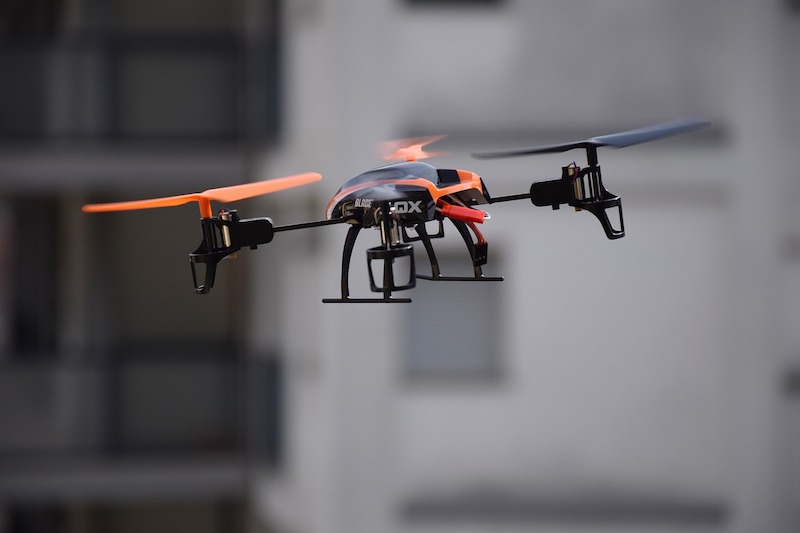
The type of drone you assemble depends on your preferences. However, the most commonly used model is the quadcopter. It flies easily, and here is how to build your own drone of that type.
Step 1
The first step is to assemble the frame. It comes packed as a series of carbon fiber parts. Keep in mind which components of the drone go where on the frame to ensure you get the assembly right.
- Avoid tightening screws too hard as this will strip the internal threads.
- As a tip, use a small dab of ribbon on each screw to keep the screws in position.
Step 2
Mount the PDB next, since everything else connects to it. Think about the direction you want it to mount. The primary consideration should be where you’ll position the battery and USB connector. Use nylon or rubber standoffs to fix it through the board.
Step 3
Mount the motors and pay attention to the direction they follow. Some of them will take a clockwise and others an anti-clockwise order. You can fix them in position using screws, but a thread locker is a better idea.
Step 4
After mounting the motors, the ESCs come next.
- If you’re working with four separate ESCs, it’s best to fit them on the arms.
- Avoid bringing them into contact with the frame.
- You can use double sided tape to place them in position and wrap them in electrical tape afterward.
- If you’ve got a four-in-one ESC, directly mount it on the frame in the same way as the PDB.

Step 5
Once the ESCs are in place, you need to start soldering. The first point of soldering is the motor wires that need to be connected to the ESC pads. The order of motors doesn’t matter since you can change it through software.
You also need to connect the ESC to the PDB. The positive and wires connect to their respective pads.
Step 6
The power system is ready, and it’s time to do the first drone test. Testing at this point is necessary to prevent the drone from blowing up later. The information you gather will be useful in quickly finding faults in the future.
The most critical test is to check for any shorts using a multimeter. A beep on the meter indicates a short circuit. Inserting a battery will damage the drone.
Step 7
Mount the FPV system, which refers to the camera and VTX. Mount them before powering up the drone. Cameras come with connectors, so this step should be easy. The frame should have a designated place for the camera.
- Carefully consider the angle of the camera, starting at an angle of around 15 degrees. You can adjust the angle with time and as you get used to your drone.
- Mounting the VTX is a little technical since the frame has no designated spot.
- Look at the position that best works for you either at the top or bottom of the frame.
Step 8
It’s best to power the camera and VTX independent of the PDB. This allows for a neat connection to the flight controller. The two devices should come with positive and negative wires for power.
Mount them to their respective pads, using a single pad for two wires if need be. Connect the video signal (yellow wire), and your system is ready to go.
Step 9
At this point, don’t proceed to anything else before testing the FPV system. This will help determine if the video antennae are well connected. If everything is in order, you should get LED illumination on the VTX. Take this opportunity to reset the camera to the best position by twisting the lens and locking it into place.
- Once these components are in position, mount the receiver and power it. Ensure the antennas are well positioned for the best signal. Bind the receiver in place.
- Wire the flight controller, which is the heart and brain of your drone. All the signal wires will be connected here. The controller should come with a diagram to guide you on which wire goes where.
- The final touches in getting your own drone include fitting a camera mount, completing the frame and heat shrinking any extra components. Theirs is also software configuration, which you can achieve by installing a software configurator.
- Finally, do the final test before letting out your drone to achieve its purpose. This time you’ll test the flight controller orientation, receiver channels, motor radiation, arming, and failsafe.
How to Build a Drone – Final Thoughts
The above guide on how to build your own drone comes in handy if you’d like to DIY. If you get all the necessary components, the assembly shouldn’t be complicated. Keep testing the performance of each element before powering it up.
Once you’ve assembled the drone and it’s working correctly, it’s time to set it out on its mission. Have fun with video recording and photo taking.