Vacuum sealers can be one of the most useful tools in your kitchen. They can help your food last for several weeks longer than non-vacuum sealed food, saving you time and money. Both liquids and solids can be vacuum sealed in bags or jars. However, before you set off using your vacuum sealer, there are a few things to make the process go smoothly. This article will teach you how to use a vacuum sealer correctly and about the different types of vacuum sealers on the market. We’ve got vacuum sealer ideas plus tips and tricks to get you started.
Vacuum sealers may look intimidating, but they are shockingly easy to use. Once you’ve found the vacuum sealer that will work best for your purposes, it’s time to get sealing. If you’re new to using a vacuum sealer, keep reading. With a little better understanding of using them optimally, you’ll be a pro in no time.
Here is everything you need to know about ways to use a food vacuum sealer.
What Is Vacuum Sealing?
If you’ve never used a vacuum sealer before, you might be wondering what about these devices makes them so valuable. A vacuum sealer’s primary purpose is to preserve food by protecting it from mold or bacteria growth by blocking out oxygen. This also gives food extended shelf life. It gives you the opportunity to save time and money by purchasing food in bulk, vacuum sealing it, and storing it away for future use. Vacuum sealed foods maintain the same flavors over extended periods of time that regularly sealed and stored foods cannot.
In short, vacuum-sealed foods have the potential to save you time and money while preserving the quality of the food for an extended period of time.
Types of Vacuum Sealers
The first thing to note about vacuum sealers is that there are many to choose from. They come in several shapes and sizes, each with a slightly different use. Depending on what you are hoping to seal, it’s important to choose a vacuum sealer that is fit for your precise needs. These are the different kinds of vacuum sealers.
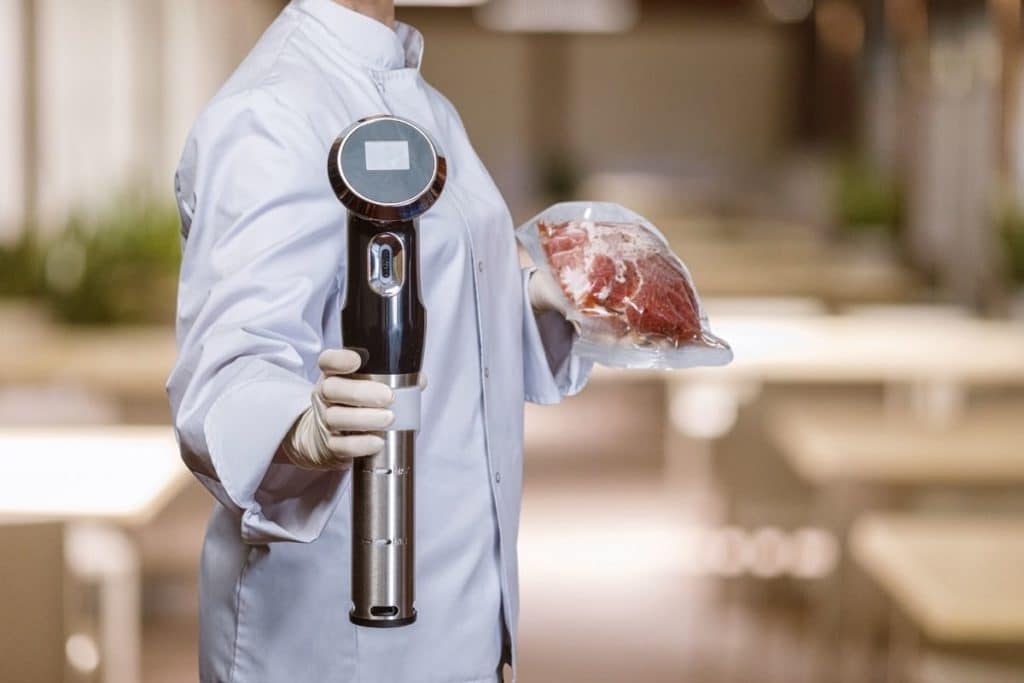
Sous Vide Vacuum Sealer
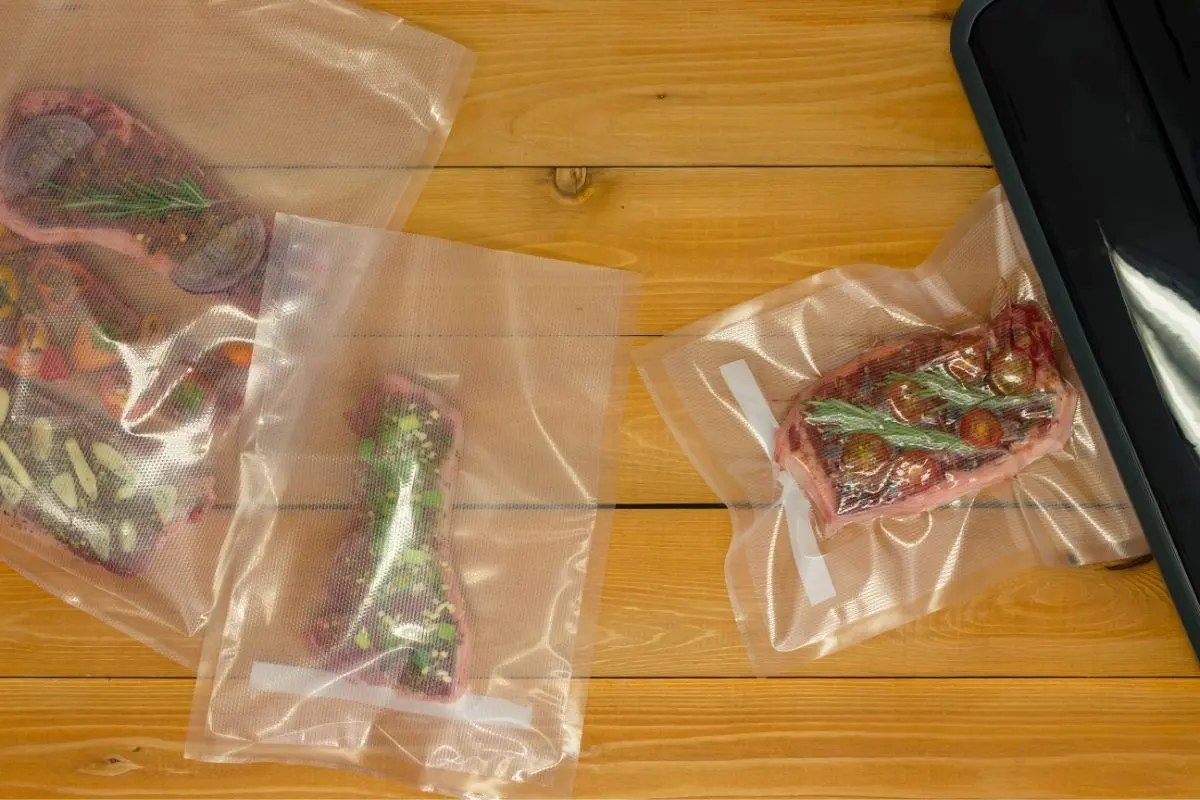
While a vacuum sealer is not pertinent for sous vide, it certainly is useful. Sous vide translates to “under vacuum” in French. It refers to vacuum sealing food in a bag then cooking it in a bath of water at very high temperatures. This is a unique cooking method whose final results you cannot replicate with any other technique. It is possible to sous vide food in bags or jars that haven’t been vacuumed sealed. However, ideal results come from these containers having first been vacuum sealed. Vacuum-sealed foods maintain the freshness that foods without such sealing lose over time. This is particularly ideal if you’re sous viding meat or fish. The process allows for a more thorough and balanced cook while keeping its original juices and flavor.
Chamber Vacuum Sealer

Chamber vacuum sealers are one of the two main types of vacuum sealers you’ll see out there. They look like a box and differ in use from the standard suction vacuum sealer. Where suction vacuum sealers are ideal for solid food, chamber vacuum sealers are perfect for liquids.
Chamber Vacuum Sealer Tips: If you’re looking to vacuum seal soups, marinades, or beverages, a chamber vacuum sealer is going to work best for you.
Instead of removing air from the pouch as suction vacuum sealers do, chamber vacuum sealers remove air from the entire chamber, which creates equal pressure on both the inside and outside of the container. This helps preserve the liquid and keep it firmly inside its container.
Suction (or Bar) Vacuum Sealer
The aforementioned suction vacuum sealers are the most common type of vacuum sealer. Their process is simple: they suck all the air out of the bag, creating an airtight seal to preserve food. It’s ideal for solid foods like meats, leftovers, and coffee beans. Some people even use suction vacuum sealers for non-food items like seasonal clothing, bedding, and more. Suction vacuum sealers are small machines with a series of buttons that allow you to select to lock, vacuum, seal, or unlock the bag. They are easy to use with the single press of a button.
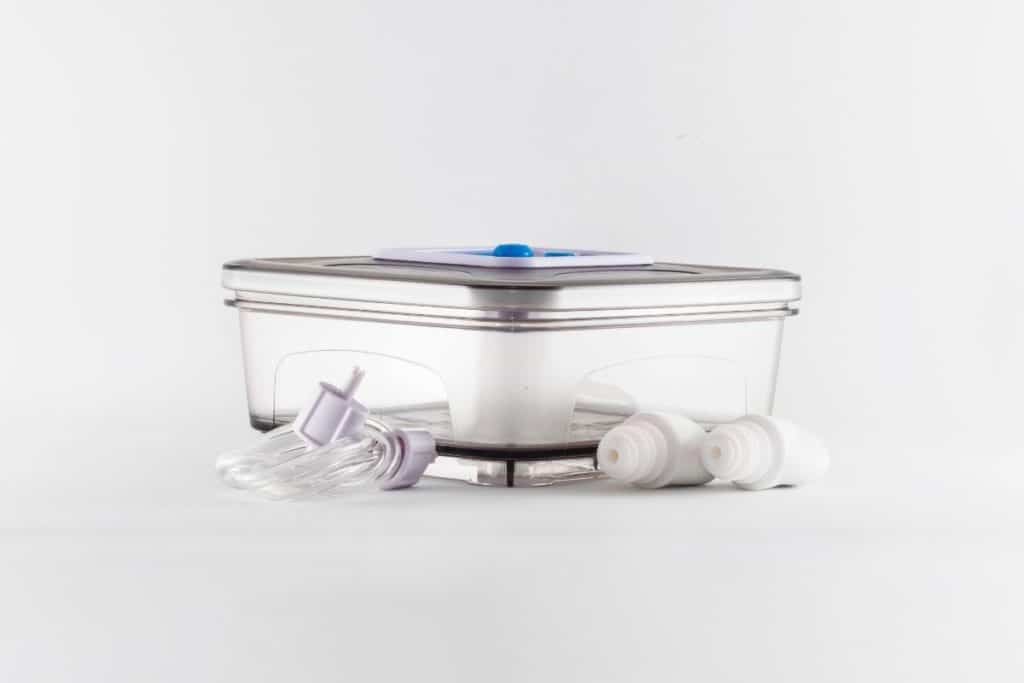
Jar Vacuum Sealer
Jar vacuum sealers come in a variety of sizes, but they all work basically the same. They are effectively a hose and canister that are attached to a regular suction vacuum. You simply place the jar you wish to vacuum seal inside a canister, connect the hose from the suction vacuum sealer to the canister containing the jar, and start the seal. It’s important to note that you cannot vacuum seal jars with plastic lids. Also, do not try to vacuum seal sugar or something else that relies on oxygen. You’ll only have a solid brick at the end of the process.
If you can’t find a canister that is big enough to hold the jar you want to seal, a handheld pump is also an option to seal jars.
Handheld Vacuum Sealer
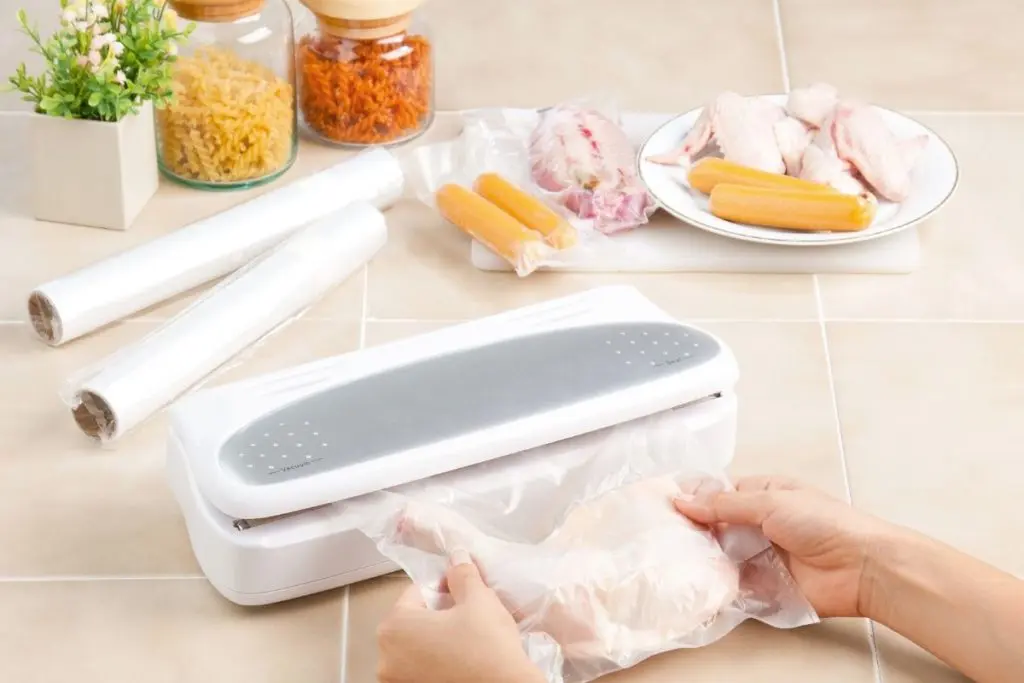
Handheld vacuum sealers are the budget option for those not interested in investing in a standard vacuum sealer. They take up less space but still successfully suck all the air out of bags. Unlike the best countertop vacuum sealers, handheld vacuum sealers come in a wide variety of styles. Some are manual, while others are electric.
Handheld vacuum sealers are easy to use. Press their tip to a hole on one of the top corners of the bag you wish to suck the air out from. Then, depending on your style of handheld vacuum sealer, you’ll either push a button or use a pump to remove the air.
How To Use A Vacuum Sealer

While the exact usage of each vacuum sealer might differ between styles and brands, they all work fundamentally the same. So, how do you use a vacuum sealer? Keep reading to find out.
1
Step 1:
Make sure you have the right vacuum bag. One of the easiest places to make a mistake with vacuum sealers is using the wrong bag for the style of food or machine you’re using. You can’t use standard plastic bags – you must use true vacuum sealer bags.
Secondly, make sure the vacuum sealer bag is the right size for the food you are vacuum sealing. Bags that are too small will leave you with a huge mess to clean, and bags that are too large are a waste of space. This same advice goes for vacuum sealing jars. Be sure the jar or container is good for vacuum sealing use.
Vacuum sealer filler bags tips: Buy a roll of bags that you can custom cut and seal to fit. Then you always have the right size!
2
Step 2:
Depending on what kind of food you’re vacuum sealing, some preparation might be needed before you can actually seal the bag.
For fish and meat, make sure you’ve removed any bones or fat you don’t intend to cook. Think of the food you’re vacuum sealing as ready to cook when you remove it from its bag. A helpful trick for meat with bones, uncooked pasta, or other food with sharp edges is to wrap it in a soft item like a paper towel. This will help prevent the sharp edges from poking through the bag.
If you’re vacuum sealing liquids, do yourself a favor and freeze them first. This will prevent what could turn into an incredible mess.
3
Step 3:
Now, fill the bags with their contents. Allow three to five inches of empty space at the top of the bag. This helps ensure a good seal will last for a long time. Feel free to include any garnishes like lemons, butter, or herbs that you might use when cooking the contents, especially for foods like meat and fish.
4
Step 4:
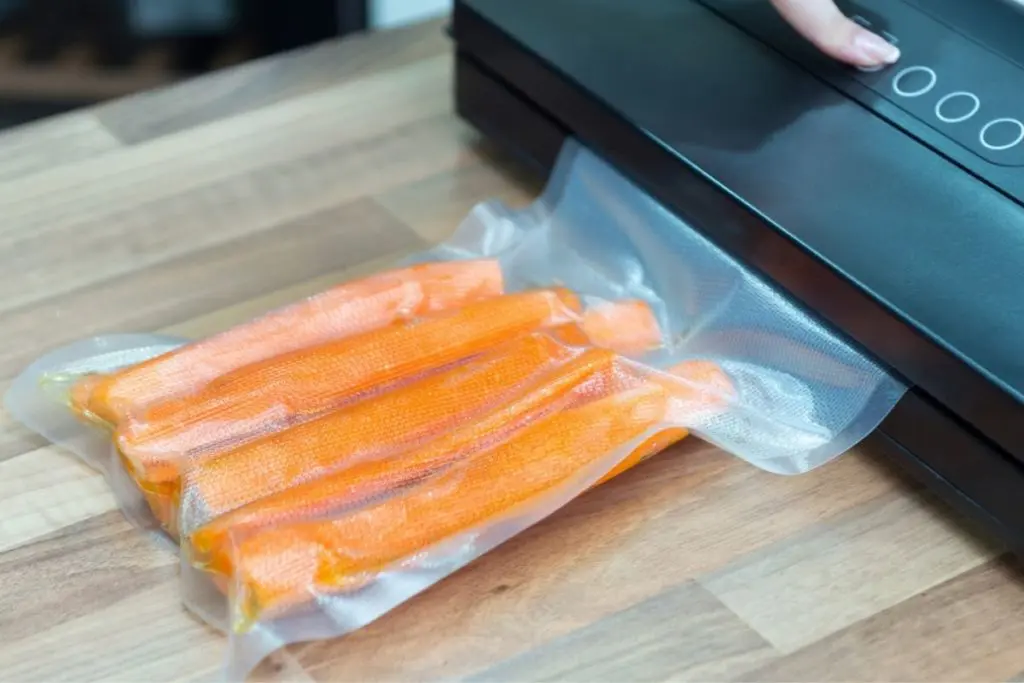
The next step is the one you’ve been waiting for: vacuum sealing your food. Lay the bag you plan to vacuum seal flat on the counter. If you’re using a bar vacuum sealer, you’ll place the opening of the bag into the sealing strip of the vacuum sealing device. Make sure you close the lid of your vacuum machine tightly. Most machines offer some kind of indicator that this has been done properly.
Chamber vacuum sealers have you place the vacuum sealing bag in the chamber before closing the lid. Now, click the button on your machine to begin the sealing process. Most models sense when the seal is complete and will automatically stop sealing. Some models have different settings. Feel free to play around with the different buttons to see how they impact the process.
5
Step 5:
When the vacuum sealer is finished removing the air from the bag, take the bag from the vacuum sealer and place it in proper storage. A helpful tip is to write the date of the day you vacuum sealed the food on the bag.
6
Step 6:
A step that most people forget is cleaning their vacuum sealer at the end of the process. Take a damp dishcloth or paper towel, then wipe down the sides and interior vacuum chamber of the machine. Let it dry fully before placing it into storage.
FAQ: Vacuum Sealer Tips and Tricks

How long does vacuum sealed food last in the fridge?
The amount of time food in a vacuum-sealed bag will last depends on where you are storing it. If you are storing it in the fridge, you can expect it to last 1-2 weeks, which is a drastic increase from the standard 1-3 days for food that hasn’t been vacuum sealed. On the other hand, if you are storing food in the freezer, it can last up to two years. This is provided that it isn’t being opened and vacuumed sealed over and over again.
When should I vacuum seal food?
The benefits of vacuum sealing food are enormous. You should consider vacuum sealing food if you buy in bulk and can’t use all the food up at once, have a large number of leftovers, or want to preserve food for later use. It’s always best to consider what kind of food you are vacuum sealing because this influences how and what type of vacuum sealer you use.
Which vacuum sealer should I use?
As detailed above, there are several different types of vacuum sealers. You should choose one depending on what and how much you plan to use it. If you only have a handful of bagged containers to vacuum seal, then a handheld vacuum sealer might be the best option. However, if you plan on doing a lot of vacuum sealing, an electric model is likely a better choice. A standard electric vacuum sealer is perfect for bagged items. An extension for vacuum sealing jars makes it even more versatile.
Is vacuum sealing eco-friendly?
Vacuum sealing helps food stay fresh for longer. This means you are less likely to throw out spoiled food, thus leading to less waste. As a bonus, you can choose to use environmentally friendly vacuum sealed bags. They are made from recyclable material and can be recycled themselves when you’re done using them. They are a great option for those interested in making the entire vacuum sealing process as eco-friendly as possible.
What supplies do I need to use a vacuum sealer?
First and foremost, you will need a vacuum sealer that best serves your purpose. The next step is to choose which kind of container will work best for the type of food you’re trying to vacuum seal. If you are vacuum sealing foods in a plastic bag, you will only need the additional plastic bag. However, suppose you are vacuum sealing food inside a jar. In that case, you will need the additional canister and tube that connect to the countertop vacuum sealer and sucks the air from the jar that way. All in all, there are few supplies needed to vacuum seal successfully.
Is there anything I can’t vacuum seal?
While it might seem like vacuum sealing is a method available for all types and temperatures of foods, this isn’t truly the case. There are a handful of foods that shouldn’t be vacuum sealed. These include:
- Raw mushrooms
- Garlic
- Soft cheeses like ricotta, brie, and blue cheese
- Freshly cooked vegetables, but they can be vacuum sealed after they have cooled to room temperature
Some vegetables emit gas while being stored. They can still be vacuum sealed, but they must be stored in the freezer to prevent this from happening and the vegetables from spoiling. These vegetables include:
- Broccoli
- Brussel sprouts
- Cabbage
- Kale
- Radishes
- Turnips
- Arugula
- Bok choy
It’s best practice to read up about the vegetables you’re interested in vacuum sealing to know where you should store them.
Vacuum sealing food is a great technique to help you save money and time. With the right supplies and practice, it is easy to master vacuum sealing for yourself.
Further Reading