To relieve stress and alleviate aches and pains from working out, we should all get a back massage as often as possible. But, let’s face it: massages are expensive. Here’s the good news, though, picking up an affordable foam roller and learning how to foam roll your back means that you, too, can enjoy the many benefits of daily massage from the comfort of your home. Best of all, for cheap!
In this article, we’ll teach you how to foam roll your entire back, including both your upper and lower back. Plus, to help you get started, we included some basic foam roller exercises and stretches. It’s all based on the advice of Melanie Simmons, LMT, and owner of Mend Therapeutic Massage located in Eugene, OR.
In her practice, Simmons frequently recommends foam rollers to decrease muscle tension and pain, while also increasing circulation to specific areas of the body or to specific muscle groups.
Foam rollers, Simmons says, are also a great way to simply take some time to tune-in and relax your body, without a doubt, “the best way to get the benefits of a myofascial release massage at home,” she continues.
Since upper back pain is one of the most common reasons people turn to a foam roller for relief, our advice begins there.
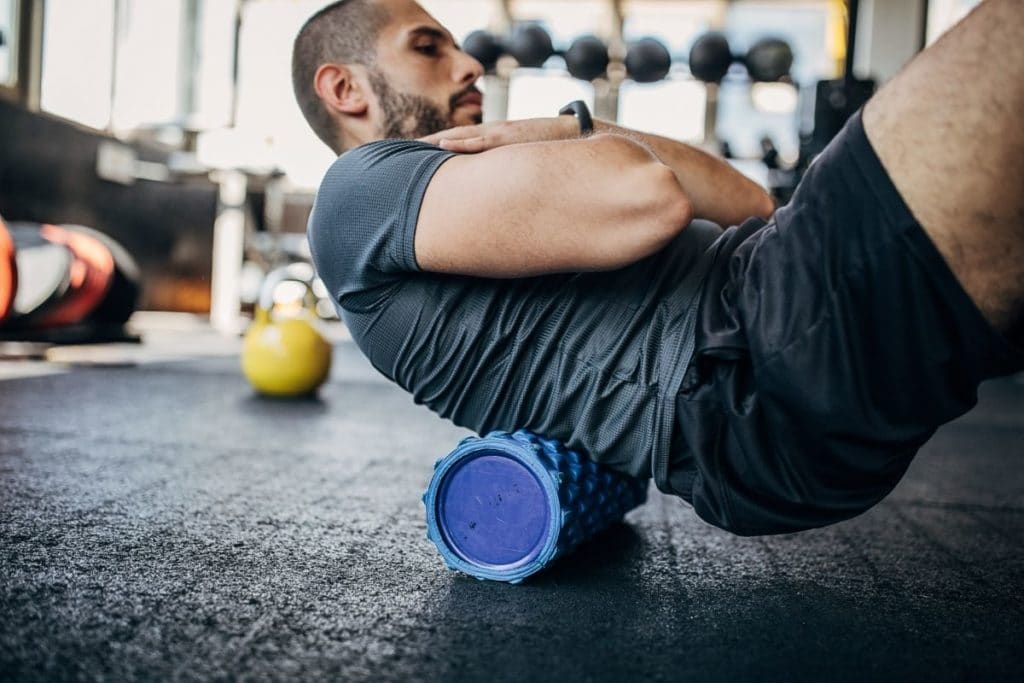
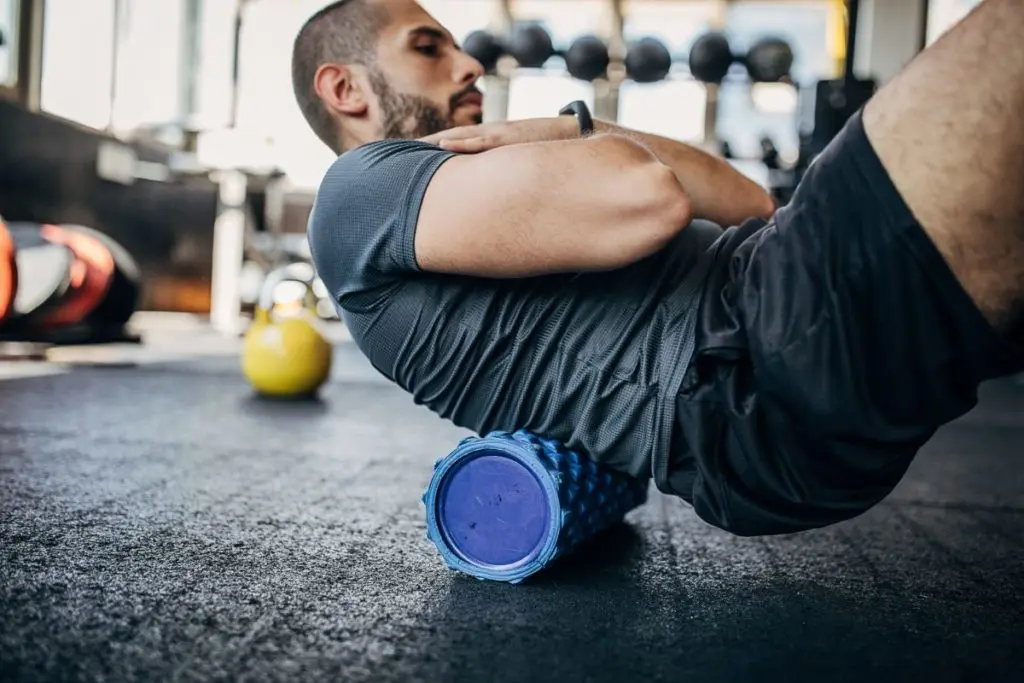
How to Foam Roll Upper Back
Before telling you about foam rolling your upper back, a word of caution about where never to use a foam roller: your neck, especially your cervical spine, or those joints up near the back of your head. That area is just too sensitive.
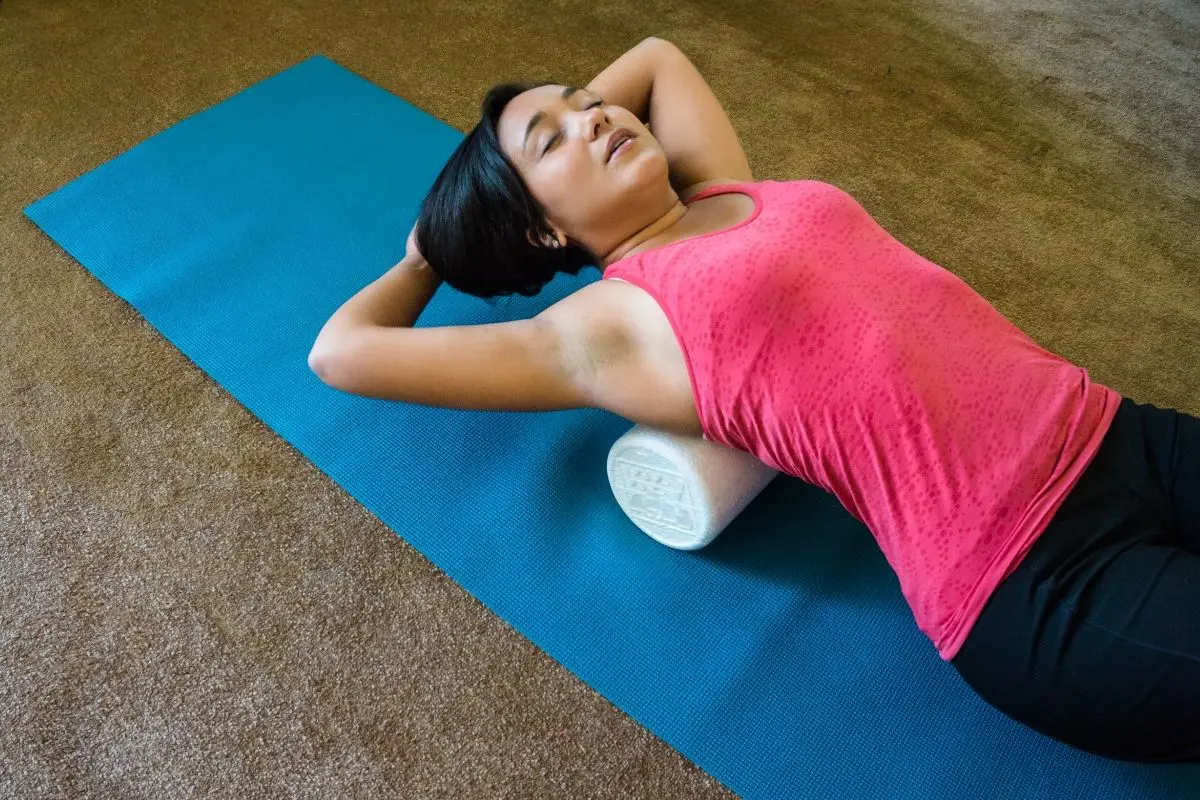
Otherwise, here’s how to use a foam roller for upper back pain relief:
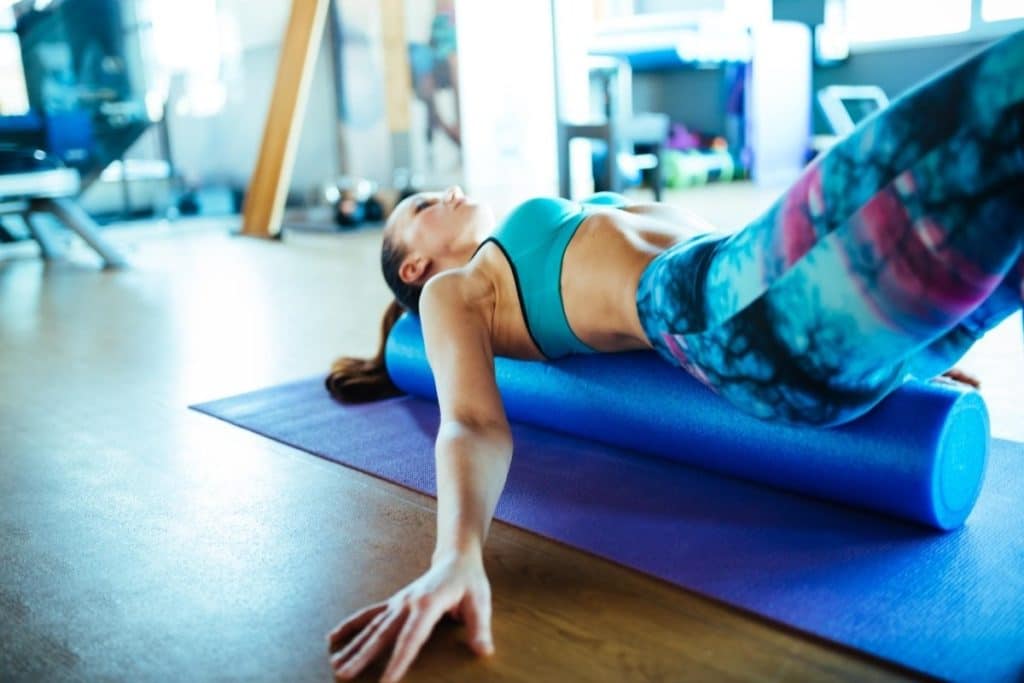
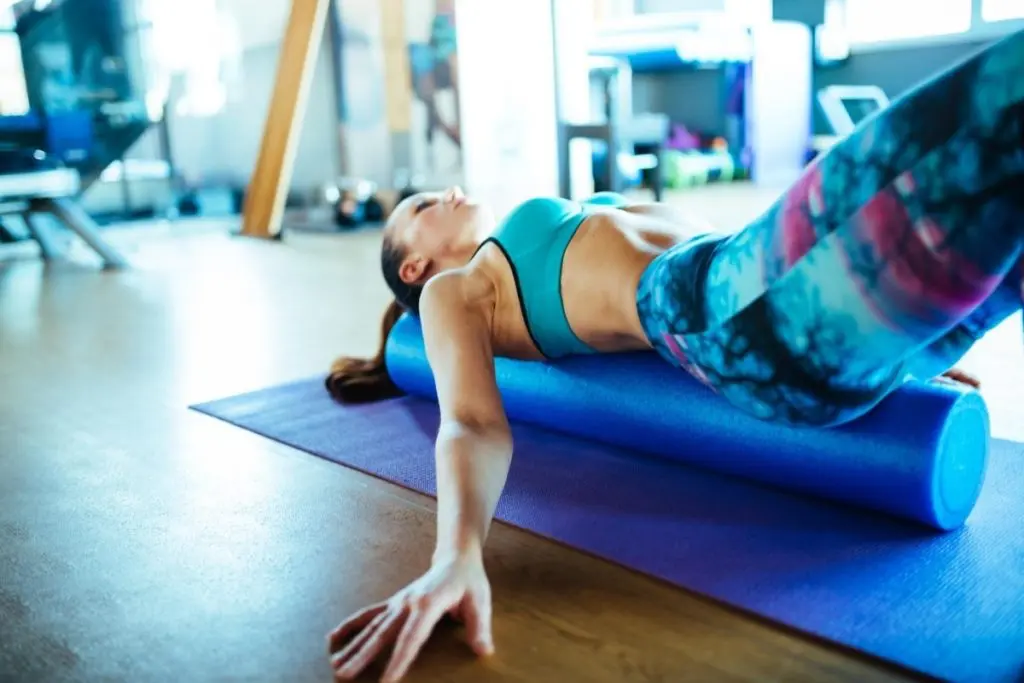
- Lay on the floor with the foam roller placed perpendicular to your back and just below your shoulder blades. Use your hands to support your head and neck, and keep your core engaged, supporting your lower back.
- Allowing your upper back to extend over the roller, shift or “roll” your hips down toward your feet. Repeat this movement either a little higher or a little lower, wherever you’re feeling tension or pain, by adjusting the position of your feet on the floor to adjust where the foam roller is making contact with your upper back.
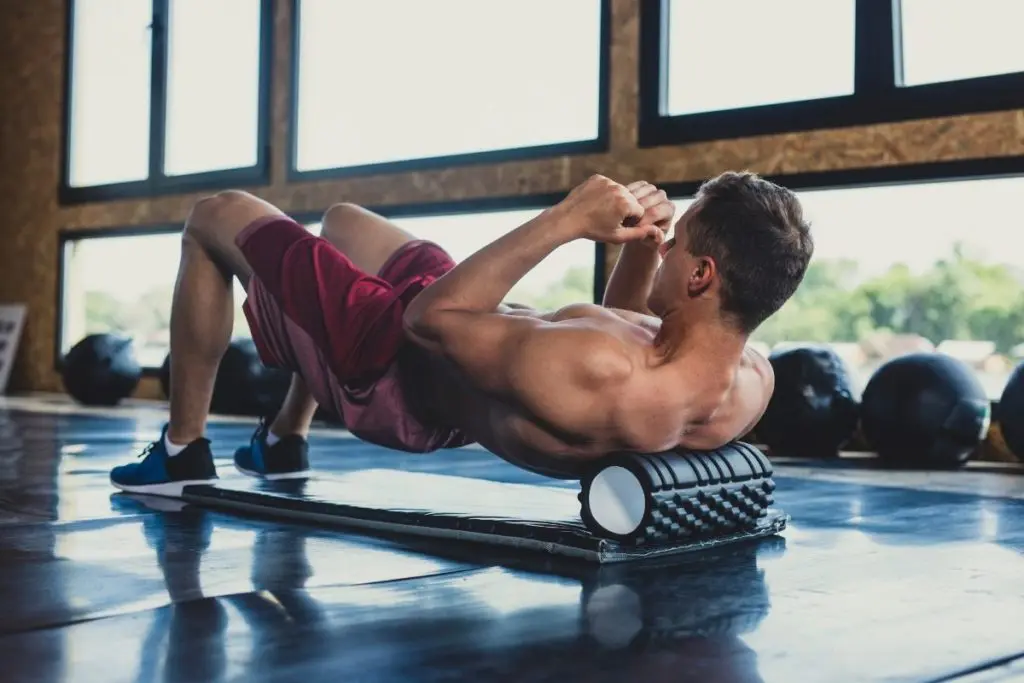
Pro Tip:
Not feeling enough pressure? With your fingers interlocked behind your head, extend your elbows up toward the ceiling. This will put the muscles in your upper back in closer contact with the roller, improving results.
On the topic of upper back foam rolling, licensed massage therapist Melanie Simmons says to start with light pressure and go up from there. “Because you are using your own body weight, it is easy to gauge what pressure is appropriate,” she says. “Expect some discomfort but if it is too painful pull back,” she continues.
How to Foam Roll Lower Back
Though it’s generally not recommended to use a foam roller on your lower back (again, that area is just too sensitive), there are a few ways to foam roll your butt and hips (two areas that contributed to some kinds of lower back pain more often than expected).
The most common, perhaps, is called “Glute Figure 4.” Here’s how it’s done.
- Sit on the foam roller, keeping your legs extended out in front of you and using your hands on the floor behind you to maintain stability and balance. Cross one foot over the opposite knee and keep the other foot as flat on the floor and as close to you as possible.
- Sit up proud ‘n’ tall with your chin toward your chest. You start to feel a stretch in your lower back, hip, and glutes. To deepen the stretch, lean gently to one side, or roll gently back and forth for about 30 seconds or as long as it takes to find the right spot. Switch the “figure 4” configuration with your other leg, and repeat.
Pro Tip:
For best results, try to roll back and forth on a tender spot at least five times, or just hold the position on the spot for up to a minute. If rolling or a gentle wiggle feels best, be sure to repeat the move for at least three sets.
Massage therapist Melanie Simmon had this to say when asked about foam rolling your back in any position: “When you find a tender spot or point of tension, stop the rolling motion, hold the roller at the tender area, and take time to release your weight into the roller while breathing deeply.”
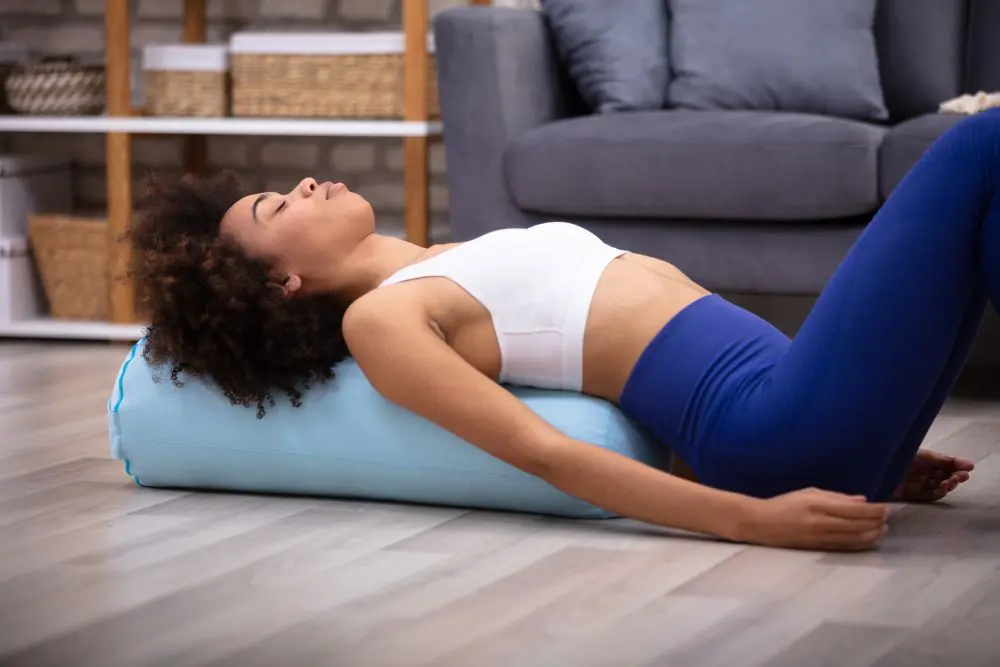
How to Foam Roll Your Entire Back
To enjoy the benefits of foam rolling your entire back, try the next foam roller exercise. This technique is also known for improving posture, and is especially recommended for those who spend all day sitting.
- Lay with the foam roller parallel to your spine, interlace your fingers behind your head to support your head and neck. Keep both feet flat on the floor beside you for additional support.
- Gently roll back and forth on the roller, breathing deeply. Repeat three times.
Pro Tip:
One variation on this move is to simply lay with the foam roller parallel to your spine and your feet flat on the floor. Then, spread your arms s wide as possible. Take a deep breath, and relax into the foam roller without rolling or wiggling for at least a minute. This position is sometimes called a “chest opener.”
No matter what move you’re trying, or what area of your back you’re targeting, Melanie Simmons, LMT, says to always go slow, and that there’s no need “bulldoze the muscle tissue by over rolling,” she says. “It should hurt so good.”
Basic Foam Rolling Stretches for Your Back

In addition to what’s already been mentioned, Melanie Simmons, LMT, recommends the following foam rolling stretches for back pain. The first exercise is for your hamstrings. But wait, you say, your hamstrings aren’t in your back? Turns out, tight hamstrings can be a contributing factor to back pain. Here’s how a foam roller can help:
- Sit on the floor with the foam roller under your hamstrings. Elevate your torso with your hands, keeping your palms flat on the floor.
- With your legs extended out in front of you and without your feet touching the floor, roll the foam roller back and forth over your hamstrings.
Pro Tip:
Simmons also recommends this exercise for sciatica relief.
Basic Foam Roller Exercises for Your Back
Another basic foam roller exercise Simmons recommends targets your quads, or the front of your legs. Again, these muscles aren’t in your back, but the root cause of back pain, especially on the right side, can come from a muscular imbalance between your quads and your hamstrings. Here’s how to maintain that balance:
1. Position yourself like you’re about to do a push-up, with the foam roller under your thighs.
2. Keeping your body weight supported by your forearms, roll yourself back and forth from your pelvic bone to your knees.
Pro Tip:
For best results, keep your feet elevated and your core engaged.
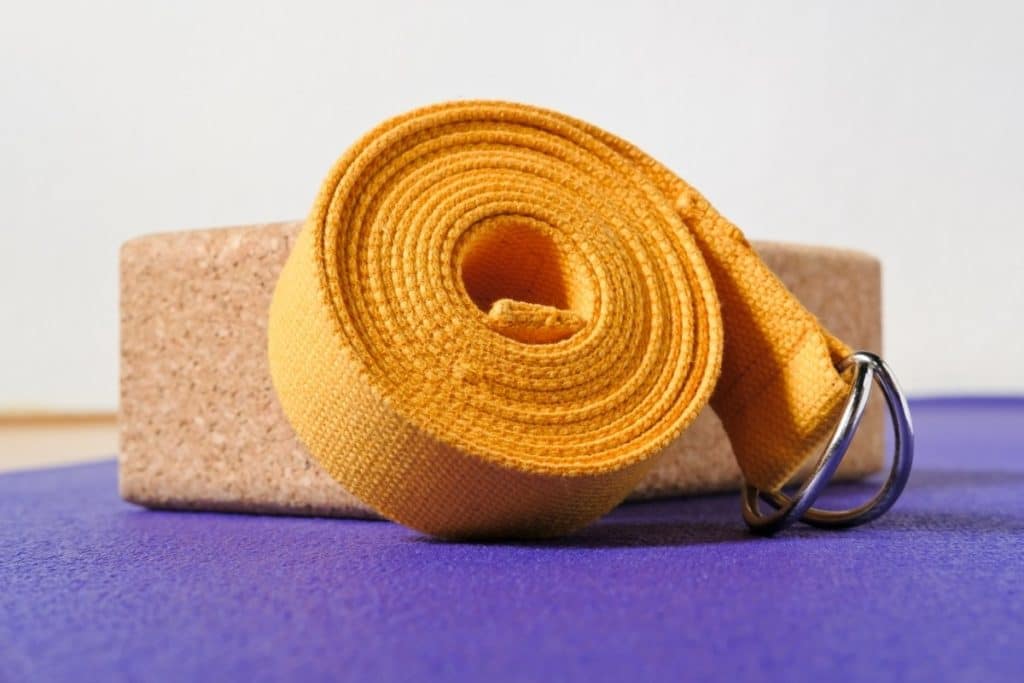
How to Choose a Foam Roller
In addition to the three features outlined below, Simmons from Mend Therapeutic Massage recommends that those choosing a foam roller for back pain should start with a softer roller with plenty of give before working up to a firmer roller, but only one when ready.
Otherwise, there are three primary features to consider when shopping for a foam roller:
1
Density
- Soft. A softer foam roller will be gentler on your muscles. Don’t expect a deep-tissue massage from foam rollers of this sort.
- Standard. An excellent middle ground, standard foam rollers go a little deeper but not too deep. They can also double as a prop for core-strengthening exercises like yoga and pilates.
- Firm. For the deepest massage, choose a firm foam roller. Rollers this firm are generally recommended for serious athletes only or those experiencing severe muscle pain.
2
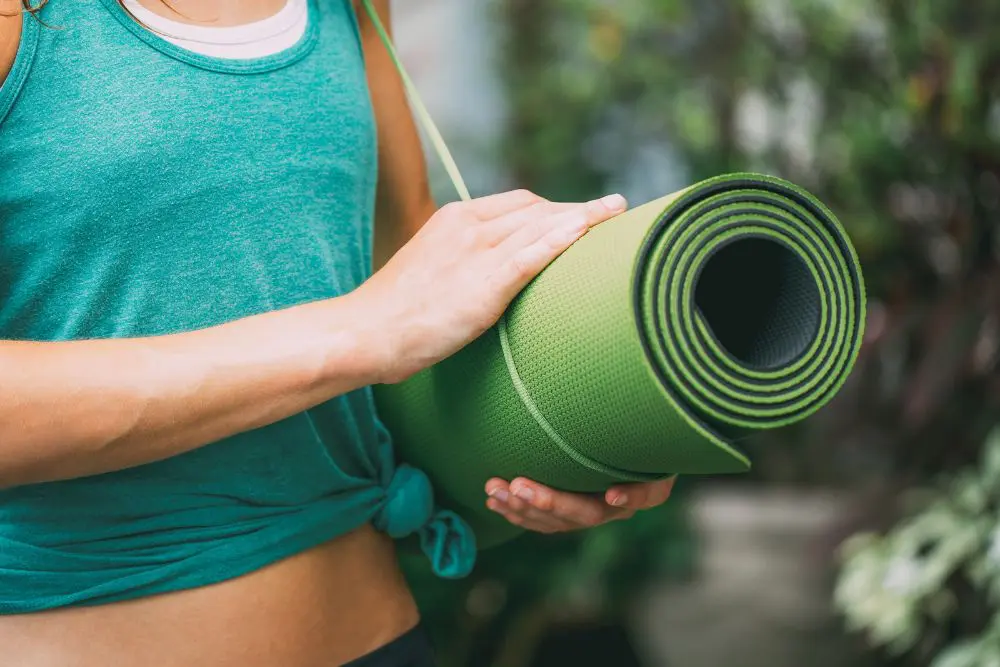
Size and Shape
- Standard full-size. Standard full-size foam rollers are best suited for massaging large muscle groups like those found in the back, as well as for physical therapy and exercise.
- Shorter length. Shorter length foam rollers have a similar diameter to standard rollers but are, just like the name implies, shorter in length, making them more portable for toting back and from the gym or physical therapist’s office. They’re also more effective when targeting smaller muscle groups.
- Smaller diameter. Smaller diameter foam rollers, lower to the floor and more stable, are best suited for physical therapy patients, the elderly, or anyone with a compromised sense of balance.
- Ridges and bumps. Foam rollers with ridges and bumps provide a little something extra when breaking up even the most constricted fascia around sore, tense muscles.
- Flat half-size. And finally, flat half-size foam rollers are generally best suited for physical therapy or use in core-strengthening exercise.
3
Construction Material
- Open-cell. Foam rollers are most commonly made from open-cell material, meaning they’re cheap and readily available. However, they do break down quickly with use.
- EPP Foam. One step-up from open-cell foam rollers is EPP foam rollers. A little more durable than open-cell, EPP is still pretty affordable and a great choice for beginners.
- EVA Foam. The most durable of all, EVA foam rollers are the kind most commonly found in gyms or used by personal trainers. They’re a bit pricier than other kinds of foam rollers, and perhaps overkill if you’re only using a foam roller occasionally for minor back pain. But if top-of-the-line is what you’re after, choose an EVA foam roller, and you won’t be disappointed.
Foam Rolling Do’s and Don’ts
We already mentioned a few areas to avoid with a foam roller (your neck and lower back). Here are a few additional pointers.
Don’t directly target the painful area. Even if you know where that knot in your back is located, it’s most effective to begin around the sensitive spot and work your way toward the center of the pain.
Don’t spend too much time on the sore spot. As tempting as it seems, when using a foam roller, it’s important to keep the pressure evenly distributed without spending too much time on the sore spot—for best results, working that knot for about 20 seconds at a time before moving on. And don’t forget to vary the pressure while you’re at it.
Don’t roll too fast. Finding the right rolling tempo (slow and steady) will provide the best outcomes no matter where you’re using a foam roller. Roll too fast and your muscles may simply adjust to the pressure.
Watch your posture. It’s also important to maintain a tight core and proper posture while foam rolling your back. Pay extra attention to your hips, in particular, and don’t bend your spine. Otherwise, you may run the risk of injury.
Conclusion
Massage is great, but spendy! Bring the massage therapy experience home—or with you to the gym—and pick up a foam roller for yourself. Foam rollers, it turns out, are a great solution for back pain if that’s what you’re after, and that’s especially true for upper back soreness. Never foam roll your neck or lower back, however, because those areas are just too sensitive and this can lead to injury.
Otherwise, there are a number of great stretches and exercises for your upper back, your entire back, and even a few techniques to use a foam roller on your hips, butt, quads, and hamstrings—muscle groups that are often the unknown culprit for lower back pain in the first place!
We’ve covered a few here, with some expert advice from a licensed massage therapist, but there are many more to choose from, so follow this guide carefully, or consult with a massage therapist or trainer for yourself to find foam roller exercises and stretches for yourself. You really can enjoy the benefits of a foam roller for back pain, all from the comfort of your own home, or wherever you may be.
Further Reading