
The best thing about dips is that they’re really easy to do. The second best thing is that they don’t require much equipment. With just simple things around the house, you can do dips correctly and get the same great results you’d get at the gym.
Lots of people, for example, add dips to their workout routine using nothing more than just a couple of chairs, while others use the edge of their kitchen counter.
In this article, we’ll tell you more about why dips are such an excellent exercise for your chest and triceps. But also, how easy it is to do bar dips at home, or really any time, any place.
Before any of that, though, let’s define a dip and go over proper dip form fundamentals. This will include a few common beginner mistakes and how to avoid them.
What Is a Dip Exercise?
Dips are a simple, bodyweight exercise that work your back, shoulders, and triceps. Many consider dips to be among the best chest workouts available. But don’t just take our word for it.

Like any exercise, though, when it comes to dips, proper form counts for a lot.
Here are the specific muscle groups targeted by dips, in this order:
- Anterior deltoid
- Pectoralis muscles
- Rhomboid muscles
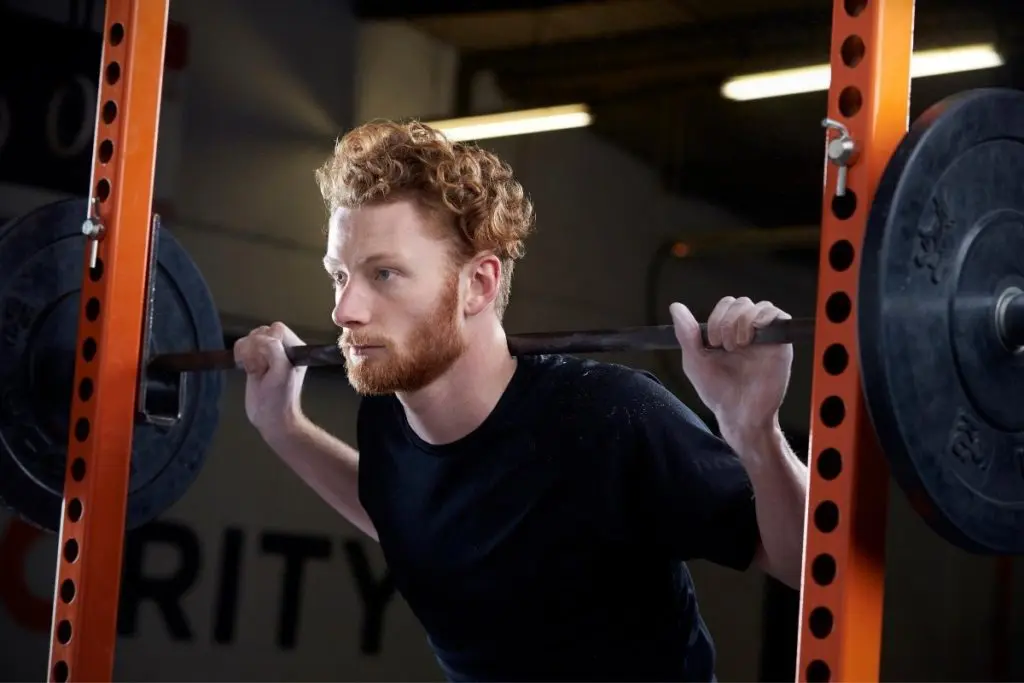
Dip bars are common pieces of equipment at most gyms, but you don’t need a bar to dip. More about that is coming up later.
For now, here’s how to get the most from this exercise, regardless of where you are.
- Suspend the body over two parallel bars — bar alternative suggestions are coming up a little bit later on — with arms straight and your chest up.
- Hinge at the elbows, lowering the body until the upper arms are either parallel or just a little bit beyond a 45-degree angle. Keep elbows tight to the body at all times.
- Then, simply propel the body back up into its starting position, slowly and with a controlled motion. Lock elbows at the top, and repeat.
Doing dips like this will exercise your chest, triceps, and overall upper body. It’s possible to target chest muscles simply by widening your arms and leaning forward at about a 45-degree angle throughout the range of motion.
Otherwise, that’s about all there is to it. Pretty easy, right?
Well, sort of.
While dips are relatively straight-forward, they’re also easy to mess up. Here are some common beginner mistakes.
How to Do Dips at Home & On the Go: Dip Tips


1
Slow and Low… but Not Too Low
To get the most out of your dips, make sure your upper arms are at least reaching parallel with the ground, and ideally just a little bit beyond. Anything less is a half rep; anything more and you’ll be putting too much pressure on your shoulders. This risks injury.
The rate at which you’re doing your reps also makes a big difference. Do dips too fast, and you won’t be taking full advantage of the exercise, creating a little bit of an assist in the form of a bounce at the top of the motion.
Dipping too fast and out of control also creates the risk of injury. When doing dips, take it slow and remain focused on the movement throughout the entire range of motion.
2
Always Keep Your Chest Up
One fundamental of dip form is to keep your chest upright. This will produce the best overall results from the exercise. You can target your chest by leaning forward a little and widening your arms. Lean too far forward, though, and you can cause torso pain.
As a rule, it’s always best to stay as upright as possible in a dip, with your shoulders back. Also, don’t forget to lock your elbows at the top of the movement.
3
Keeping It in Balance
It’s always the goal to maintain a controlled, fluid motion throughout the entirety of the dip exercise.
The key to do so is to maintain balance. Balance will keep you stable all the way down and on the way back up. The best way to maintain this controlled balance is to bend your knees and cross your legs behind you.
To avoid mistakes like these, don’t do too many reps. Doing too many reps too fast can make your form slip. Maintaining proper form is really the best barometer for how many reps are right for you — feel your form slipping? You’ve likely done enough.
All this means that although dip form is relatively simple, doing a dip right is a lot harder than it seems.
Now that we’ve covered form and some common beginner mistakes let’s get to what we promised. Here’s what you need to know about doing dips at home: with and without equipment.
How to Do Bar Dips at Home
Are you interested in trying dips without investing a bunch of money in equipment? Or are you looking to stay current on your workout routine while traveling?
You’re in luck.
Dips are easy to do with any of these everyday household objects:
- Chairs
- Sawhorses
- Back of a couch
- Kitchen counter
Don’t happen to have any of these at your disposal? That’s ok, too. Really any two pairs of parallel objects will do the trick, so long as they meet the following criterion:
- They’re mobile, so you can arrange them to be parallel to one another.
- They’re either flat on top or have bar-like grips.
- They can hold at least your own body weight.
- There’s enough room beneath them to complete the lowest point of the exercise.
- They’ll remain balanced and won’t tip over.
Most often, though, people use chairs for dips when they don’t have parallel bars at home. In our next section, we’ll tell you how.
How to Do Bar Dips at Home Using Only Chairs

To attempt dips at home using chairs, the first thing you’re going to want to do is arrange two chairs a little more than leg length apart.
But first a word of caution: brace the chair you’ll be putting your hands on against something like a wall. You don’t want that chair sliding out from underneath you once you get going.
After sitting down on the edge of that chair, here’s what to do next:
- Grasp the edge of the chair directly beneath you and as close as possible to your hips. The backs of your hands should face forwards.
- Then, kick your heels up onto the other chair, so your legs are making a sort of a bridge.
- Slowly push yourself up off the seat until your elbows lock.
- Position yourself a little bit in front of the chair you were sitting in so that you have adequate clearance at the bottom point of the dip.
Once your body is suspended up over the space between the two chairs, slowly lower yourself down without touching the ground. Next, use your arms to push your body back up into its original position. Here are a couple of additional pointers:
- Keep your forearms vertical
- Keep your back as straight as possible
Need a challenge? Put a heavy book or some other kind of object on your legs to add extra weight. Make sure it’s not too heavy though, or breakable. You don’t want grandma’s fine china slipping and shattering all over the floor!
Ah-ha! You may have already noticed that doing dips this way means your legs act as a sort of assist. If you’re new to dips, try them in the way we just described.
But if you can pull off about three sets of 10 dips with proper form, resting about 60 seconds between each, you’re ready to move on to full chair dips.
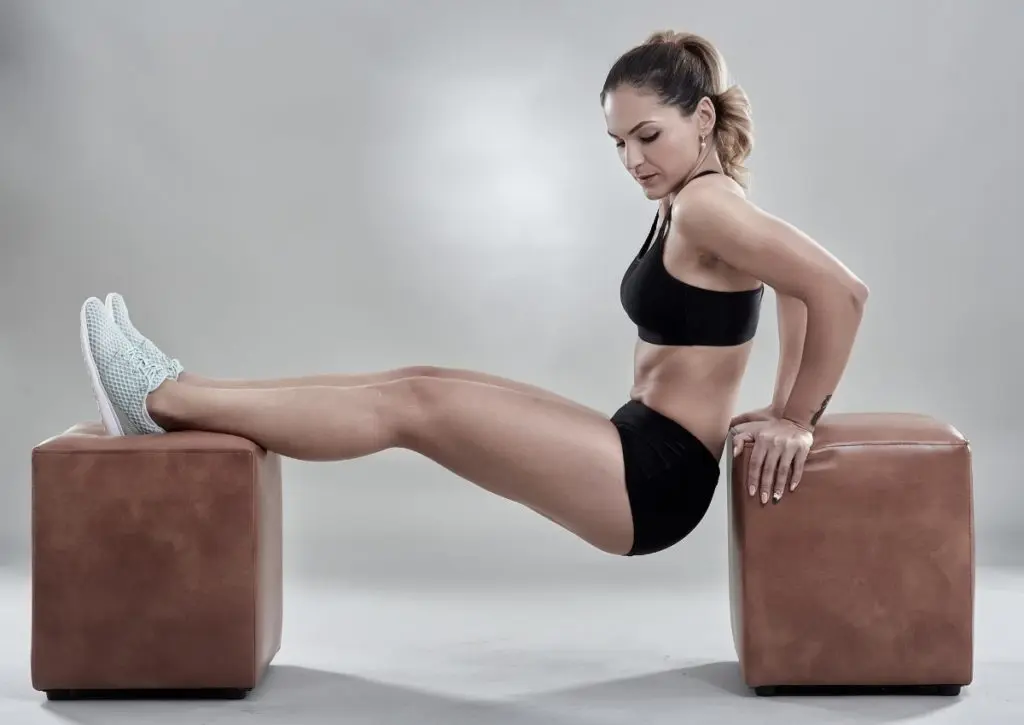
How to Do Full Chair Dips
To perform a full chair dip, again, you will also need two chairs. This time face them back-to-back, a little less than arm’s width apart and wide enough so that you can stand in between them.
Then perform the dip.
If these prove difficult, use one foot as an assist to help push yourself back up at the bottom of the motion. The ultimate goal, though, is to be able to perform dips without your feet on the ground at all.
A word of caution about full chair dips: make sure your chairs are wedged into a space or otherwise somehow braced so that they don’t tip over in the middle of your dip!
If you’re up for even more of a challenge, try adding an l-sit to your full chair dip. To do so, kick your feet out at about a 90-degree angle at the top of the dip motion. This way you’ll get a little ab workout in the mix!
Are you working on your chest? You can also do chest dips with chairs. In a lot of ways, it’s even easier.
Here’s how to do single-chair chest dips at home.
- Sit on a chair. Extend your legs slightly forward, but not so far forward that you can no longer keep your feet flat on the floor.
- Grab the chair with two hands as close as possible to either side of your hips.
- Slowly slide yourself off the front of the chair. Maintain your grip on the edge of the seat.
- Bend elbows to about 90 degrees and lower yourself down toward the ground with focus and control. Stop when your shoulders are even with your elbows.
- Push yourself back up!
Repeat the process, but only as long as you can while maintaining proper form. If you feel your form slipping, that generally means you’ve had enough.
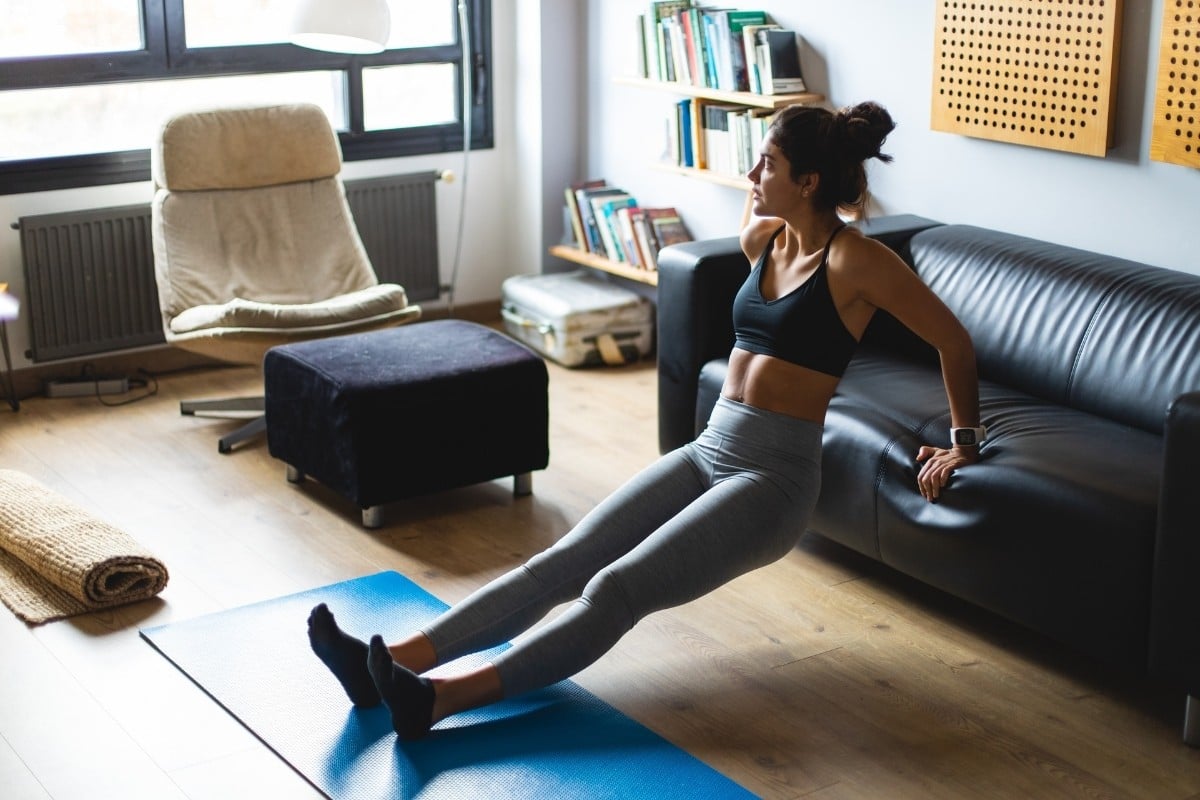
How to You Do Dips on the Counter or Couch
It’s also pretty easy to try dips using only the kitchen counter (this also works on a sturdy couch).
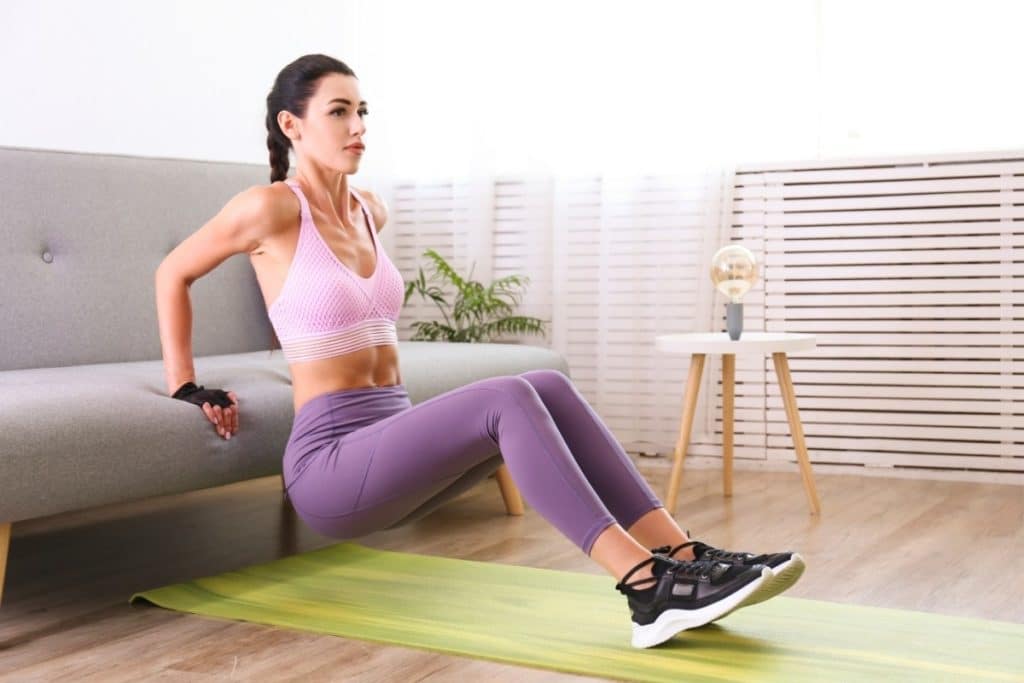

The 90-degree angle where one part of a counter meets the other part of the counter is especially well-suited for counter dips. Otherwise, the first step is to face away from the counter, with your palms flat and your fingers forward. Then, do the following:
- Slowly and carefully walk your feet forward until you’re at about a 45-degree angle. Keep your feet flat on the floor.
- Keeping your core engaged and your knees loose, hinge at the elbows to push yourself up and down in the motion of the dip.
You can also do counter dips facing both in and out. Just make sure you have enough clearance.
Most people can do a few more reps this way than with bars or even with chairs. But if you can’t, that’s ok. If you need some help, keep one or both feet on the ground and just keep trying!
Dipping Out
As we’ve covered, dips are an effective form of exercise that target your back, shoulders, and triceps. Like any form of exercise, though, form is important. While dip form is relatively easy to master, it’s just as easy to mess up.
Common beginner mistakes with dips involve going either too low or not low enough. Additional problems arise when people try dips too fast or fail to maintain proper balance. Our number one tip for maintaining balance and control is to cross your feet behind you.
Dip bars are typical in gyms, but the number one best thing about dips is that they don’t need any equipment at all to do them and do them well. A variety of common household items are all great substitutes for dip bars. That list includes chairs, the kitchen counter, or even the sturdy back of a couch.
What’s clear is that whether you’re stuck in the house or on the road and missing your workouts, dips can be done most anytime, and most anywhere — with great results!
Further Reading