
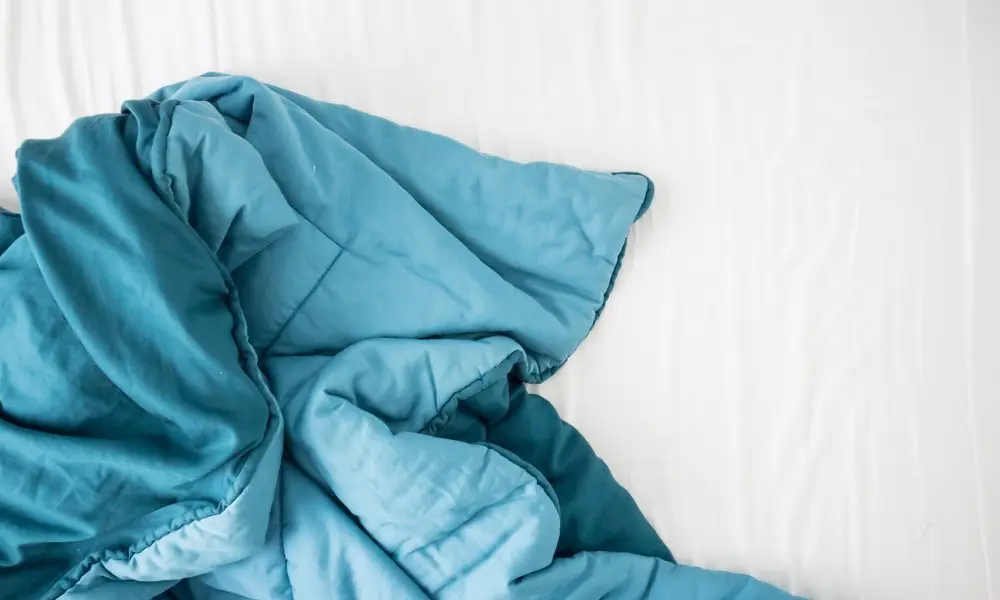
You’ve decided to try a weighted blanket to help a loved one with special needs get better rest. Or perhaps you’re seeking some relief for your sleeping issues. Although weighted blankets are widely available, you can make your own, saving both money and resources. Let’s learn together how to make a weighted blanket.
In this article, we’ll tell you how weighted blankets work. We’ll even show you how to make a weighted blanket with glass beads. Can’t sew? That’s ok, too. You can make a weighted blanket without sewing.
If you’re wondering how to make a weighted blanket, you’ve come to the right place.
What is a Weighted Blanket?
You’ve heard about weighted blankets. But what exactly are they?
Everything you need to know about weighted blankets is right there in the name. Weighted blankets are heavy blankets — typically about 15 lbs — weighed down by additional material.
Materials used are often plastic pellets, glass beads, and even sometimes the following:
- Sand
- Steel Shot Beads
- Rice or Millet
How Do They Work?

Weighted blankets use what’s called “pressure therapy.” Pressure therapy lowers the heart rate, creates an overall feeling of calm, and helps many people fall asleep. But also, this helps address a variety of symptoms related to many common conditions. Here are a few:
- Anxiety
- ADHD
- Autism
- Sleep disorders
Can I Make One?
With their rise in popularity, weighted blankets have popped up from all sorts of retailers and manufacturers. They’re reasonably easy to find at stores and websites.
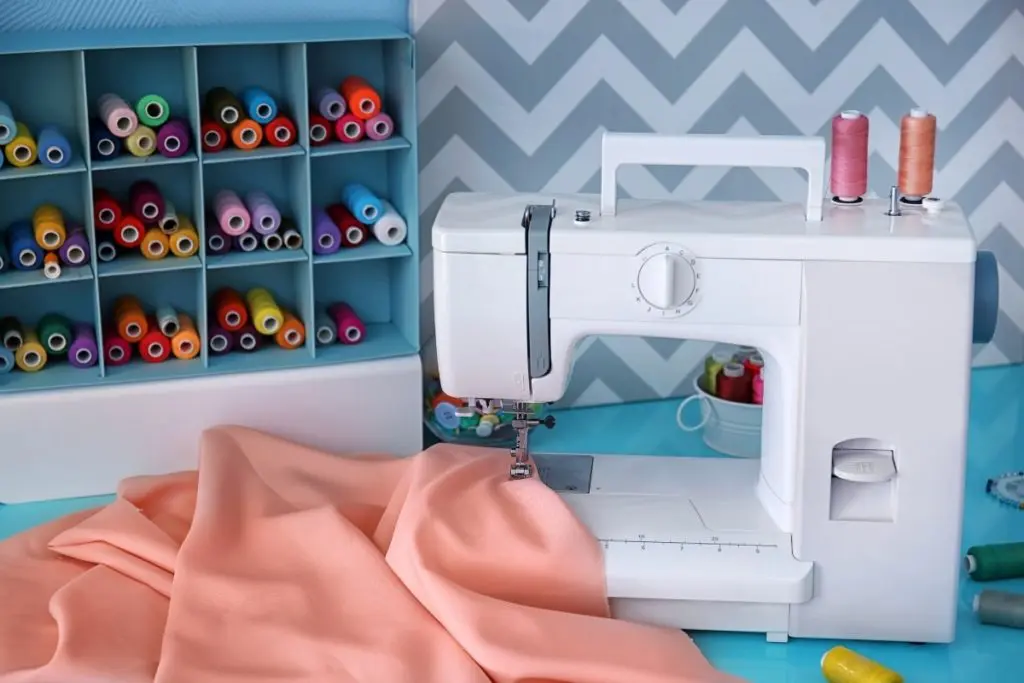
But some DIY’ers make their own — it’s pretty simple! Keep reading to find out how to make a weighted blanket without sewing. Otherwise, here’s what you’ll need to make a weighted blanket with a sewing machine or needle and thread:
- Fabric — just make sure it’s nice ‘n’ durable!
- Thread, scissors
- Pins, sewing machine
- Some kind of marking tool — tailor’s chalk works!
- Ruler, kitchen scale
- The last — but most important! — supply you’ll need is filler.
Use plastic filler beads, and your blanket will be washable. We’ll also cover how to make a weighted blanket with glass beads, and how to make a weighted blanket with removable weights.
How To Make a Weighted Blanket: 7 Steps


Now that you’ve gathered supplies, here’s how to make a weighted blanket.
The first step is to determine the size of your weighted blanket, as well as how heavy it should be.
1
What size should my weighted blanket be?
Weighted blankets are just like any other kind of bedding, but they don’t need to be particularly large — just large enough to cover the person using it.
You’ll sew little squares filled with your weighted material of choice, and insert them into the blanket. Squares can measure anywhere from three to five inches. Don’t forget to add about four inches for the edge of the blanket.
When determining the width and height of your blanket, measure the person it will cover. Say, for example, you need a five-foot by five-foot blanket.
Cut a piece of fabric that’s five-foot by five-foot.
You may need to cut two pieces- as fabric doesn’t come in five-foot increments. And while you’re at it, cut enough fabric for both the front and back as well.
Then determine the size of your weight pockets, mark off your squares with tailor’s chalk. Kind of a personal choice here- Smaller blankets, three inches should be ok. Larger ones? Maybe use five-inch pockets.
The layout on your five foot piece of fabric should look like a grid. Leave about four inches on each side. There you have your width and height.
2
How heavy should my weighted blanket be?
There’s no hard-and-fast rule to determine how heavy to make a weighted blanket. About 10% of the bodyweight of the person using the blanket is a standard guideline.
Say, for example, you’re making a blanket for a child that weighs about 100 lbs. Here’s the formula:
100 x .10 = 10 lbs.
Your blanket should be 10 lbs.
The next step is to simply take the number of weighted pockets determined in step one, and divide that number by 10 lbs. Say you have a three-by-three area of filler-pockets for a total of nine.
In this scenario, you’ll want to measure out just over 1 lbs of plastic pellets in each weight pocket (here’s where the kitchen scale comes in handy).
Don’t worry about getting any of these measurements exactly right.
Are you wondering how to make a weighted blanket for adults? Just adjust for size and weight.
TIP: If you’re making a weighted blanket for a specific special need, consult with an occupational therapist to determine how heavy your weighted blanket should be.
Now it’s time to sew together the front and back pieces of your blanket.
3
Sewing together the front and back
First, mark two inches in from the edge of your fabric.
Using checkered fabric makes this part easier as you can follow the lines in the print.
Sew the front and back pieces with the sides that will eventually face-out reversed. Maintain a 3/8-inch seam allowance. Don’t forget to leave the top open.
Turn the blanket right-side-out.
Next, turn the blanket right-side-out and open the seams. Then, topstitch about a 1/4 inch from the edge, starting and ending a short distance from the open side.
The next step is to sew along the marked lines, about two inches in from the edge of the fabric and starting about two inches from the open side.
After sewing the two long sides and the bottom, backstitch at the beginning and end. The inner topstitching will contain the grid of filler squares.
4
Sewing the vertical channels
Now it’s time to sew the vertical channels along the marked lines. When doing so, it’s best to start at the closed bottom edge.
Start stitching a little bit over the line of stitching that’s about two inches from the inner topstitching.
You want to end the stitching just over the top two-inch marking.
Tip: Don’t forget to backstitch at the beginning and end.
5
Fill the channels with the weighted material of your choice
In our earlier example, we established we need just over one lbs of plastic pellets to get a blanket weighing 10 lbs with a three-by-three grid of squares.
It’s time to scoop the pellets into the channels. Don’t worry too much if some of them stick to the inside of the fabric.
How to make a weighted blanket with glass beads?
For a more sustainable filler, some choose micro glass beads. While more expensive than plastic pellets, they’re completely machine wash and dryable and perfectly safe.
They’re also a good filler choice for those with severe sensory processing issues. Consult an occupational therapist for more information.
How to make a weighted blanket with removable weights?
It’s also possible to make a weighted blanket with removable weight. To do so, simply follow these instructions, but just add buttonholes. Then slip the final product into a duvet cover.
Now it’s time to sew up the channels.
6
How to sew up the channels
Use pins to form a line to keep the filler beads in place and away from the marked horizontal line for your squares. You also don’t want to accidentally sew over one of the beads, as it might break your needle.
Sew the marked horizontal line. Begin just over the line of stitching roughly two inches from the inner topstitching
End your stitching just over the inner topstitching on the other side. Backstitch at the beginning and end.
Tip: Be sure to support the weight of the blanket. Otherwise, you’ll pull the stitches. Also, feel along the marked line as you go, pushing stray beads out of the way — feel some resistance? That’s probably your filler.
Once complete, repeat the process on the other vertical channels until everything sews up.
7
Close up the open end of the blanket
Now it’s time to stitch up the end of the blanket.
When you reach the top of the blanket while sewing up the channels, simply stitch closed the last row of squares, meeting up at the line of inner topstitching.
Some say to overlap just a little bit.
Then, fold the edges of the open side about ½ inch. Start and end where the topstitching ends on the sides or about 1/4 inch from the edge.
All this sewing got you in stitches? In five easy steps, you can also make a weighted blanket without sewing. All you’ll need to know how to use is duct tape.
How to Make a Weighted Blanket Without Sewing: 10 Simple Steps


Here’s what you’ll need to make a weighted blanket without sewing:
- Fabric — we like fleece work. As far as dimensions, follow the guidelines we mentioned earlier.
- Duct Tape
- Ziploc Bags (cloth pouches also work)
- Your filling
Make the Insert
First, we’ll make the weighted insert:
- Fill up your bags or pouches. Use the same 10% of body weight rule. It doesn’t have to be exact, +/1 or 2lbs will be just fine.
- Line up your pouches in a grid. Keep them evenly spaced, and fill up the entire dimensions of the blanket.
- Tape the tops and bottoms of the bags. Tape will hold them in place. Just be sure to tape the tops of your bags securely, so the filling doesn’t spill out.
- Duct tape into rows. Then, duct tape across all rows and columns to ensure they’re nice ‘n’ secure. All bags should be covered entirely with duct tape.
- Insert into a no-sew blanket.
Make the Blanket
Next, we’ll make the blanket itself:
- Choose your fabric. Fleece is easy to work with.
- Line up two pieces of fabric. Make sure they’re right-side out. You might need to trim the two pieces down to the same size.
- Cut out the corners. Then, cut out about five-inches from each corner of the blanket.
- Cut the fringe. The fringe should extend along the entire length and width of the fabric.
- Tie knots in the fringe. Using a balloon knot, tie the two sides of your blanket together, leaving space to stick your taped up Ziploc bags in between. Once inserted, tie up the remaining fringe. And you’re done!
There you have it — everything you need to know about how to make a weighted blanket with and without sewing.
Weighted blankets help all sorts of people sleep better and provide relief for many common conditions like anxiety and ADHD. Save some money and make your own!
Further Reading