Whether you process fish regularly or have never touched a fillet knife in your life before today, one universal struggle with these specialized utensils is how to sharpen them. After all, the blades are serrated, usually curved, and incredibly delicate. One wrong move, and you’ve destroyed a relatively expensive investment in your culinary arsenal.
Unfortunately, a sharp blade is essential to having a successful filleting experience, which means sharpening your fillet knife is non-optional. Luckily, sharpening a filleting knife doesn’t have to be intimidating. We’ve compiled this handy step-by-step guide to walk you through how to sharpen a fillet knife.
What Is a Fillet Knife?
If you’re reading this, you probably already own a fillet knife and have some idea of what it is. But just in case you don’t:
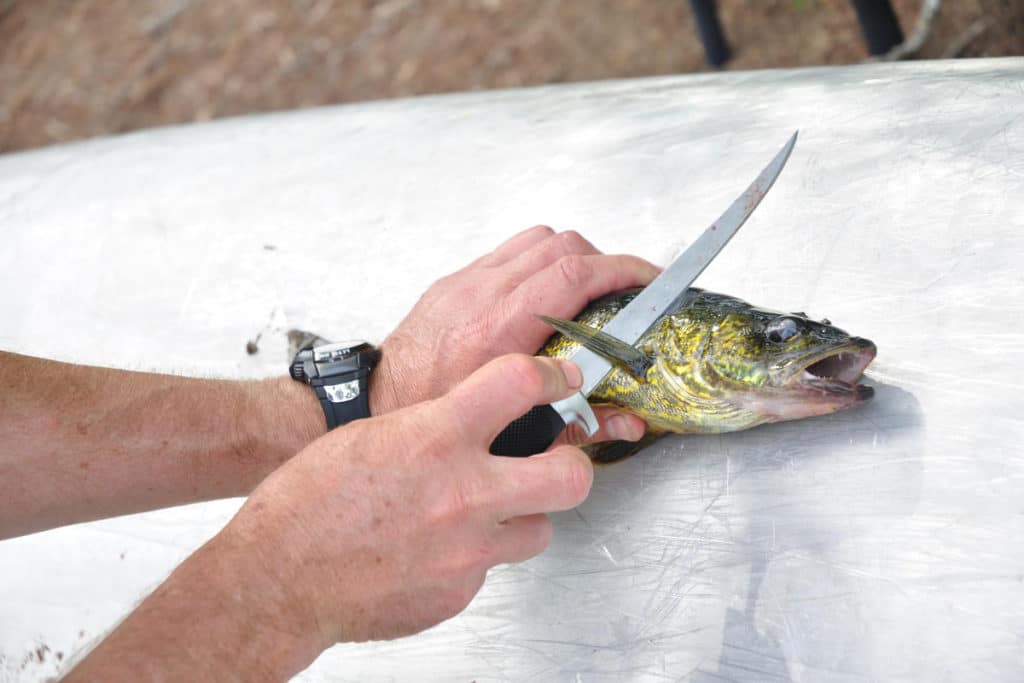
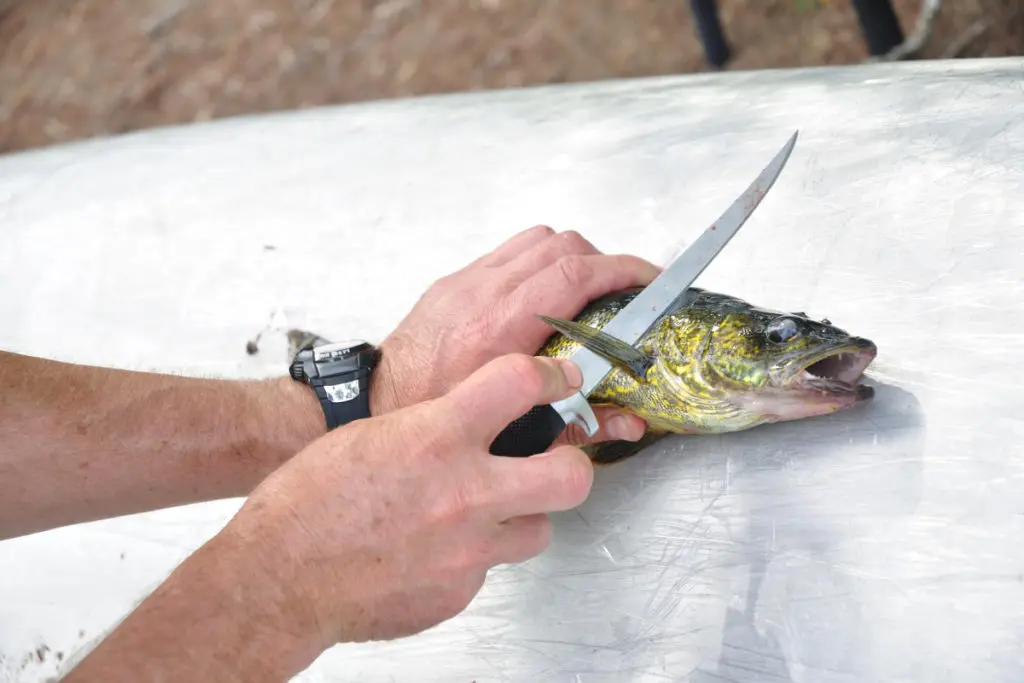
Fillet knives are blades designed specifically for processing fish from start to finish.
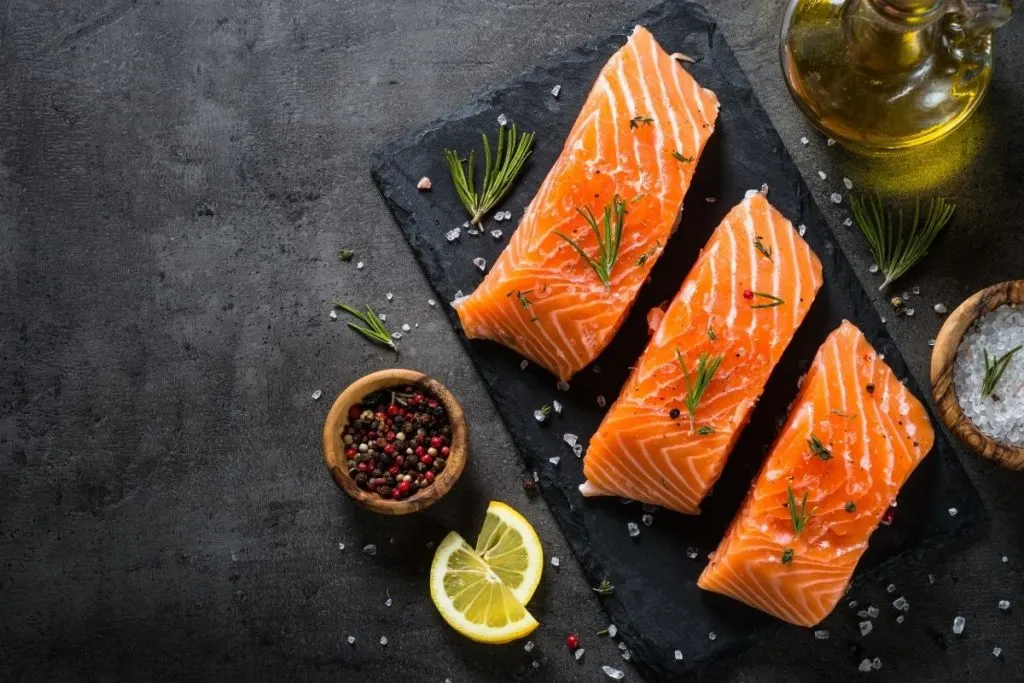
That means getting off the scales, pulling out the bones, and separating the meat from all the other bits. Fillet knives can be pretty expensive, as they are a specialty tool. They are generally either stainless steel or some other durable metal. The blade is usually very thin and relatively flexible so that it can follow the curve of different kinds of fish. They’re generally curved, sometimes serrated, and feature an extra-sharp, pointy tip. Fillet knives, on average, are about 7 inches long. However, there are specialized blades that are longer or shorter for different purposes.
How to Sharpen a Fillet Knife: Vocabulary 101
Throughout this guide, there are a few different terms we’ll use that you’ll need to understand:
- Bevel. The angle that leads into the sharp edge of a blade. Both sides of a fillet knife’s edge get sharpened, so there is a bevel on both sides.
- Edge. Where the two beveled sides come together (this is the sharp part).
- Point. The pointy end of the blade
- Tip. The last inch or so of the blade near the point, but not the point itself
- Spine. The non-sharp edge of the blade
- Heel. The base of the sharp side of the blade
- Butt. The very end of the handle of the knife
What You’ll Need to Sharpen a Fillet Knife
You won’t actually need much to sharpen your fillet knife, other than the knife itself, but here’s the full list:
- Your fillet knife (check out our recommendations for the Best Fillet Knives here! [link])
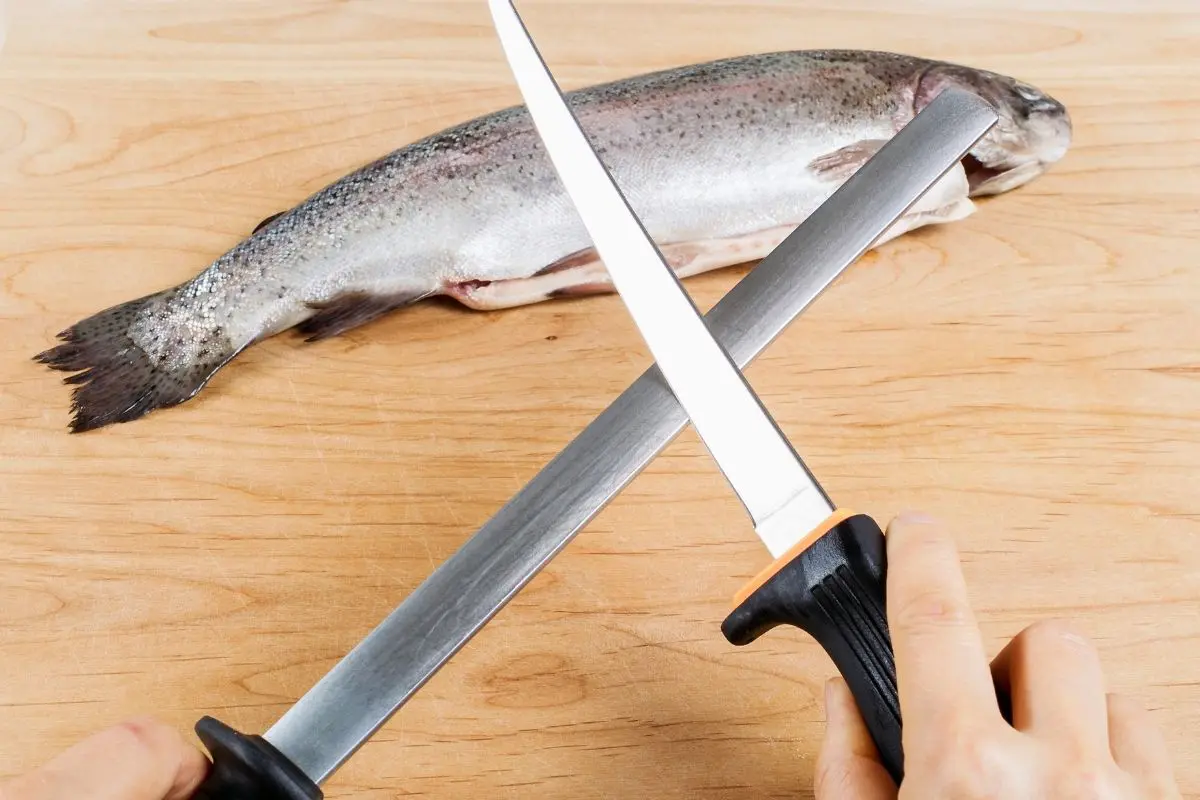
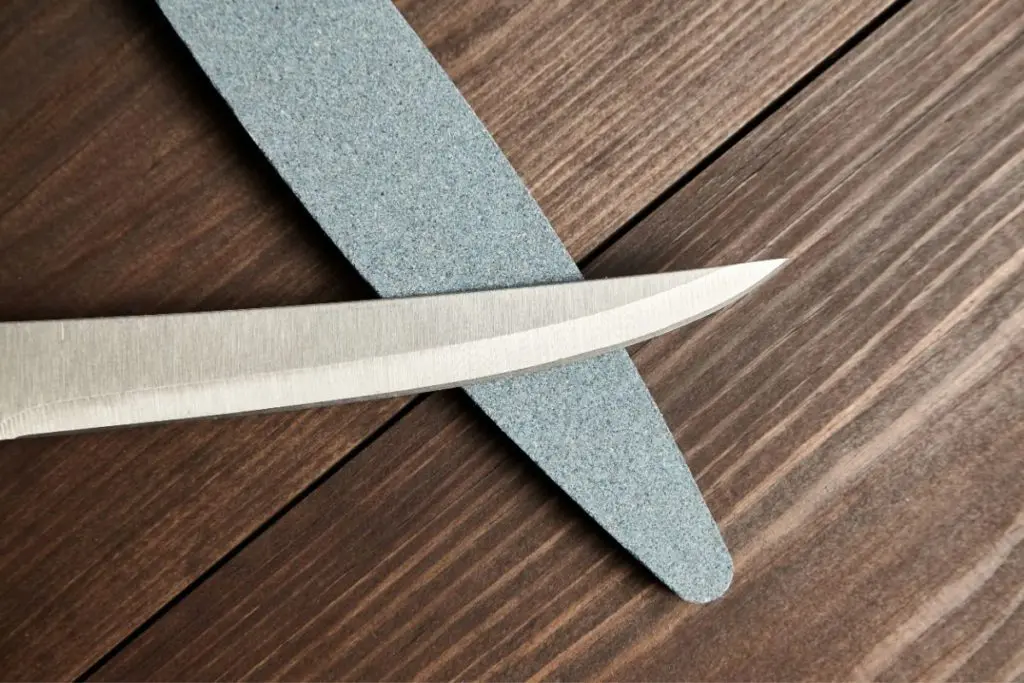
- A sharpening tool (this can be a whetstone, an oil stone, or a standard steel rod)
- Oil (if you’re using an oil stone or whetstone)
- Water (if you’re using a whetstone and don’t want to use oil)
- A damp paper towel or hand towel (for wiping the blade off)
How to Sharpen Fillet Knives
Here are the 10 steps to sharpening your fillet knife to a razor edge.
1
Gather Your Supplies
Collect the materials above that you’ll need and bring them to your preferred workspace. This might be your kitchen counter, or your dining room table, or an outdoor workbench.
2
Prep Your Sharpener
Prepping will look different depending on what kind of sharpener you’re using.
For an oil stone: pour a modest amount of oil onto the stone and use your fingers or a paper towel to disperse the liquid evenly over the surface of the stone.
For a whetstone: you can use oil for this, following the directions for an oil stone, or you can use water by just rinsing the stone until the entire surface is damp.
There isn’t any prep that needs to be done for a steel rod, as you can use them without lubrication.
3
Get the Right Angle
The best angle for a fillet knife can vary depending on the width of the blade and the type of fish you’ll be using the blade for. In general, though, a good rule of thumb for fillet knives is between 12 and 15 degrees.
Once you’ve done it a few times, you’ll be able to intuit the right angle you should sharpen at. However, to get you started, the easiest method is the coin method. For a 15-degree bevel, you can take two quarters (or three pennies), and stack them on your whetstone, oil stone, or hold them against your steel rod.
Set the flat of the blade against the stacked coins and tilt until the sharp edge touches the sharpening tool. This creates the angle you want to maintain when you move the blade across the sharpening tool.
4
Practice the Movement
Before you put your knife to your sharpener, let’s discuss the movement you’ll be using. If you’ve seen anyone sharpen a blade before, then you’re familiar with the kind of sweeping motion. This movement ensures the entire length of the blade gets to run across the sharpener without actually dragging any one point across the entire thing.
Typically, you’ll see someone hold the heel of the blade at the correct angle near one end of their sharpener. They will pull the knife downwards, allowing the point of contact to move from the heel to the tip of the blade as they go so that by the time the knife reaches the bottom, the entire edge is now sharp. It’s essential to use this type of movement, so you don’t damage your blade.
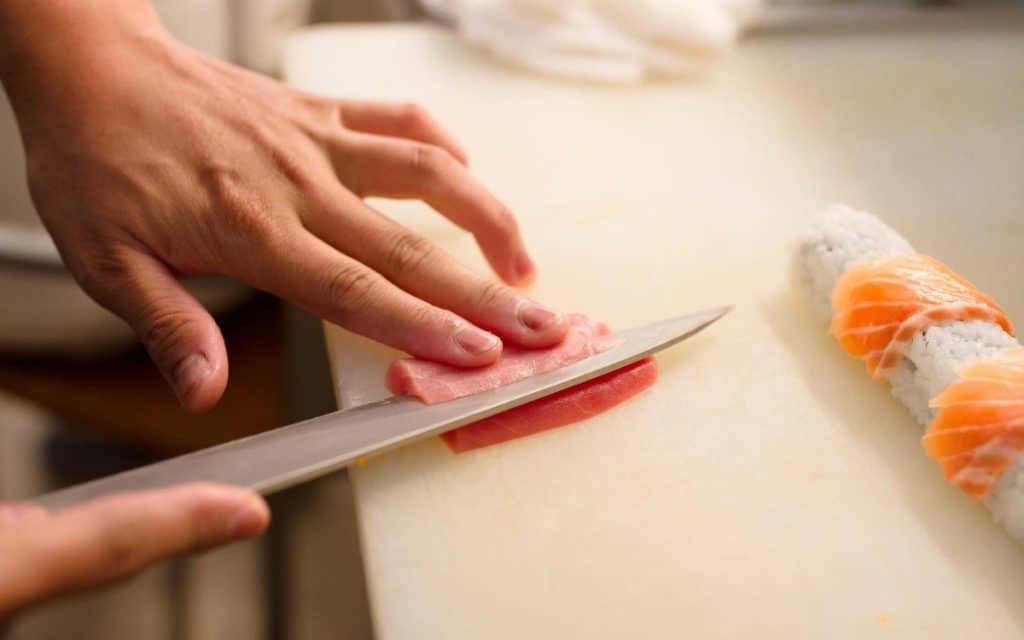
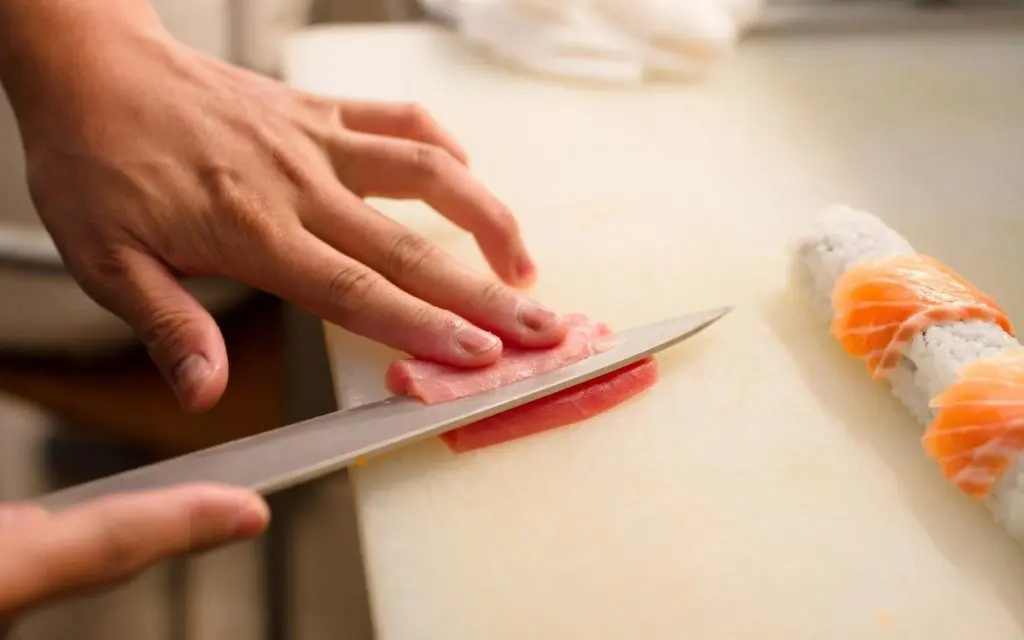
Fillet knives use the same principal movement, with one exception: rather than starting the point of contact with the heel of the blade and moving towards the tip, it’s best to start by pressing the tip of the knife to the sharpener, and then move towards the heel as you move downwards.
The reason for this is because most fillet knives are a little flexible. When you press the blade against the sharpener, it will bend just a little, which means that if you start with the heel, by the time you get to the tip, the same amount of pressure won’t be enough. The tip won’t actually get sharpened, even though you ran it across the sharpener. Starting with the tip ensures you set the amount of pressure based on the most flexible point of the blade.
That’s a lot of technical mumbo-jumbo, but just remember: start with the tip of your blade pressed against your sharpener, and draw the knife down, moving the point of contact down towards the heel.
5
To Push or Pull?

Now that we know how we’re going to move the blade, you need to decide whether you’d like to pull the blade towards you or push it away. Pulling towards you is generally considered more effective. Still, it’s also more dangerous because the blade’s sharp edge will be moving towards your body. Pushing the blade away from you is much safer, but it can be more challenging to get the right amount of pressure the entire way down.
6
Put the Motions Together
So you know how to move the blade, and you know which way you’re moving it. Let’s put these together.
Set your blade against the sharpener at the angle you determined with your coins (or your intuition, if you’re more practiced). If you’re going to use the pull method, then be sure the blade is positioned so that the sharp edge is facing you and the dull spine is facing away from you. If you’re using the push method, position the blade, so the sharp edge is facing away from you, with the dull spine facing towards you.
This position ensures that when you use that sweeping motion we discussed down your sharpener, you’ll sharpen the blade.
7
Start Sharpening Your Fillet Knife
You’ve got all the basics, so now it’s time to actually sharpen your blade. Make sure you maintain the angle you established with the coins as you move the blade along the sharpener, whether you’re moving it towards or away from yourself. You’ll want to use medium pressure here – you aren’t trying to snap the blade off the handle, but if you’re too light-handed, nothing will happen.
8
Don’t Forget to Alternate!
An essential aspect of fillet knives is that the edge has two bevels, which means that both sides of the edge are sharp. So, when you’re sharpening, you’ll need to flip the blade over so you can sharpen the other side of the edge.
Once you flip the blade, you may need to reposition so the sharp edge is facing the way you want it (depending on whether you pull or push – see step five).
You can choose how often you want to alternate here. Professional chefs and knife-wielders will flip after every draw, but there’s no real reason behind that. You can go a few swipes on one side and then flip for a few more. You will want to go back and forth a little bit to ensure both sides get sharpened equally.
9
Clean Your Blade
Once both sides of the edge are razor-sharp, it’s time to clean your blade. This is where the damp paper towel or hand towel comes in. Be sure to wipe both edges down to remove any build-up.
10
Get Filleting!
That’s pretty much it. Your knife should now be super sharp, so be careful!
Further Reading